UG-1635
Rev. 0 | Page 11 of 30
GUI DETAILED OVERVIEW
BOARD DISPLAY SHOWING CONNECTED
EVAL-ADIN1300FMCZ HARDWARE
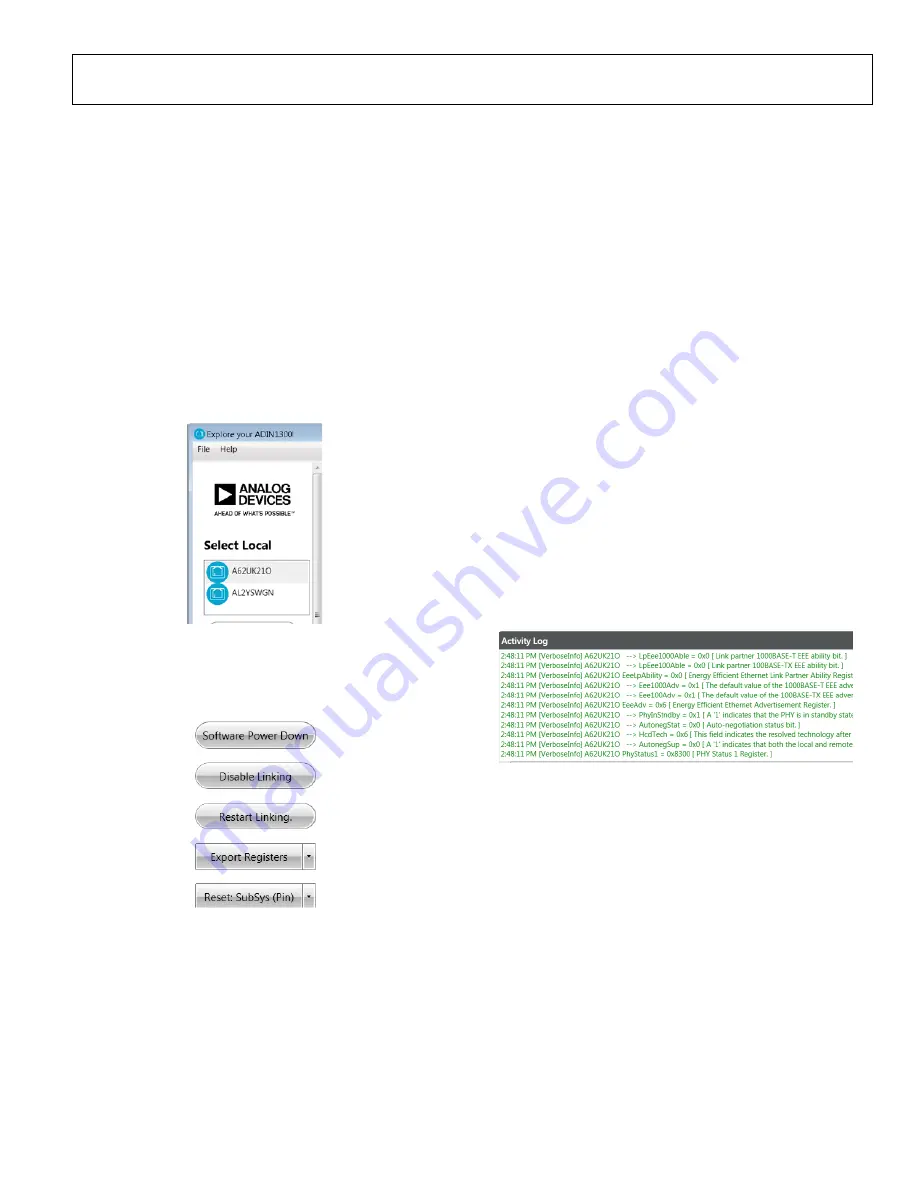
In the
Select Local
section (see Figure 12), a unique hardware
identifier is shown for each MDIO interface dongle connected
to the PC. In the example shown in Figure 13, there are two
MDIO interface dongles connected to the same PC (the
A62UK21O and AL2YSWGN).
The Ethernet PHY software GUI can only communicate with
one MDIO interface dongle at a time. To choose which MDIO
interface dongle is addressed as the local board in this section,
click the appropriate device identifier to select and highlight it.
All register controls, displayed link properties, and local board
information in other sections of the GUI apply to the selected
device connected to the MDIO interface dongle.
21
419
-01
4
Figure 13. MDIO Interface Dongle Selection
USER BUTTONS SECTION
Use the buttons in this section to control the basic operation of
the GUI and the
device.
21
419
-01
5
Figure 14. Basic User Buttons
Software Power-Down and Power-Up
Click
Software Power Down
to place the selected device into
software power-down mode where the analog and digital circuits
are placed into a low power state. Most clocks are gated off and
no link is brought up. Click
Software Power Down
to enable a
software power-down. The button color changes to orange and
the button label changes to
Software Power Up
. Click
Software
Power Up
to exit from the software power-down and restart
linking. When the software power-down is asserted, the other
buttons for the selected device are grey and disabled.
Disable or Enable Linking
Click
Disable Linking
to disable linking when a link is up. The
button label changes from
Disable Linking
to
Enable Linking
.
Click
Enable Linking
to enable linking.
Restart Linking
If the software configuration has been changed, click
Restart
Linking
to restart the linking process with the new configuration.
If the link has already been established, the link is first brought
down and then restarted.
Export Registers
Click
Export Registers
to perform a data dump to the
Activity
Log
section. The register dump can be saved to text format for
offline review. Right click and click
Save as
to save the data to a
log file.
2141
9-
01
6
Figure 15. Activity Log with Export Registers Displayed


