For full warranty information, refer to the AMX Instruction Manual(s) associated with your Product(s).
9/14
©2014 AMX. All rights reserved. AMX and the AMX logo are registered trademarks of AMX.
AMX reserves the right to alter specifications without notice at any time.
3000 RESEARCH DRIVE, RICHARDSON, TX 75082 • 800.222.0193 • fax 469.624.7153 • technical support 800.932.6993 •
www.amx.com
93-2106-02
REV: B
Changing the IP Address Once You Are Connected
Perform these steps to change the IP address once you are connected to the
controller:
1.
Set the IP address on your PC to the same network the controller is
currently on.
2.
In NetLinx Studio, select
Diagnostics > Network Addresses
from the
menu bar to open the Network Addresses dialog.
3.
Click
Get IP Information
to enable the fields for editing.
4.
Enter the System, Device (0 for NetLinx Masters), and Host Name
information.
5.
To specify a network IP address, select
Specify IP Address
.
6.
Enter the IP parameters into the available fields.
7.
Click
Set IP Information
to retain the pre-reserved IP Address to the
Master.
8.
Click
Reboot Device
to finish assigning the IP address to the Master, and
click
OK
to close the dialog.
Accessing the WebConsole
NetLinx Masters have a built-in WebConsole that allows you to make
various configuration settings via a web browser on any PC with access to
the Master.
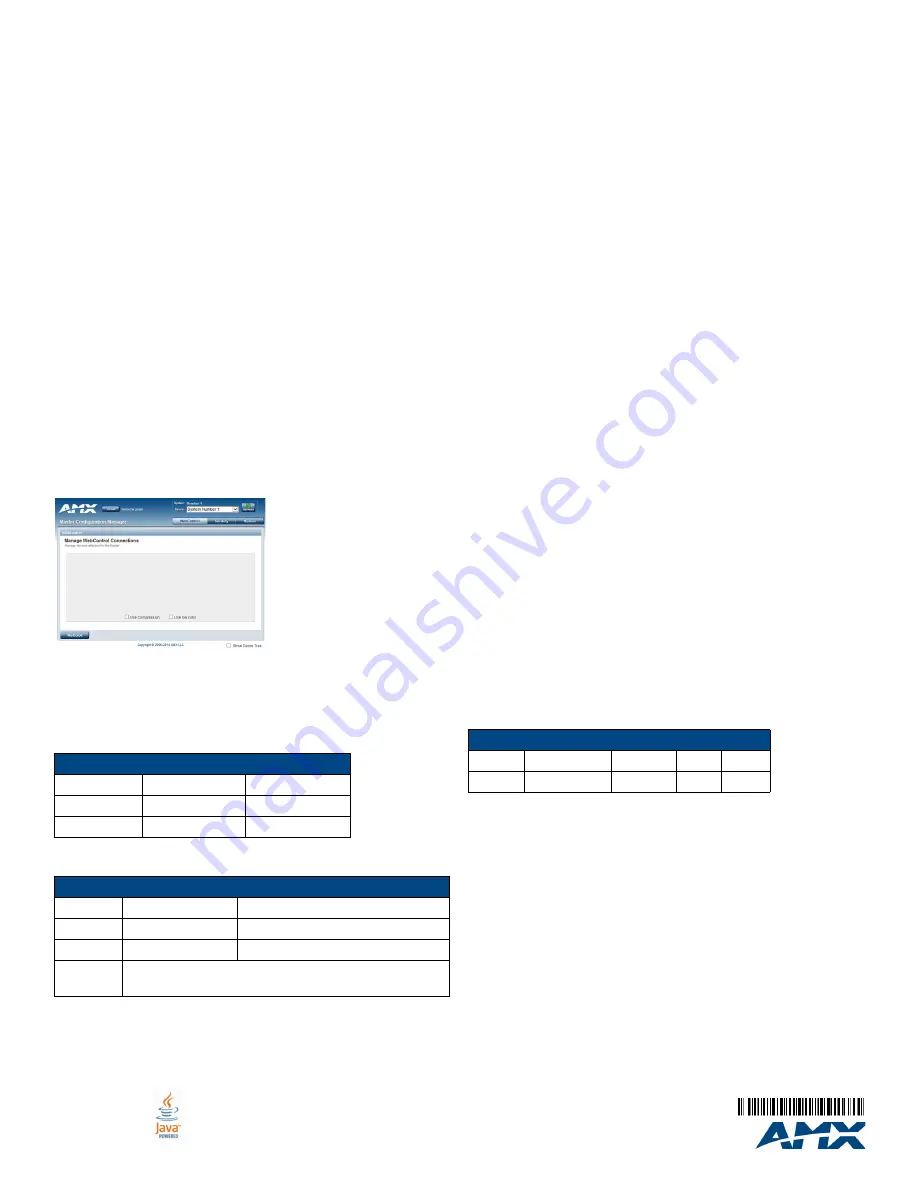
The WebConsole consists of a series of web pages that are collectively called
the “Master Configuration Manager”. Refer to the
NX Series NetLinx Integrated
Controllers WebConsole & Programming Guide
for details on the WebConsole.
From any PC with access to the LAN that the target Master resides on:
1.
Open a web browser and type the IP Address of the target Master in
the Address Bar.
2.
Press
Enter
to access WebConsole for the Master. The initial view is
the WebControl page.
FIG. 3
WebConsole (main page)
Default Settings
The following sections list the default settings for the controller.
Default User Names and Passwords
The following table lists the default user names and passwords for
accessing the NX-2200 through NetLinx Studio or the WebConsole.
Default IP Addresses
The following table lists the default IP addresses for the NX-2200.
Configuration
All items in this section require accessing the WebConsole.
Enabling Security
To enable security:
1.
Select the
Security
tab on the WebConsole. The System Security
Details appear.
2.
Click the
Enabled
check box to enable security and activate the Access
options.
3.
Select the Access options which you want to require a login and
password.
4.
Configure users and groups as necessary.
Wired 802.1x Security
The X-Series controllers support wired 802.1x, an IEEE Standard for Port-based
Network Access Control. To enable wired 802.1x, you must load an 802.1x
certificate file to your controller using NetLinx Studio. Once you add the
certificate file to your workspace, NetLinx Studio transfers the file to the
appropriate directory on the controller.
1.
Click to select (highlight) a System (in the Workspace tab of the
Workspace Bar).
2.
Right-click on the
Other
folder to access the Other File Folder context
menu, and select
Add Existing Other File
.
3.
In the Add Existing Other File dialog, locate and select the certificate file
(.crt) that you want to add to the selected System. Change the Files of
Type option to All Files (*.*) to look for other file types, if necessary.
4.
Click
Open
to access the File Properties dialog, where you can view/edit
general file information for the selected file.
5.
Click
OK
to add the file to the selected System. The file should now appear
in the Other folder under the selected System.
Setting the Clock Manager Mode
To set the clock manager mode:
1.
On the Manage System tab, select a Time Sync option.
• Network Time: When this option is selected, the Master will connect to
the default NIST Server to get date and time information. You can
select a different NIST Server (or specify the IP Address of a known
NIST Server) on the
NIST Servers
tab.
• Stand Alone: This option lets the Master use its own internal clock.
When this option is selected, the Date and Time fields are available on
this tab.
2.
Click
Accept
to save these settings to the Master.
Hardware Information
This section lists important hardware information for the NX-2200.
Port Numbers
Mounting the NX-2200
The NX-2200 ships with removable rack ears for installation into an
equipment rack. Use the supplied #8-32 screws to secure the rack ears to
the sides of the controller. You can attach the rack ears toward the front or
rear panel for either a front-facing or rear-facing installation.
Use the four #10-32 screws supplied in the mounting kit to secure the
controller to the rack.
Default User Names and Passwords
User Name
Password
NetLinx Studio netlinx
password
WebConsole
administrator
password
Default IP Addresses
IP Address
Subnet
Static IP
192.168.1.3
255.255.255.0
ICSLAN
198.18.0.1
255.255.0.0
Link-local
169.254.x.y, where x and y are the least significant two
octets of the MAC address.
NX-2200 Port Numbers
RS-232
RS-422/485
IR/Serial
I/O
Relay
2-4
1
11-14
22
21


