8. Check that the voltage (230V ~50 Hz) stated on the rating plate is consistent with the
parameters your house’s electricity supply, and that the supply is marked as ~ (AC).
ATTENTION: before connecting the cooker hood to the power supply, always check that the
power lead is correctly attached and has NOT been crushed by the hood during installation.
9. If the power lead is damaged, it should be replaced by a qualified electrician.
10. The appliance was properly packaged for transportation to prevent damage. After
unpacking it, please dispose of the packaging elements in an environmentally friendly
manner.
None of the materials used in the packaging are harmful to the natural environment. They are
100% recyclable and are marked with the appropriate symbol.
Important! The packaging materials (polythene bags, foam plastic, etc.) should be kept away
from children during unpacking.
11. This appliance is not intended for use by persons (including children) of limited physical,
sensory or mental capacity, or by those inexperienced or unfamiliar with the appliance, unless
under supervision or in accordance with the operating instructions as explained to them by
those responsible for their safety.
Children must not be allowed to play with the hood.
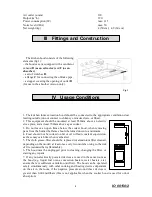
In order to mount the hood, do the following:
1. hang the hood casing (fig.1, pt. A) on the wall,
2. connect the hood to the mains electricity.
1. Mounting the hood casing
a) mark a vertical line on the wall as a guide, showing the centre of the cooker, remove the
grease filter and place the hood casing „A” against the wall using the centre marked on the
vertical line, keeping a distance between the holes and the hotplate of at least 710mm (fig. 2).
Attention: ensure casing „A” is level.
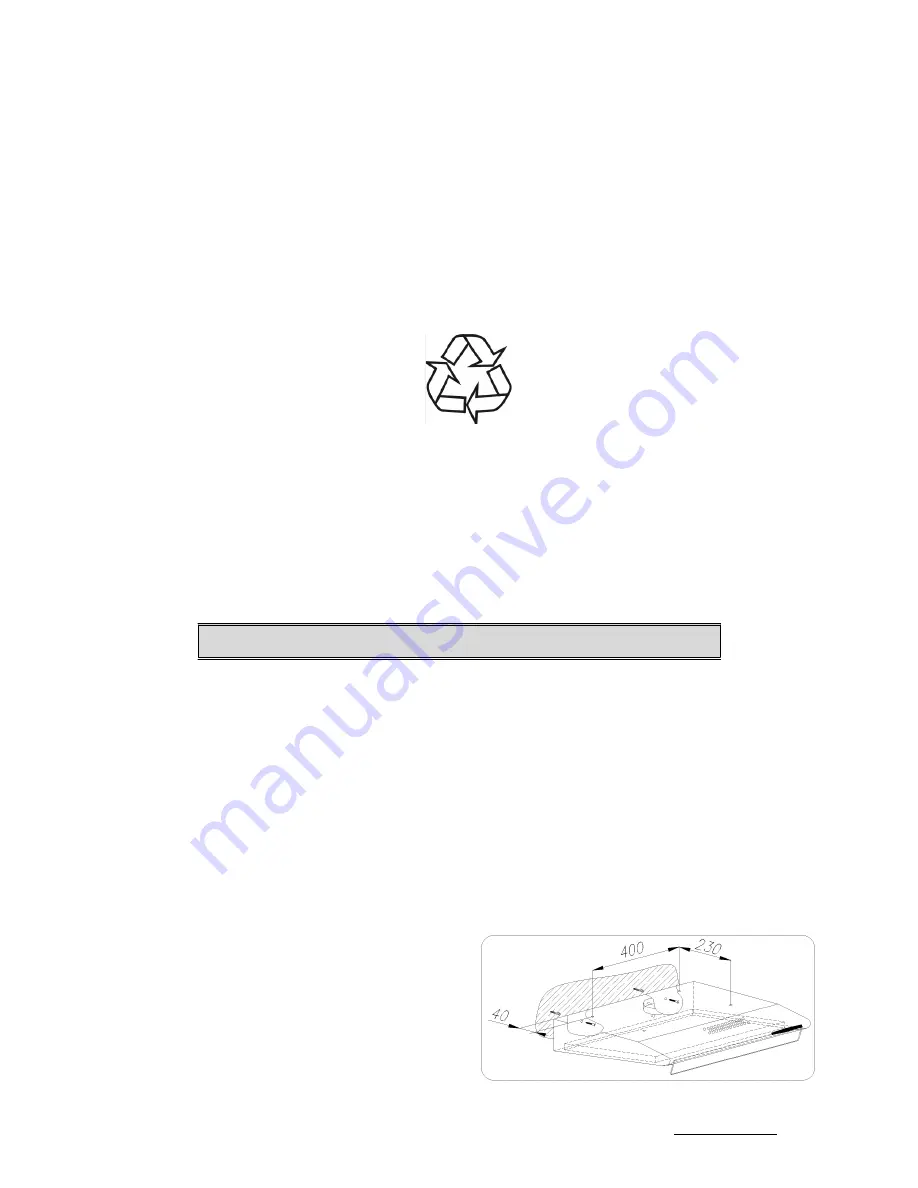
b) mark the distance between the mounting
holes on the wall
c) drill out the holes marked on the wall using a
drill with a diameter corresponding to the
rawlplugs included, hammer in the plugs and
then screw the hood casing „A” onto the wall.
Fig.3
IO 00150
/2
V
Assembly
5
Summary of Contents for OSC 5458 I
Page 2: ...IO 00150 2 2 ...


