34
5. Test with load
After finishing the above adjustment, test running the lift with load. Run the lift in low
position for several times firstly, make sure the lift can rise and lower synchronously,
the Safety Device can lock and release synchronously. And then test run the lift to the
top completely. If there are anything improper, repeat the above adjustment.
NOTE: It may be vibrated when lifting at start, please lifting it with load for several
times, the air would be bled and the vibration would be disappeared
automatically.
VI. OPERATION INSTRUCTIONS
Please read the safety tips carefully before operating the lift
To lift vehicle
1. Keep clean of site near the lift;
2. Position lift arms to the lowest position;
3. To shortest lift arms;
4. Open lift arms;
5. Position vehicle between columns;
6. Move arms to the vehicle’s lifting point;
Note: The four lift arms must contact the vehicle’s lifting point at the same time
where manufacturers recommended
7. Push button
UP
until the lift pads contact underside of vehicle totally. Recheck to
make sure vehicle is secure;
8. Continue to raise the lift slowly to the desired working height, ensuring the balance
of vehicle;
9. Push release handle to lower lift onto the nearest safety. The vehicle is ready to
repair.
Fig.
54
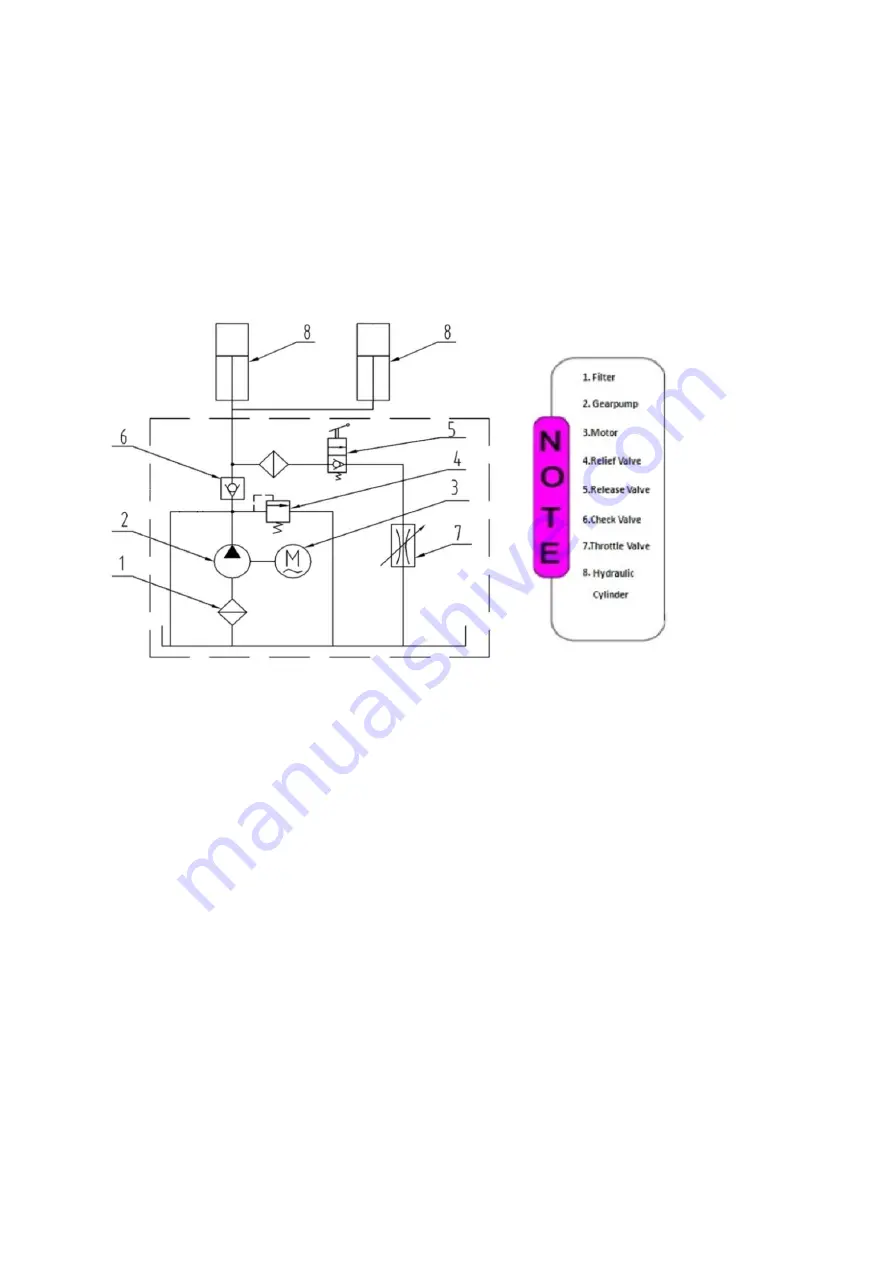
Hydraulic System


