


B345935309K00
page 15
11
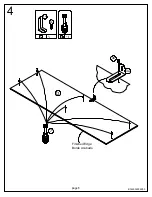
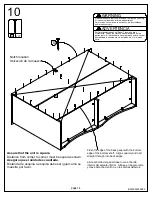
Please Note:
The top of the unit is not shown for visibility of the safety bracket attachment. DO NOT
remove the top of the unit.
Observe por favor:
La unidad de encima no demuestra la visibilidad del accesorio del soporte de seguridad.
No quite la parte de encima de la unidad.
Option 1;
Securely screw (4c) into solid area of
the wall as shown.
Opción 1;
Firmemente el tornillo (4c) en el área
sólida de la pared como mostrado.
Option 2:
Drill a 3/16" diameter hole (5mm) in
the wallboard. Tap the wall
anchor(4d) into the hole until it is
flush. Fasten the wall bracket (4a) to
the wall anchor (4d) with the screw
(4c).
Opcion 2:
Taladre un agujero de 3/16" de
diámetro (5mm) en la pared. Golpea
la ancla de pared (4d) en el agujero
hasta que sea parejo. Abroche la
escuadra de pared (4a) al la ancla
de la pared (4d) con el tornillo (4c).
stud
montante
wallboard
muro
hole
agujero
x
4
1
4c
4d
4c
4d
4a
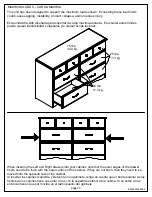
Summary of Contents for Essential Home Grayson 6 Drawer Dresser
Page 1: ......
Page 2: ......
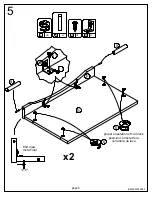
Page 8: ...B345935309K00 page 8 4 x 7 6 x 4 1 4b 4a 4a 4b D Finished Edge Borde Acabado 7...
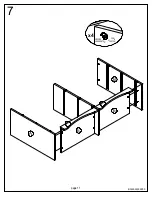
Page 11: ...B345935309K00 page 11 7 A B E E F F UNLOCK LOCK APRETAR DESAPRETAR x4...
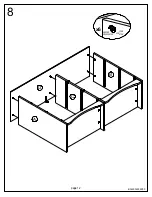
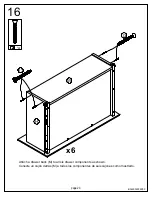
Page 12: ...B345935309K00 page 12 8 A B C D UNLOCK LOCK APRETAR DESAPRETAR x6...
Page 18: ...B345935309K00 page 18 14 x 11 24 11 11 11 11 G G G G H H H H I J K L x2 x2 x1 x1...
Page 21: ...B345935309K00 page 21 17 x 3 4 x 14 12 x 2 4 2 3 3 14 14 14 14 I J K L x2 x2 x 16 8 16...
Page 24: ......


