background image

11

9

10

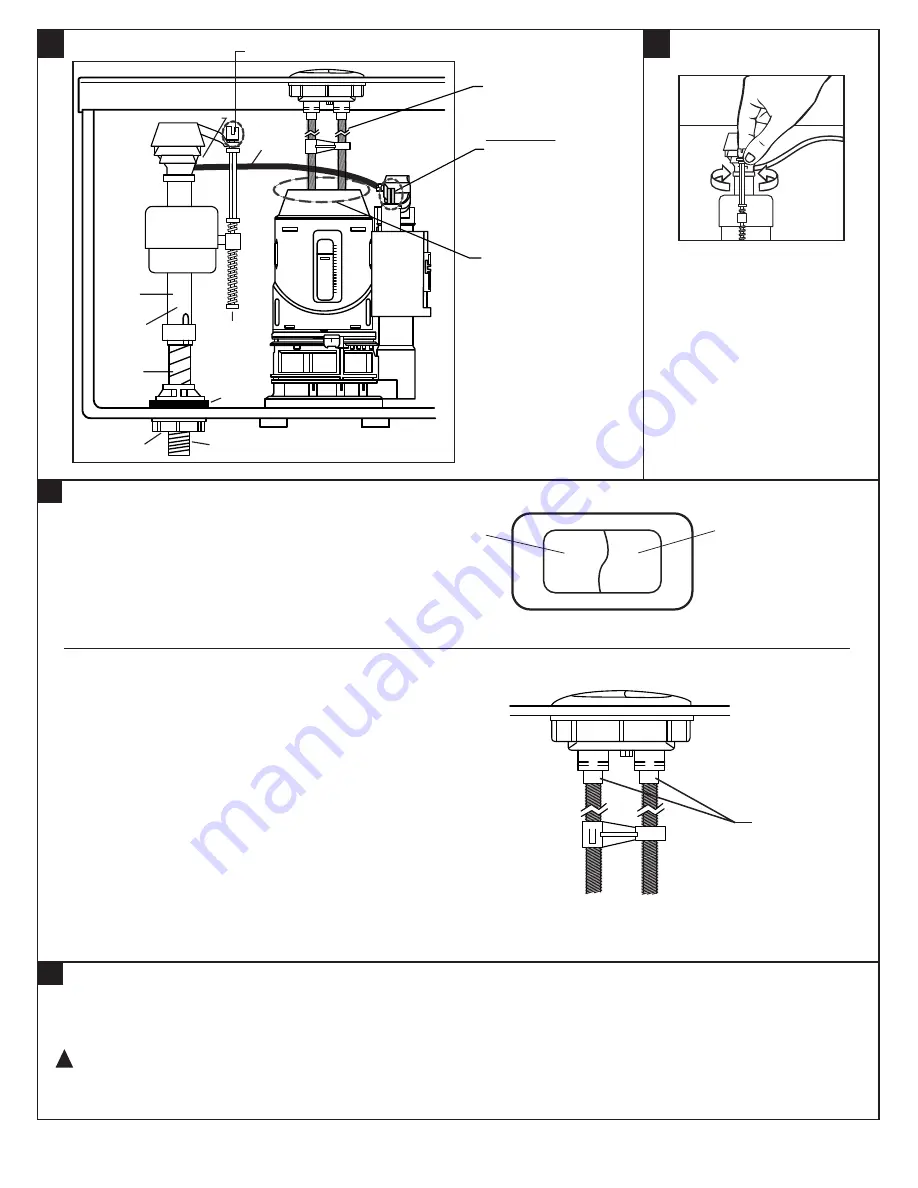
Turn on water supply. 
Submerge the FLOAT CUP 
under the water for 30 seconds. 
Adjust the water to desired level 
by turning WATER LEVEL 
ADJUSTMENT ROD and 
moving FLOAT CUP up or 
down.

-   3   -  

7 3 016 9 0 - 10 0   Rev.  C

FLUSH PUSH BUTTONS

• The large flush button should line up over the   
  white actuator on the flush tower in the tank.

• The small flush button should line up over the  
  gray actuator on the flush tower in the tank.

• Pressing both buttons at once will result in a  
  short flush.

LARGE FLUSH BUTTON 

FOR SOLID WASTE

1.6 gal/flush

6 Liter/flush

SMALL FLUSH BUTTON 
FOR LIQUID WASTE

1.1 gal/flush
4.1 Liter/flush

TIPS:

With the lid removed, directly press the flush button in 
the tank to confirm that the toilet is working properly. 
If not, follow troubleshooting guide.

1.  Install Threaded Rods into holes in bottom of push   
    buttons approximately 1/2" (12mm).

2.  Lightly snug Locking Nut.

3.  Place Lid on Tank.

4.  Push Button to test flush. If more stroke is  


     needed, loosen Locknut and turn Threaded Rod  
     counterclockwise one (1) turn.

5.  Replace Lid. Repeat until flush action is achieved.

6.  If Valve stays open, turn Threaded Rod clockwise  
     one (1) turn and lightly snug Locknut. 

12

CARE AND CLEANING

When cleaning your toilet, wash it with mild, soapy water, rinse thoroughly with clear water and dry with a soft cloth. Avoid detergents, 
disinfectants, or cleaning products in aerosol cans. NEVER use abrasive scouring powders or abrasive pads on your toilet seat. Some 
bathroom chemicals and cosmetics may damage the seat's finish.

WARNING:

 Do not use in-tank cleaners. Products containing chlorine (calcium hypochlorite) can seriously damage fittings in the 

tank. This damage can cause leakage and property damage.

American Standard shall not be responsible or liable for any tank fitting damage caused by the use of cleaners containing 
chlorine (calcium hypochlorite). 

!

Install and adjust push 
button rods for about 
1/16" (1-1/2mm) 
clearance between rod 
end and valve button.

SEE STEP 11 - TIPS

IMPORTANT:

Refill Float Adjustment
If short flush does not refill 
the bowl, turn thumbscrew 
CCW 1 turn, flush, repeat 
if necessary.

Diagram 1

SEE STEP 10

REFILL NIPPLE

VALVE

BODY

THREADED
SHANK

SHANK
WASHER

FILL 

VALVE

FLOAT

CUP

REFILL
TUBE

ADJUSTABLE
HEIGHT

WATER LEVEL 

ADJUSTMENT 

ROD

LOCK NUT

HALF

16

14

12

10

8

6

4

2

Rod Adjustment

SEE STEP 11

Locknuts

Threaded Rods

Summary of Contents for BOULEVARD 2891

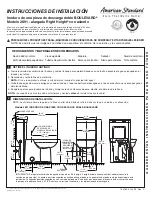
Page 1: ...ictures may not exactly define contour of china and components Thank you for selecting American Standard the benchmark of fine quality for over 100 years To ensure this product is installed properly please read these instructions carefully before you begin Certain installations may require professional help Also be sure your installation conforms to local codes INSTALLATION INSTRUCTIONS Certified ...

Page 2: ...rallel to wall a Position toilet squarely to wall and with a rocking motion press bowl down fully on wax ring and flange Alternately tighten nuts until toilet is firmly seated on floor CAUTION DO NOT OVERTIGHTEN NUTS OR BASE MAY BE DAMAGED b Install bolt covers 1 Make sure that the bolt cover area on the toilet is clean and dry see figure Use a dry piece of cloth or soap and water if needed 2 Take...

Page 3: ...ieved 6 If Valve stays open turn Threaded Rod clockwise one 1 turn and lightly snug Locknut 12 CARE AND CLEANING When cleaning your toilet wash it with mild soapy water rinse thoroughly with clear water and dry with a soft cloth Avoid detergents disinfectants or cleaning products in aerosol cans NEVER use abrasive scouring powders or abrasive pads on your toilet seat Some bathroom chemicals and co...

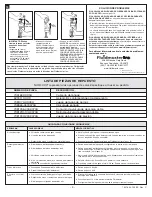
Page 4: ...sh Button Kit 735169 XXX0A 5218 110 XXX 7381073 XXX0A 738565 457 0070A 7381206 400 0070A 7381213 100 0070A 7381203 200 0070A 13 Make sure water supply is off Remove valve TOP by lifting arm and rotating top and arm 1 8 turn counterclockwise pressing down slightly on cap IMPORTANT Always clear sand and rust from system While holding a container over the uncapped VALVE to prevent splashing turn wate...

Page 5: ...ELO CON CUIDADO PARA NO ROMPERLOY EVITAR POSIBLES LESIONES NOTA Es posible que las imágenes no definan con exactitud el contorno de la cerámica y los componentes Gracias por elegir American Standard el parámetro de primera calidad por más de 100 años Para asegurarse de que el producto esté instalado correctamente por favor lea estas instrucciones cuidadosamente antes de comenzar Ciertas instalacio...

Page 6: ... APRIETE LAS TUERCAS NI LA BASE PARA EVITAR DAÑOS b Instale las cubiertas de los pernos 1 Asegúrese de que la zona de la cubierta de los pernos en el inodoro esté limpia y seca vea la figura Use un paño seco o agua y jabón si es necesario 2 Tome la cubierta de perno plástica y despegue la película protectora en ambos extremos La parte adhesiva queda visible y lista para ser colocada en el inodoro ...

Page 7: ...correcta 6 Si la válvula permanece abierta gire la varilla roscada hacia la derecha una 1 vuelta y ajuste ligeramente la tuerca de retención 12 CUIDADO Y LIMPIEZA Para limpiar el inodoro use agua templada con jabón enjuague bien con agua limpia y seque con un paño suave Evite detergentes desinfectantes o productos de limpieza en latas de aerosol NUNCA utilice productos de limpieza abrasivos ni esp...

Page 8: ... válvula de descarga doble Sello de válvula de descarga doble Juego de botones de presión 735169 XXX0A 5218 110 XXX 7381073 XXX0A 738565 457 0070A 7381206 400 0070A 7381213 100 0070A 7381203 200 0070A 13 Asegúrese de cerrar el suministro de agua Retire la PARTE SUPERIOR de la válvula para ello levante el brazo y hágalo girar con la parte superior 1 8 de vuelta haciendo una leve presión sobre la ta...

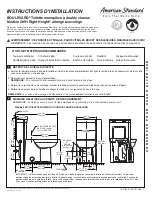
Page 9: ...SURES MANIPULER AVEC SOIN REMARQUE Les dessins peuvent ne pas correspondre exactement aux contours de l appareil ou des composants Nous vous remercions d avoir choisi American Standard synonyme de qualité supérieure depuis plus de 100 ans Pour être sûr que ce produit soit bien installé veuillez lire attentivement ces instructions avant de commencer Certaines installations peuvent requérir une aide...

Page 10: ...taller les cache boulons 1 S assurer que la zone d installation du cache boulon sur la toilette est propre et sèche voir la figure Utiliser un chiffon propre et sec ou du savon et de l eau si nécessaire 2 Prendre le cache boulon en plastique et retirer le film protecteur brun aux deux extrémités La partie adhésive est maintenant visible et prête à être collée sur la toilette voir la figure 3 Place...

Page 11: ...etée d un tour dans le sens horaire et serrer légèrement le contre écrou 12 ENTRETIEN ET NETTOYAGE Pour nettoyer la toilette laver avec de l eau et un savon doux rincer abondamment à l eau propre et essuyer avec un chiffon doux Éviter les détergents désinfectants ou les produits de nettoyage en aérosol Ne JAMAIS utiliser de poudres à récurer abrasives ni de tampons abrasifs sur votre siège de toil...

Page 12: ...3 XXX0A 738565 457 0070A 7381206 400 0070A 7381213 100 0070A 7381203 200 0070A 13 Vérifier que l alimentation d eau est fermée Enlever le CAPUCHON de la valve en levant le bras et en tournant le dessus et le bras de 1 8e de tour dans le sens antihoraire appuyer légèrement sur le capuchon IMPORTANT Toujours débarrasser le système de toute présence de sable et de rouille Ouvrir et fermer l alimentat...

Reviews: