Amconn KVM312IC User Manual Download Page 18

-15-

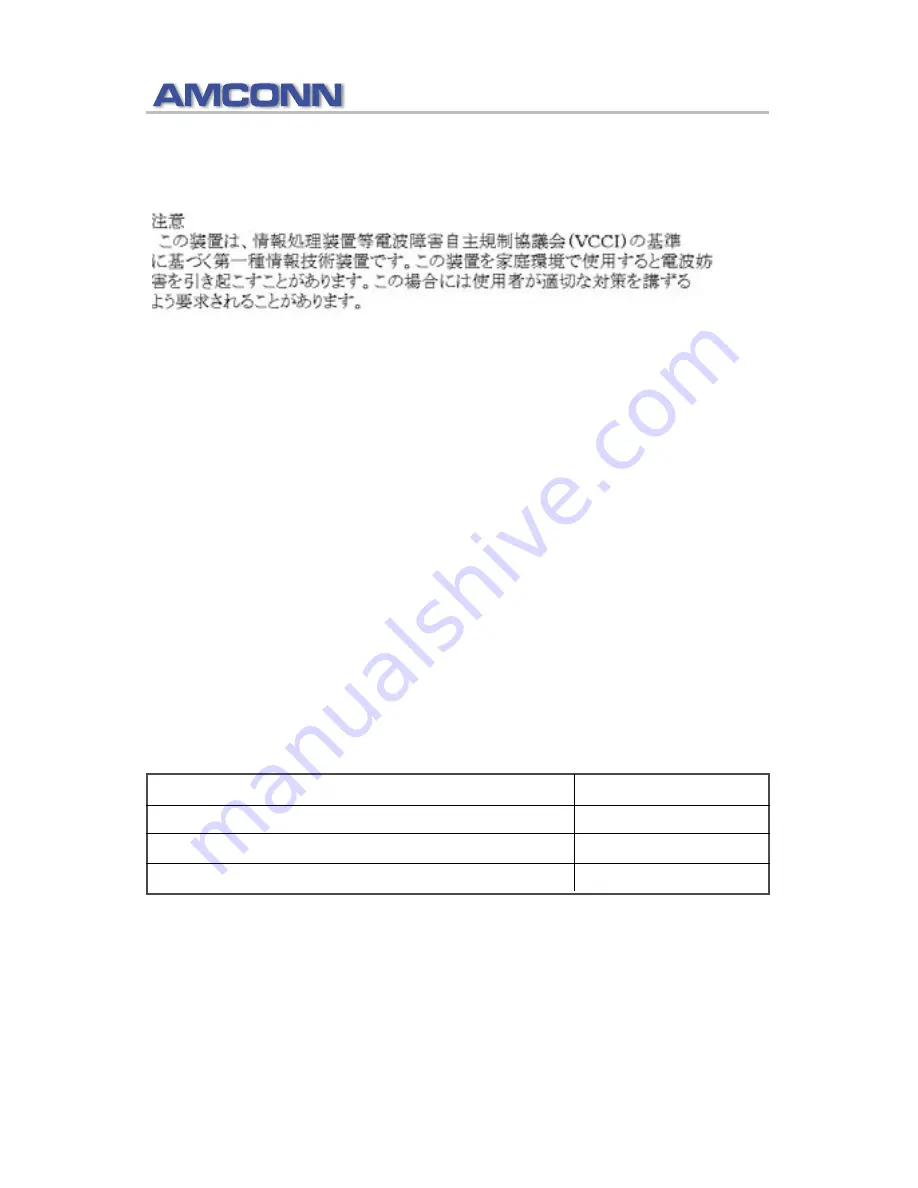
VCCI Warning

LIMITED WARRANTY

AMCONN provides this limited warranty for its product only to the person or 
entity who originally purchased the product from AMCONN or its authorized 
reseller or distributor.

Limited Hardware Warranty:

AMCONN  warrants  that  the  hardware  portion  of  the AMCONN  products 
described  below  (Hardware)  will  be  free  from  material  defects  in 
workmanship  and  materials  from  the  date  of  original  retail  purchase  of  the 
Hardware,  for  the  period  set  forth  below  applicable  to  the  product  type 
(Warranty Period ) if the Hardware is used and serviced in accordance with 
applicable  documentation;  provided  that  a  completed  Registration  Card  is 
returned  to  an Authorized AMCONN  Service  Office  within  ninety  (90)  days 
after the date of original retail purchase of the Hardware. 
If a completed Registration Card is not received by an authorized AMCONN 
Service Office within such ninety (90) period, then the Warranty Period shall 
be ninety (90) days from the date of purchase.

  Product Type   

Warranty Period

  Product (excluding power supplies and fans)  

One (1) Year

  Power Supplies and Fans 

One (1) Year 

  Spare parts and spare kits 

Ninety (90) days

AMCONN’s  sole  obligation  shall  be  to  repair  or  replace  the  defective 
Hardware at no charge to the original owner. Such repair or replacement will 
be rendered by AMCONN at an Authorized AMCONN Service Office. 
The replacement Hardware need not be new or of an identical make, model 
or  part; AMCONN  in  its  discretion  may  replace  the  defective  Hardware  (or 
any  part  thereof)  with  any  reconditioned  product  that AMCONN  reasonably 
determines is substantially equivalent (or superior) in all material respects to 
the defective Hardware.

Summary of Contents for KVM312IC

Page 1: ...KVM312IC KVM314IC 2 4 PORT PS 2 KVM Switch User Manual...

Page 2: ......

Page 3: ...cifications P3 Overview P4 Display Diagrams P6 Installation P7 Pre Configuration P7 Hardware Installation P8 Operation P11 Powering Up the Systems P11 Selecting Computers Using Front panel Selectors P...

Page 4: ...crosoft Intellimouse The KVM312IC KVM314IC supports high video resolutions up to 1920 x 1440 without deterioration of the image quality Switching between PCs can be accomplished in two ways via keyboa...

Page 5: ...n allows error free booting n Caps Lock Scroll Lock and Num Lock status is stored for each PC n Supports high resolution video up to 1920 x 1440 75MHz VGA SVGA monitors and MultiSync monitors n AutoSc...

Page 6: ...in Female Monitor 1 set HDDB15 pin Female Port LEDs 2 4 Hot Keys Yes Resolution 1920 x 1440 75Hz Dimensions W x D x H 133 x 64 x 22mm 214x 79 x 22mm Weight 125g 213g Operating Temp 32 to 104 F 0 40 C...

Page 7: ...or all computers one by one that are connected to your KVM Switch Superior Video Resolution With a 400MHz video bandwidth the KVM312IC KVM314IC can support video resolutions of up to 1920 x 1440 75Hz...

Page 8: ...as control of The LED will light with the corresponding active port when switching between the computers PS 2 Interface Support The Switch supports computers with PS 2 input devices keyboard and mouse...

Page 9: ...mouse ports 2 Direct access port selector s Lights RED indicating that the connected computer has the KVM focus SELECTED 3 LEDs Rear View 1 Console VGA port 2 Computer VGA ports Side View 1 Power Jack...

Page 10: ...r the location of your computers from your console the length of the cables you use to connect your computers to the KVM Cable Distance Requirements For PS 2 computers VGA signals are best retained wh...

Page 11: ...your installation due to ground potential difference make sure that all computers on the installation are properly grounded Failure to follow these instructions can result in damage to computers and o...

Page 12: ...r to the console VGA port on your on the back of the KVM Switch Powering Up the KVM Switch Optional 1 Connect the barrel of 9V 600mA power adapter to the power jack on the rear of the Switch Then plug...

Page 13: ...your first computer 2 Connect the male VGA connector to the corresponding female VGA port on the back of the computer Take the other male VGA cable end and connect it to the rear of the Switch design...

Page 14: ...ot Key combinations from the keyboard Selecting computers via Manual Port Selectors You can instantly select any computer by pressing the Port selectors on the top of the KVM Switch The corresponding...

Page 15: ...press the SCROLL LOCK key twice within two seconds Note that a signal beep will be given as confirmation 2 Press the Up or Down arrow keys to switch to the Previous or Next port respectively Hot Key...

Page 16: ...changed To invoke Auto Scan Mode press SCROLL LOCK SCROLL LOCK 0 Note 1 The interval between these two keys should be no more than 0 5 seconds Once the scanning begins it continues until you press any...

Page 17: ...e of the following measures Reorient or relocate the receiving antenna Increase the separation between the equipment and receiver Connect the equipment into an outlet on a circuit different from that...

Page 18: ...r the date of original retail purchase of the Hardware If a completed Registration Card is not received by an authorized AMCONN Service Office within such ninety 90 period then the Warranty Period sha...

Page 19: ...vers the Software will be free of physical defects AMCONN s sole obligation shall be to replace the non conforming Software or defective media with software that substantially conforms to AMCONN s fun...

Page 20: ...subjected to abuse accident alteration modification tampering negligence misuse faulty installation lack of reasonable care repair or service in any way that is not contemplated in the documentation f...

Page 21: ...dy for a breach of the foregoing limited warranty is repair replacement or refund of the defective or non conforming product Governing Law This Limited Warranty shall be governed by the laws of the st...

Reviews: