Version 1.0
©Copyright 2016, Ambient LLC. All Rights Reserved.
Page 4
No
Description
No
Description
- Press
MANUAL
button and the backlight
color will change automatically (256 colors);
Press it again, and the backlight color will
stop at the color you prefer.
- AC 6V 300mA.
10
RAINBOW Button
Press
RAINBOW
button, and the backlight
will change color as follows:
white>red>orange>yellow>green>cyan>blue>purple
21
Battery door
- Accommodates lithium battery
CR2032 for back-up.
11
TUNE
Button
Press and hold the TUNE button to fine tune
the color. The backlight will automatically
display 256 colors. Let go of the TUNE
button to stop at the color you prefer.
3.2
Parts List
QTY
Item
1
Clock
Frame Dimensions 6.42" W x 3.19"H x 2.24"D
(163W x 81H x 57D mm)
1
UL Rated AC Adapter
1
User Manual
3.3
Powering Up
1.
Energize the battery by releasing the pull tab on the bottom of the clock.
2.
Plug the AC adaptor into the DC jack of the clock.
Note:
If no display is present after powering up the clock, press the reset button on the back of the
clock.
3.3.1 Radio Controlled Clock (RCC)
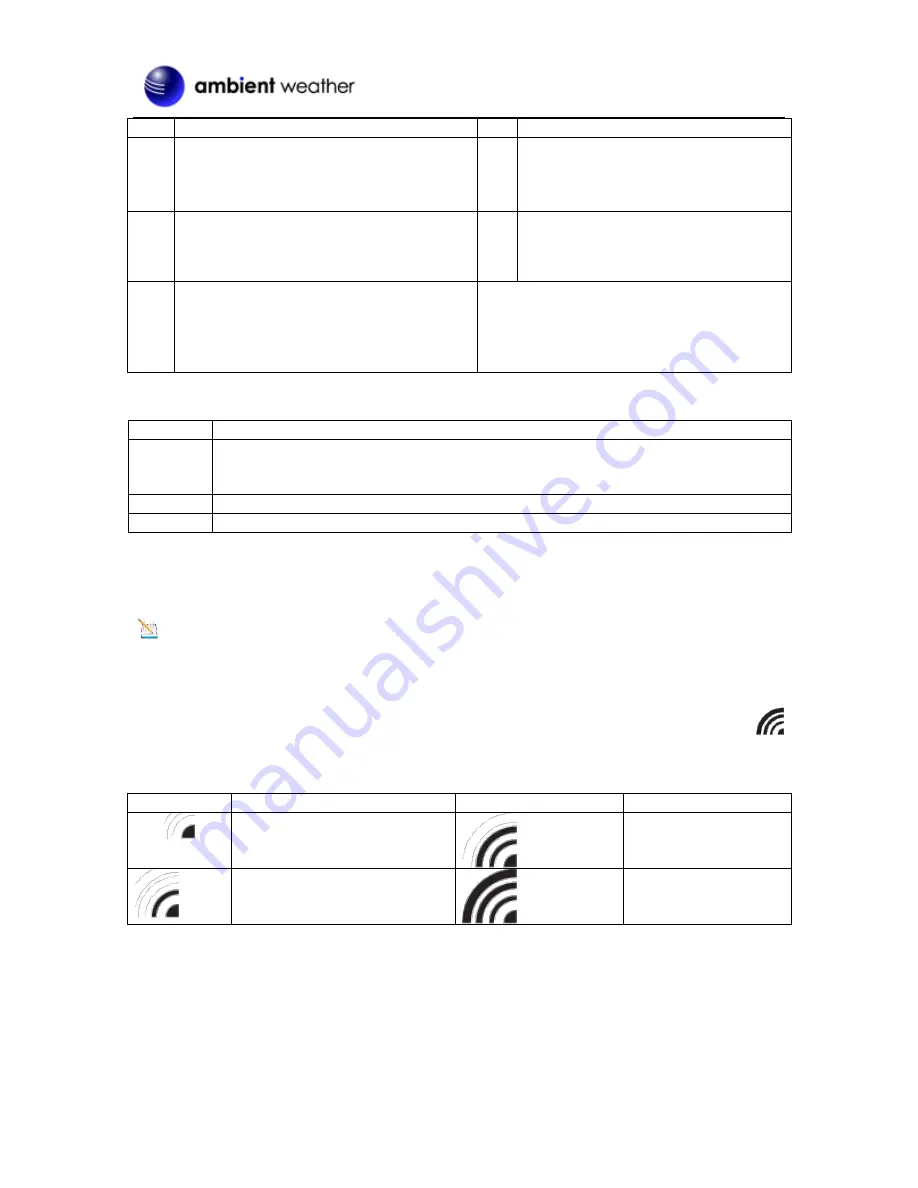
After power up, the clock begin radio controlled clock (RCC) reception and the RCC search icon
will turn on. The RCC will continue to search for six minutes. It will try again at 2:00am, 8:00am,
2:00pm and 8:00pm.
RCC Icon
Description
RCC Icon
Description
No signal
Acceptable signal
Weak signal (flashes between
two icons). Cannot be
interpreted.
Excellent signal
Figure 2
If the time is incorrect by increments of an hour, or does not change on your radio controlled clock
(RCC), please reference Section 7, Troubleshooting Guide.


