8
Music output up to a maximum of 30 seconds. The initial setting is
30 seconds.
(8) Press the
ENTER
button to confirm the setting.
(9) Now you will see the individual days of the week being
highlighted. This allows you to select each day in turn and select
whether you want the music output to apply on that day or not.
Using the
+/-
buttons you can change the day of the week that is
highlighted and then pressing the
MUSIC
button will change that
day to on or off. If you turn off the music output for a particular
day by mistake - you can just press the
MUSIC
button again
and it will enable it.
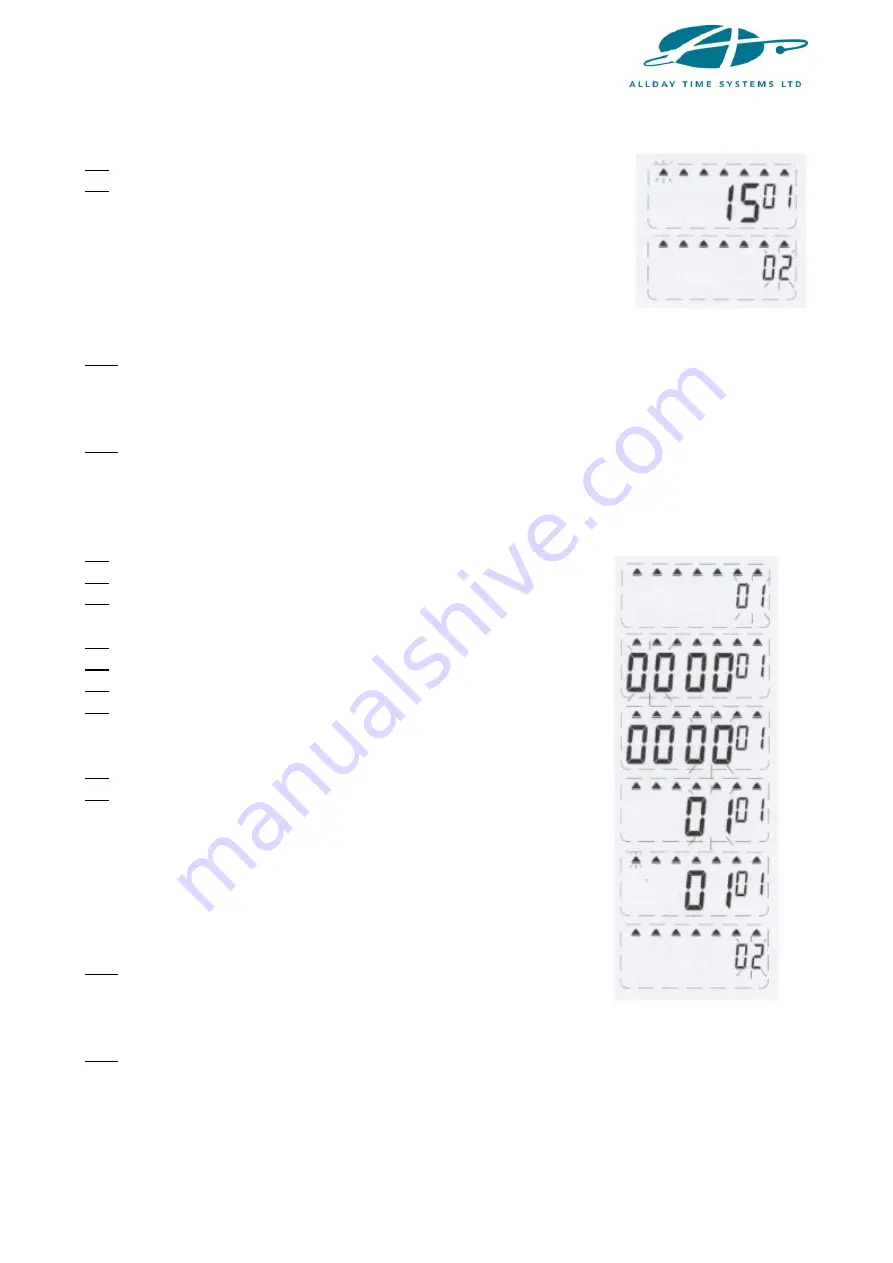
(10) The setting number should now turn to 02. This is the setting for
the next musical output (if required) and you can follow the instructions
above to set it.
The maximum number of musical output settings is eight.
(11) Slide the setting button to the right to complete the setting(s).
14. SETTING THE AUTO COLUMN SHIFT
(1) Move the setting button to the left to enter the setting mode.
(2) Press the
COLUMN
button and then press the
ENTER
button.
(3) Press the
+/-
keys to select the desired hour for the column
change.
(4) Press the
ENTER
button to confirm the setting.
(5) Press the
+/-
keys to select the desired minute.
(6) Press the
ENTER
button to confirm the setting.
(7) Press the
+/-
buttons to select the desired column. There
are six columns available so you can choose between
01
and
06
.
Column 2 would be setting
02
.
(8) Press the
ENTER
button to confirm the setting.
(9) Now you will see the individual days of the week being
highlighted. This allows you to select each day in turn and select
whether you want the column shift to apply on that day or not.
Using the
+/-
buttons you can change the day of the week that is
highlighted and then pressing the
COLUMN
button will change
that day to on or off. If you turn off the column shift for a
particular day by mistake - you can just press the
COLUMN
button again and it will enable it.
(10) The setting number should now turn to
02
. This is the
setting for the next column shift (if required) and you can follow
the instructions above to set it.
The maximum number of
column shifts is eight.
(11) Slide the setting button to the right to complete the setting(s).


