RFID
T
AG
R
EADER
C
HAPTER
3
ALH-900
X
U
SER
’
S
G
UIDE
DOC.
CONTROL
#8102114-000
REV
E
32
Tag Mask
When the application first launches, it is configured to look for and report every tag it sees. You
don’t always want to read every tag – perhaps you are searching for only one class of product, or
are trying to access one particular tag in order to write data to it. The Gen 2 protocol provides for
something called a select mask - a filter definition that is broadcast to all of the tags in the field
before each operation, that specifies which tags are allowed to participate in that operation.
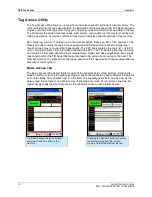
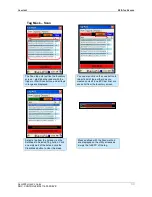
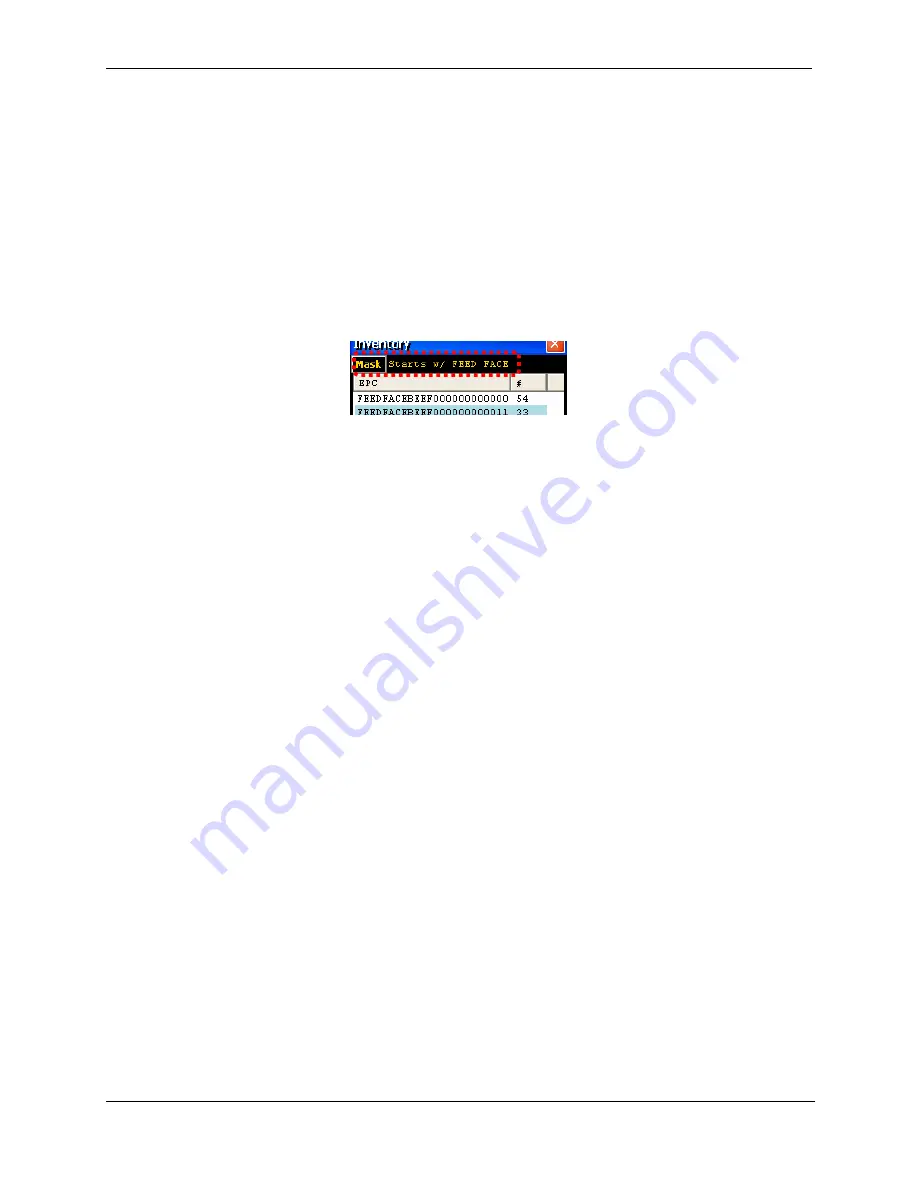
The ALH-900x demo software allows you to specify a tag mask, which is used transparently in each
of the utility screens. The current mask is displayed at the top of each screen in yellow text,
alongside the Mask button that brings up the Tag Mask whenever it is clicked.
At its heart, a tag mask defines a piece of data that must match exactly a specific portion of the tag’s
memory. This includes the memory bank (not just the EPC bank), a pointer offset into that bank,
and the actual hex data to match against.
In reality, you don’t always want to have to think about memory banks and pointer offsets – you just
want to find that pair of jeans that is on the wrong rack, or you only care about “pallet tags”, however
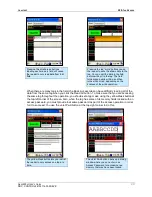
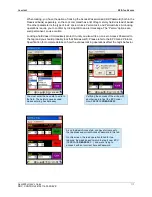
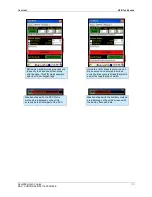
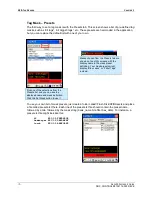
that is defined for you. The Tag Mask screen therefore gives you three ways to pick a tag mask:
1. Scanning the field for tags (or loading a text file of EPCs) and picking a tag from a list.
2. Exactly defining the bank, offset, and hex data.
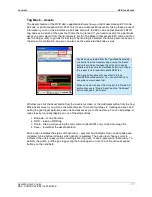
3. Picking a named mask from a preset list
4. Selecting a pre-defined asset (RFID+photo)
Once you have defined and set your mask, just close the Tag Mask window and your new mask will
be displayed at the top of the screen you were originally on, and it will be used in subsequent
operations.


