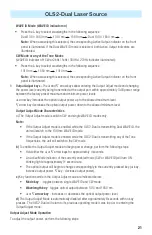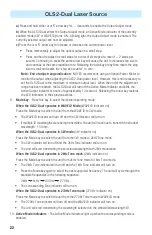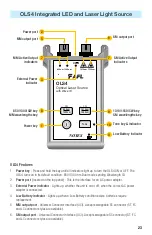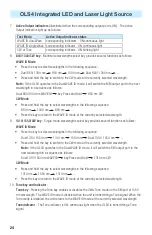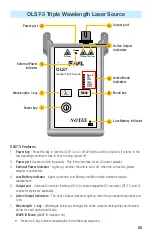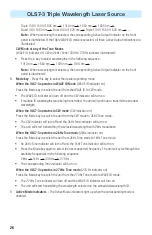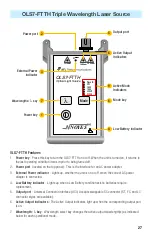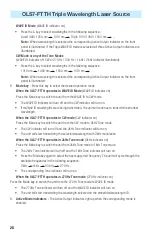
14
File Manager: To Select Current File
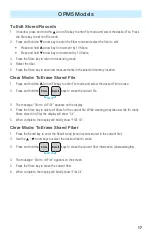
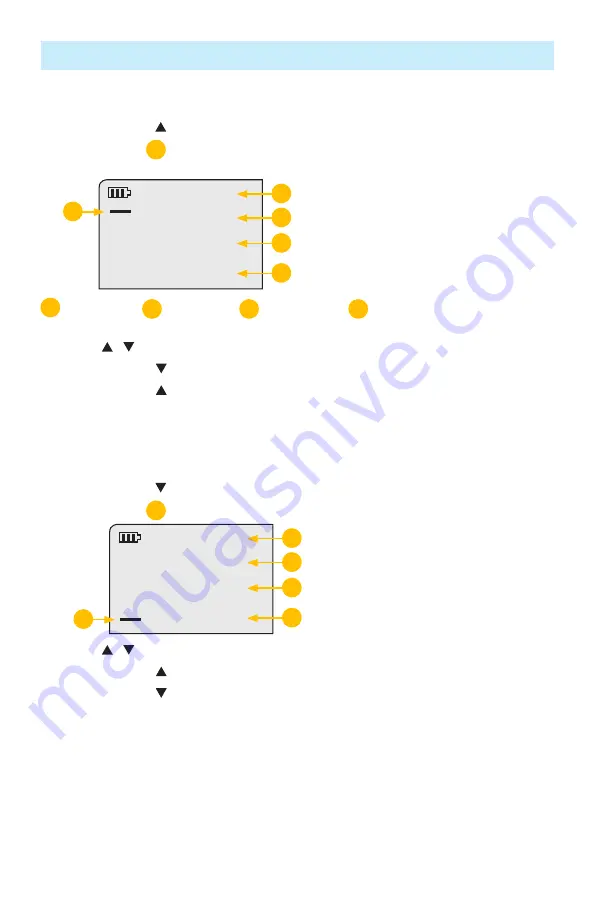
1. Press and hold the Arrow/File key to enter the File Manager - File mode screen.
2. A blinking cursor
A
to the left of FILE indicates that you are in the File mode.
FILE
FibS
22
4
A
B
C
D
E
B
- File indicator
C
- File number
D
- Fiber indicator
E
- Number of fibers in the selected file
3. Use the
/
arrow keys to increment/decrement the File number.
•
Press and hold arrow key to go to the first file.
•
Press and hold arrow key to go the last file.
4. Press the Store key to make the selected file current and exit the File mode.
5. The indicator FILE blinks for ~ 1.5 seconds before the OPM5 returns to test measuring screen.
File Manager: To Select Current Fiber
1. Press and hold the Arrow/Fiber key to enter the File Manager - Fiber mode screen.
2. A blinking cursor
A
to the left of Fiber indicates that you are in the Fiber mode.
FILE
FIBS
22
4
A
B
C
D
E
3. Use the
/
arrow keys to increment/decrement the Fiber number.
•
Press and hold arrow key to increment by 10 fibers.
•
Press and hold arrow key to decrement by 10 fibers.
4. Press the Store key to make the selected Fiber number current and exit the Fiber mode.
Test Mode: To Set Reference
1. Set your OPM5 to the desired measurement mode (dB, dBm, µW).
2. To store the currently measured level or multiple levels as the new reference levels, press and hold
the Ref key until the label HELD SET is displayed.
3. Once the new reference is set, the OPM5 switches to the dB measurement mode.
Note:
When setting references from multiple wavelength ID’d sources, allow several seconds prior to
setting the references for wavelengths to be ID’d and measured.
OPM5 Models


