chapter 1 •
quick start guide
ADAT HD24 Reference Manual
13
Step 3: Try a test recording
Now we’re ready to try some basic recording. In
this exercise, we’ll simply record some audio into a
new song, then play it back to hear the results.
1.
First, press the
NEW SONG
button on the top
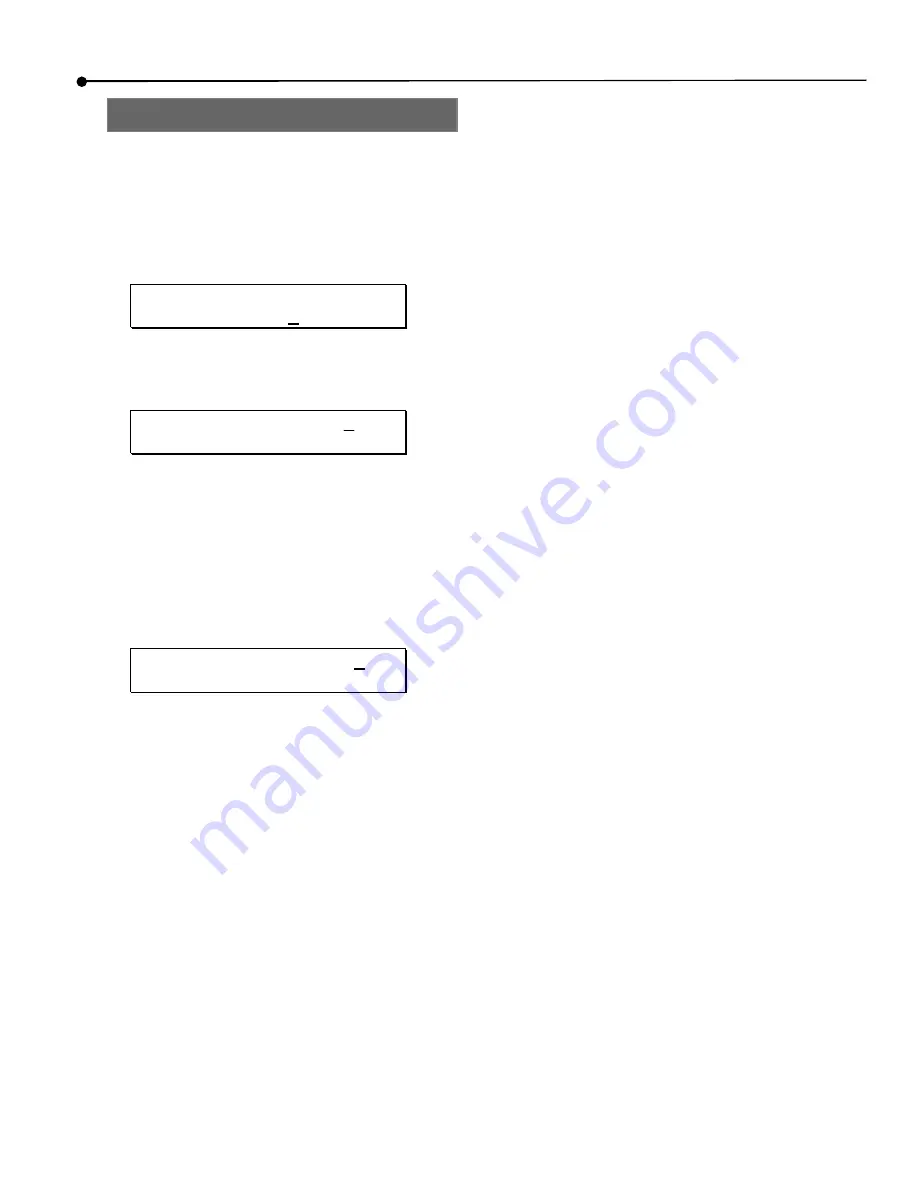
right corner of the unit. The display should
look like this:
Create New Song?
(Press
Y
/N)
2.
Press the
YES
(
▲
) button. The display should
then look like this:
SampleRate?48.
0
k
(Press New Song)
3.
Press the
YES
(
▲
) or
NO
(
▼
) buttons to select a
sample rate–either 44.1kHz, 48kHz, 88.2kHz, or
96kHz.
If you aren’t sure which one to use, choose 48kHz.
4.
When you’ve made a choice, press the
N E W
SONG
button. The display will prompt you for
the number of tracks:
# of Tracks? 2
4
(Press New Song)
5.
Choose the number of tracks you want in your
session. Press the
NO
(
▼
) button a few times to
choose 8 tracks for this example, then press
NEW
SONG
.
The reason that you would choose a smaller number
of tracks is that larger sessions use much more disk
space.
The display will now show the default “Song
Name” and you are ready to record.
6.
The next step is to choose an input format.
•
If you are using an analog mixer, make sure that
“Input” is set to “Analog” on the bottom left
corner of the display. If it isn’t, press the
INPUT
SELECT
button.
•
If you are using a digital mixer, press the
INPUT
SELECT
button so that the “Input” indicator in
the bottom left corner of the display reads
“Digital”. Then press the
CLOCK SOURCE
button
until the “Clock Source” indicator in the display
reads “Optical”. If you hear ticks and pops
when you arm a track, see page 25,
“ADAT
Optical Digital Inputs and Outputs”.
7.
Next, arm a track. Press the numbered buttons
below the meters of the tracks you want to arm,
also known as Track Record Enable buttons.
The red Record light will flash under the tracks
selected for record, and the blue Input light will also
turn on.
8.
Send some signal to the HD24. This can be from
the Tape or Group outputs of your mixer, or
you can simply use a line level source (CD
player, drum machine, etc.). Plug this source
into the Input of the track you are recording to
(1,2, etc.)
9.
Set the level of the source so that the loudest
peaks do not light the red “Clip” lights on the
HD24’s meters, but light the meter segments
just below that point.
10. Press
PLAY
and
RECORD
. Begin playing the
source.
11. Press
STOP
once you’ve recorded a few bars.
12. Press the
REW
or
LOCATE 0
button to go to the
beginning of the song, then press
PLAY
to hear
what you recorded.
You can now arm other tracks and record more
layers to your song. When you’re finished, give the
song a name by pressing the
NAME
button and using
the oval-shaped cursor keys (
YES
(
▲
),
N O
(
▼
),
<
and
>
)
.
Summary of Contents for ADAT-HD24 FirePort 1394
Page 1: ......
Page 19: ...quick start guide chapter 1 18 ADAT HD24 Reference Manual...
Page 31: ...connections chapter 2 30 ADAT HD24 Reference Manual...
Page 91: ...using Ethernet chapter 9 90 ADAT HD24 Reference Manual...
Page 97: ...troubleshooting chapter 10 96 ADAT HD24 Reference Manual...
Page 99: ...specifications 98 ADAT HD24 Reference Manual Dimensional drawing...


