background image

Before operating this set,

please read these instructions carefully.

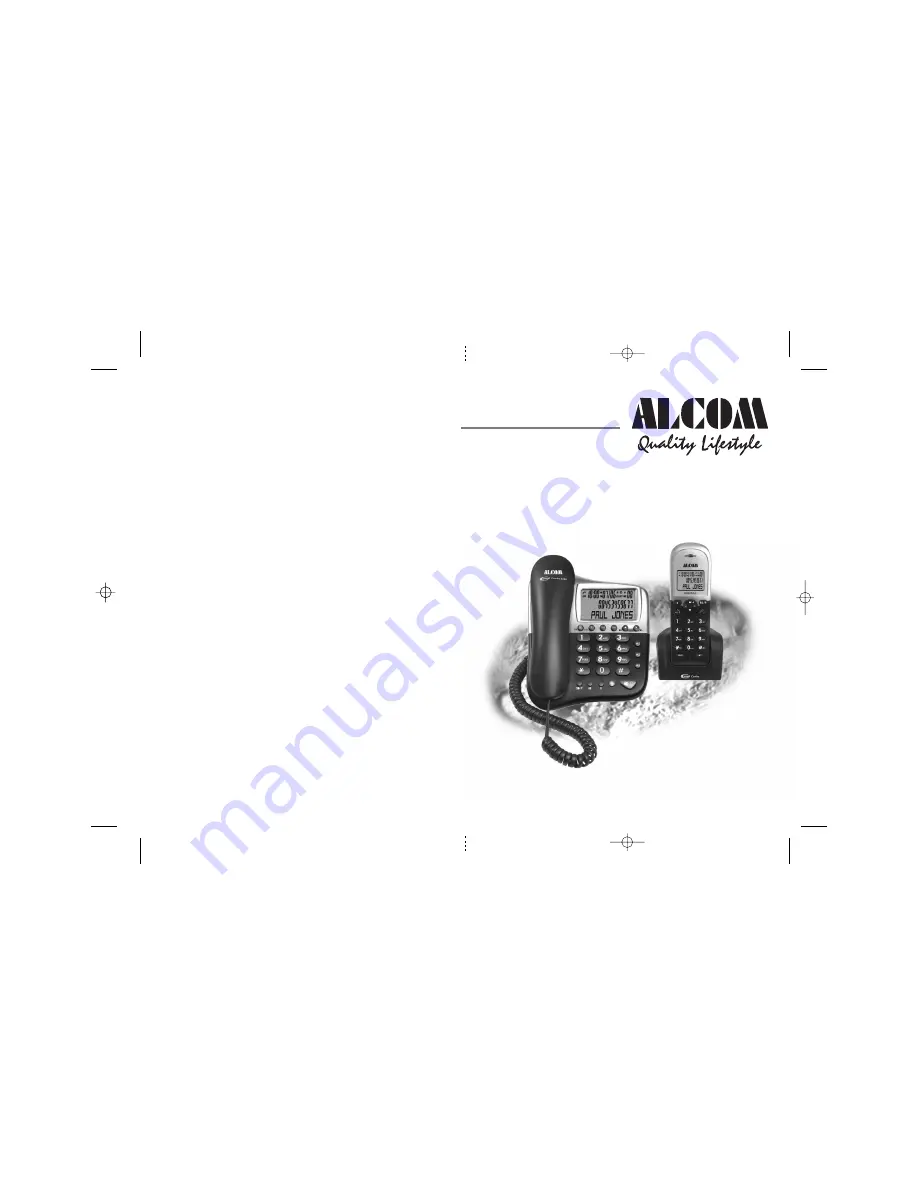
Concept Combo 2300

CORDED AND

DIGITAL CORDLESS

TELEPHONE

Note:This guide is for the corded part only. For instructions on how to use  

the cordless part see the "Combo 2300 Cordless Handset" user guide.

Singapore ALCOM Ver1, Jul 09  

USER GUIDE

Summary of Contents for Concept Combo 2300

Page 1: ...ctions carefully Concept Combo 2300 CORDED AND DIGITAL CORDLESS TELEPHONE Note This guide is for the corded part only For instructions on how to use the cordless part see the Combo 2300 Cordless Handset user guide Singapore ALCOM Ver1 Jul 09 USER GUIDE ...

Page 2: ...r the base unit Ƶ the cordless handset up to five depending on which CC2300 system you ve bought Ƶ two 1 2V 0mA rechargeable batteries and a battery compartment cover for each handset Ƶ up to five charger pods each with a mains power supply for multi handset systems Ƶ two user guides one for the corded phone and one for the cordless handset Keep the packaging materials in a safe place in case you ...

Page 3: ...d hold a button this means you should keep it pressed until the display changes or you hear a tone Pres messages memos stored numbers or Call Delete DEL s to delete er Display records Intercom Press to make an intercom Up Down CDS Press to access the Caller display records and scroll through them Press to change earpiece speakerphone volume Press to scroll through the lists and menu options P Pres...

Page 4: ... display when you are in the phonebook menu Voicemail x Repeat CID x This will display when the same caller has called more than once New CID x This will display when there is a new CID entry or if one is being viewed Sequence x Indicates the sequence number of the CID record Hands free speakerphone x This will display when the speakerphone is in use A M x This will display if it is A M in the 12 ...

Page 5: ...ory Phonebook management 12 x To create a contact in your phonebook Page x To delete a contact in the phonebook 13 x To delete all contacts in your phonebook 14 x To edit a contact in your phonebook 14 x To store a last number redial in your phonebook x Making calls from the phonebook x Reviewing phonebook memory status x Direct Memory Call x To Store the telephone number x To Speed Dial the telep...

Page 6: ...ne number to an extension on an approved compatible PBX Do not connect the Concept Combo 2300 as an extension to a payphone The ringer equivalence numbers RENs of all instruments phones fax machines etc of them may not ring and or answer calls correctly The Concept Combo 2300 has a REN of 1 and most other telephones have a REN of 1 unless marked otherwise CAUTION RISK OF EXPLOSION IF BATTERY IS RE...

Page 7: ...that the liquid has seeped into the unit do not reconnect the base station Contact the helpline x it is away from hot humid conditions and strong sunlight Mains power connection IMPORTANT The CC2300 base unit must be used with the mains adapter supplied with the unit Using any other adapter will result in non compliance with EN60950 and will invalidate any approval given to this apparatus If you h...

Page 8: ...ocket later 3 Plug the mains adaptor into your wall socket If you have one or more charger pods plug the mains adaptors accordingly Make sure that the mains socket is switched OFF when you plug the mains adapter into the socket 4 Connect the base unit to the telephone line Insert the telephone line plug into the socket then See the note on page 5 See the note on page 5 switch mains power back ON M...

Page 9: ...the stand into the slots on the bottom of the phone nearer the centre of the base Press down firmly until the flexible clips clicks into place To remove the stand 1 pinch the flexible clips 2 pull back the stand and then 3 slide up and forward as shown below To place the CC2300 on a wall connect the stand to the bottom of the phone in the slots near the front of the base as shown below Wall Mount ...

Page 10: ...t to lay the fixing centers as shown below BE CAREFULto check that there are no electrical wires hidden in the wall Fix two screws at the marked locations leaving approximately 7mm between the wall and the the screw head Hang the telephone on the screws using the wall mount slots You may need to remove the telephone from the wall and tighten the screws so that the telephone is securely fixed and d...

Page 11: ...t the date Press the MENU OK to confirm The hour will be flashing Press the UP or DOWN button to set the hour including the AM PM setting Press the MENU OK to confirm The minutes will be flashing Press the UP or DOWN button to set the minutes Press the MENU OK to confirm Press the PHONEBOOK button to return to the previous menu Y The format for the date is YYYY MM DD and the time is HH MM in 12 ho...

Page 12: ...umber of the person you want to call Press the SPEAKERPHONE button or pick up the handset to make the call When the phone rings Pick up the handset or press the SPEAKERPHONE button to answer the call or or To make a call To make a call from the redial list To make a call from Caller Display CID list To answer a call When you have finished the call place the handset back on the base To insert a pau...

Page 13: ... earpiece or speakerphone volume during a call To Mute or Un mute the microphone x Pick up the corded handset After lifting the handset you will need to wait for several seconds to get dial tone before keying in the telephone number to make the call x When the mains power is off you can also answer an incoming call with the When the phone rings pick up the corded handset After lifting the handset ...

Page 14: ...ert the letter B you press twice and for C three times etc If you want to insert AA then you will have to wait for the first A to stop flashing then insert the second A Press twice for space to delete single characters and press and hold to delete the whole text DEL DEL 1st 2nd 3rd 4th 5th 6th _ A B C 2 D E F 3 G H I 4 J K L 5 M N O 6 P Q R S 7 T U V 8 W X Y Z 9 space 0 1 7th 8th 9th 10th 11th 12t...

Page 15: ...U OK button to confirm your selection You will hear a confirmation tone and the display will return to NEW ENTRY If there is no more space in the phonebook MEMORY FULL will appear on the display Press the MENU OK button to see PHONE BOOK Press the MENU OK button to see LIST Press the DOWN button repeatedly until you see DEL RECORD Press the MENU OK button The display will show the first name and n...

Page 16: ...n and a flashing bar will appear at the end of the name Use the keypad to enter characters or DELETE button to delete To delete all contacts in your phonebook To edit a contact in your phonebook Use the UP or DOWN buttons to scroll through the list until you see the contact you want to delete Press the MENU OK button and the display will show CONFIRM Press the MENU OK button to confirm if you real...

Page 17: ...rm and the display will show MELODY 1 Scroll UP or DOWN to select a melody Then press the MENU OK button to confirm and the display will go back to the previous menu or bar at the beginning of the name position The display will move the flashing bar to the end of the number position If the number needs modifying use the keypad to enter digits or Use the UP or DOWN buttons to scroll through the mel...

Page 18: ...the corded base In idle mode enter the telephone number you want to store Press and hold M1 key for more than 2 econds until you hear the confirmation tone to indicate the number has been stored In idle mode briefly press M1 and the unit will automatically dial out the telephone number in speakerphone mode Making calls from the phonebook Reviewing phonebook memory status Direct Memory Call To Stor...

Page 19: ...utton to see PHONEBOOK Press the DOWN button to see CALL LOG Press the MENU OK button to see RECEIVED Press the MENU OK button to see the most recent record in the CID list Press the UP or DOWN buttons to scroll through the CID list If you wish to call directly from the CID list press the SPEAKERPHONE button or lift up the handset to dial the number automatically New CID log To review the CID list...

Page 20: ...To store a Caller ID contact in the phonebook Repeat the steps above to review the CID list To delete all Caller ID records Press the MENU OK button to see ADD to PB Press the DOWN button twice to see DELETE ALL Press the MENU OK button twice you will hear the completion tone and the display will show EMPTY Press the MENU OK button to confirm the number and the display will show MELODY 1 the DELET...

Page 21: ...ct and the display will show VOLUME 2 Press the UP or DOWN button to scroll through the volume settings from OFF 1 to 5 Then press the MENU OK button to confirm the setting Press the PHONEBOOK BACK button to return to the previous menu There are 10 base ringer melodies from 1 to 10 Press the MENU OK button Scroll DOWN until you see SETTINGS To change ringer volume To change ringer melody You can a...

Page 22: ...PHONEBOOK CANCEL button to return to the previous menu Then press the MENU OK button Scroll DOWN until yiu see RING SETUP Press the MENU OK button Then it will display INT RING or scroll DOWN to select EXT RING Press the MENU OK button The display will show MELODY Then press the MENU OK button to select and the display will show MELODY 1 or ...

Page 23: ... until you press the number for the handset you want to intercom Then the display will change for example to CALLING HS2 if it is handset 2 that is being called If you enter a number that is not available the base will return to idle mode The handset being called will ring with its selected melody and display BASE CALLING If you do not enter any number for 1 minute the handset will return to idle ...

Page 24: ... display will show HS 1 CALLING To answer the call pick up the handset and you will be connected If you want to end the intercom transfer hang up the phone and the external call reconnected to the base Once the other handset answers the call press STAR button and the display will change from INTERCOM to CONFERENCE and both the base and the cordless handset will be connected to the external call Wh...

Page 25: ... base The handset s supplied with your CC2300 system are already registered the first one as handset number 1 the second as number 2 etc You don t need to re register them unless you have a problem To check whether a handset is registered make sure mains power to the base unit is switched on and the handset is within range The handset s display should show its number and the signal level symbol on...

Page 26: ...ase display will also go back to To de register a handset using the CC2300 base menu With the base in idle mode 1 Press the MENU OK button to see PHONEBOOK 2 Press the DOWN button twice to see SETTINGS 3 Press the MENU OK button to see DELETE HS 4 Press the MENU OK button to see HS 1 or 2 3 4 5 Press the MENU OK button to confirm and the selected handset will be Press the PHONEBOOK BACK button to ...

Page 27: ...ded handset on the base It can not be terminated by using any buttons on the cordless handset User is allowed to set up to 3 SOS numbers Press the MENU OK MUTE Scroll DOWN until you see SOS SETTINGS Press the MENU OK MUTE and you will see SOS NUMBER Press the MENU OK MUTE and you will see SOS NUMBER 1 Scroll UP or DOWN to select SOS NUMBER 1 to 3 Then press the MENU OK MUTE to select the one you w...

Page 28: ...ll see DELETE HS Scroll DOWN until you see FLASH TIME Press the MENU OK and the display will show the current setting of the Flash time e g 100 ms Press the PHONE BOOK BACK until you return to idle mode To Turn on off key tone To Set Flash Recall time The Recall also called Flash may be needed to answer a Call Waiting line second call The default setting of this CC2300 telephone is 600ms However i...

Page 29: ...ss the PHONE BOOK BACK until you return to idle mode To Set Dialling Mode Tone Pulse However for some old telephone lines or PABX systems you may need to change the dialling mode from Tone to Pulse Press the UP or DOWN button to show the dialling mode you want on the Press the MENU OK button to confirm the option and you will hear the confirmation beeps The display will return to DIAL MODE or This...

Page 30: ...u haven t changed it the default PIN is 0000 Press the MENU OK button and the display will show NEW PIN Use the keypad to enter the new PIN 4 digits from 0 9 Press the MENU OK button to confirm and the display will show REPEAT Use the keypad to enter the new PIN again and press the MENU OK button to confirm Press the PHONE BOOK BACK until you return to idle mode If you enter the wrong PIN at any t...

Page 31: ...sure you are using the telephone line cable supplied with your CC2300 Other telephone line cables might not work x Switch off power at the mains socket wait for a few seconds and then switch back on This may solve the problem I cannot make a call x Only one handset or the base unit can be connected to the outside line at once If a cordless handset is already using the line you need to wait until i...

Page 32: ...ansfer a call x Make sure you are dialling the correct number for the other handset If the fault persists x Disconnect all other instruments connected to the same line as the CC2300 and try to make a call x Disconnect the base unit from the telephone line and plug a different phone into the master telephone socket Try making a call If this works the line is OK x If the call does not work and you a...

Page 33: ...duct and when you decide to dispose of them you have to takethem to the local recycling centres for appropriate waste disposal in compliance with the current regulations Details about the location of these centres can be obtained from your local authority complies with the essential protective requirements and EC R TTE Directive 1999 5 EC EC Low Voltage Directive 2006 95 EC EC EMC Directive 89 336...

Page 34: ...s been made to ensure high standards of reliability for your CC2300 However if something does go wrong please do not try to repair it yourself consult your supplier or the ALCOM Helpline Note Due to continuous product development all features and specifications are subject to change without prior notice Please register your warranty online at http www alcomonline com warranty html For more Informa...

Page 35: ...20 ºC to 60 ºC Electrical power PBX compatibility Timed break recall flash adjustable to 100ms 250ms or 600ms default Pause length 3 seconds Dialling type Tone DTMF dual tone multi frequency or Pulse loop disconnect Network connection This equipment is intended to be used in Singapore Operation on other countries PSTN termination points cannot be guaranteed Input 6V DC 600mA Base Unit 3 HANDSET tw...

Reviews: