


— 87 —
— 86 —
REMOTE ACCESS
Setting the Image Appearance
u
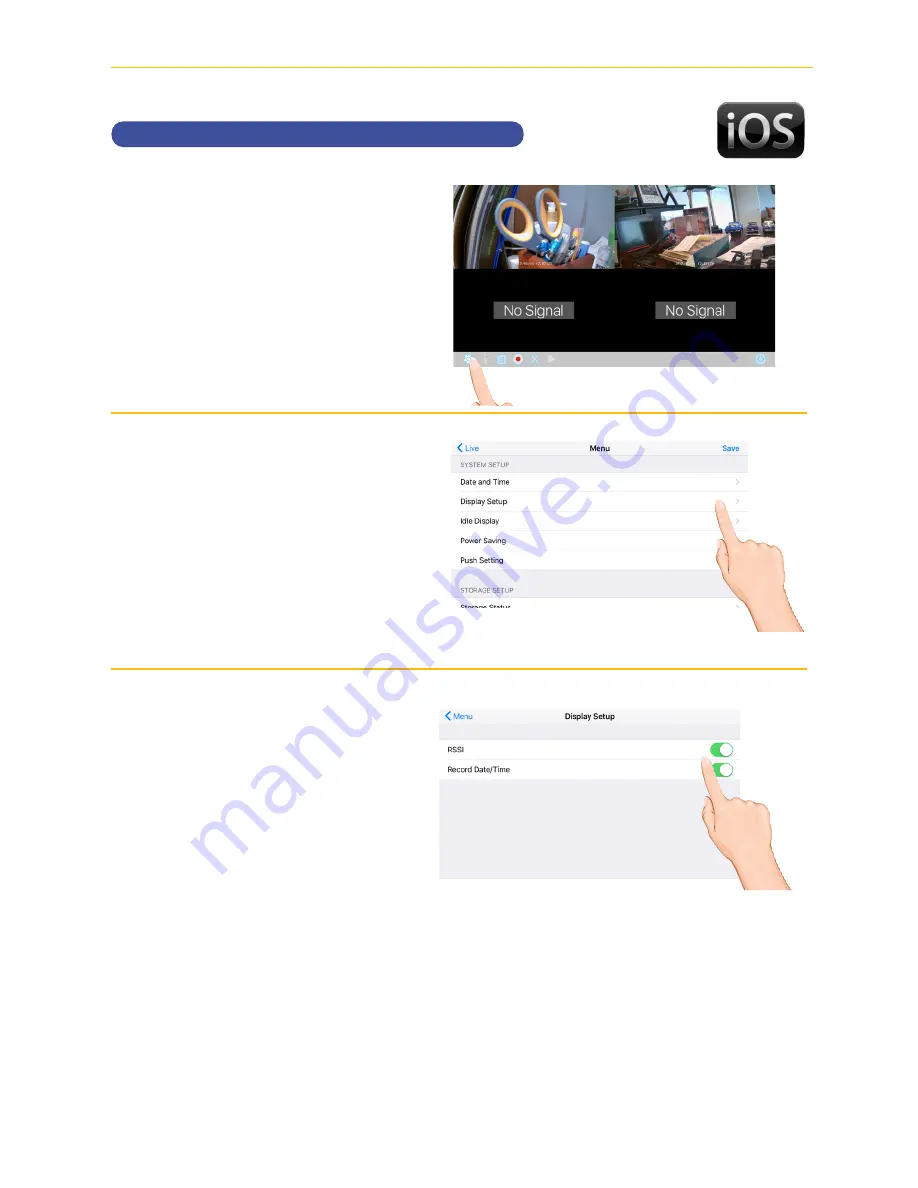
Tap the camera in the Devices
menu followed by the
4
button
to view the cam.
Tap the
System
Menu
icon to access the System
Setup screen.
v
Tap
Display Setup
.
w
Tap
RSSI
to turn it on (icon will
turn green) which will show the
signal strength on the videos. Tap
again to turn off.
Tap
Record Date/Time
to turn it
on (icon will turn green) which will
show the time and date on the
videos. Tap again to turn off.


