background image

WARNING

E-1

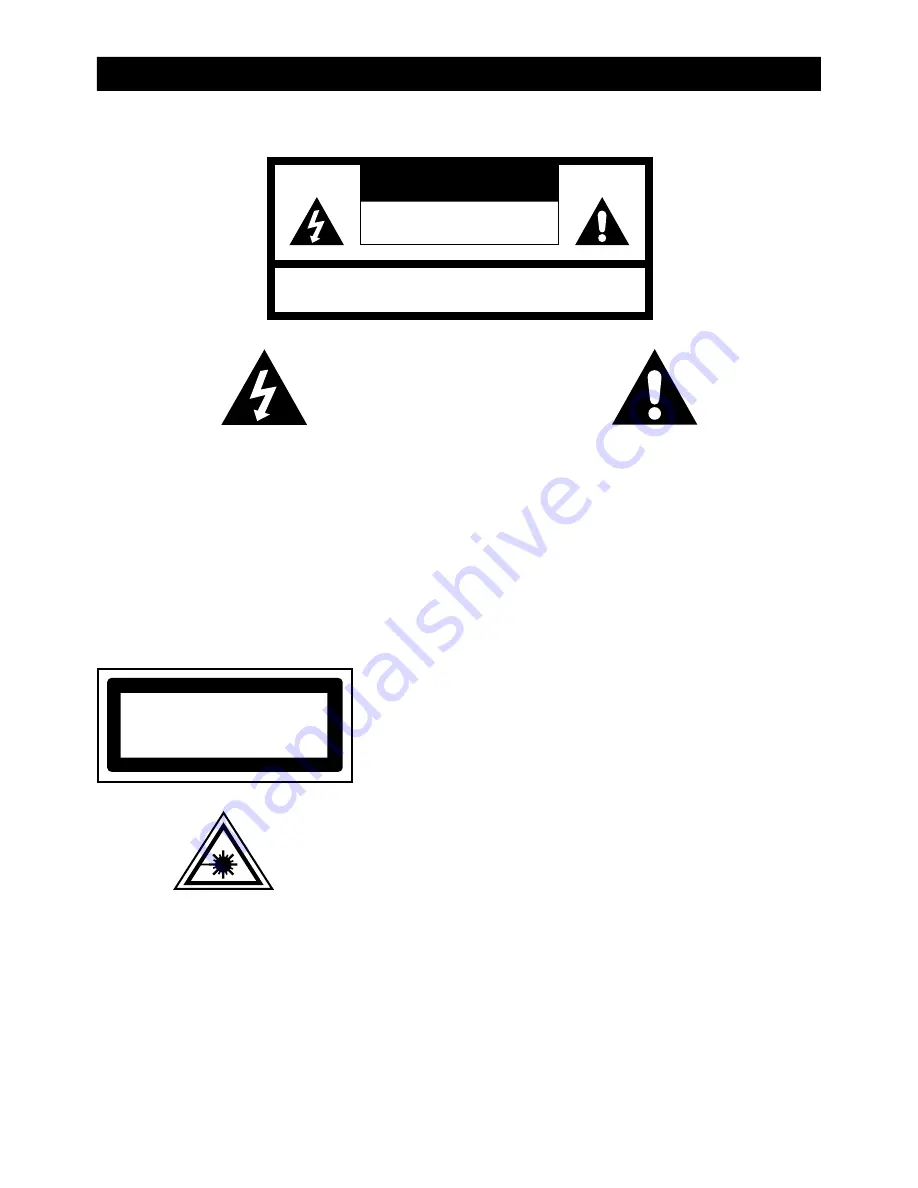
TO PREVENT FIRE OR SHOCK HAZARD DO NOT EXPOSE THIS APPLIANCE TO RAIN OR MOISTURE.

WARNING : SHOCK HAZARD-DO NOT OPEN

RISK OF ELECTRIC SHOCK

DO NOT OPEN

CAUTION

LIGHTNING FLASH WITH ARROWHEAD SYMBOL -

within an equilateral triangle, is intended to alert the 
user to the presence of uninsulated dangerous 
voltage within the products enclosure that may be of 
sufficient magnitude to constitude a risk of electric 
shock to persons.

EXCLAMATION POINT -


within an equilateral triangle, 

is used to indicate that a specific component shall be
replaced only by the component specified in that 
documentation for safety reason.

The following label has been affixed to the unit, listing the proper procedure for working with the laser beam:

CLASS 1 LASER PRODUCT LABEL -

This label is attached to the place as illustrated to inform that the 
apparatus contains a laser component.

WARNING LABEL INFORMING OF RADIATION - 

This label is

 placed inside the unit. As shown in the illustration. To 

warn against further measures on the unit. The equipment contains 
a laser radiating laser rays according to the limit of laser product of 
class 1.

CLASS 1 LASER PRODUCT
KLASS 1 LASER APPARAT
LUOKEN 1 LAISERLAITE
KLASSE 1 LASER PRODUKT

Summary of Contents for APTDVD899PR

Page 1: ...Customer Help Line 01422 263313 Opening Hours Mon Fri 8am 8pm Sat 9am 4pm Sun 11am 4pm Or visit our website at www ekey co uk APTDVD899PR...

Page 2: ...that a specific component shall be replaced only by the component specified in that documentation for safety reason The following label has been affixed to the unit listing the proper procedure for w...

Page 3: ...upply cords should be routed so that they are not likely to be walked on or pinched by items placed upon or against them 11 POWER LINES An outdoor antenna should be located away from power lines 12 OB...

Page 4: ...ug securely To prevent hum and noise do not bundle the connection cords of speaker cord BEFORE CONNECTION CONNECTION E 3 TV to VIDEO OUT to SPK L R speaker L R AC POWER You can power your appliance by...

Page 5: ...6 MUTE 7 EQ 8 DOWN MEMORY 9 UP MEMORY 10 STANDBY 11 PLAY PAUSE 12 STOP BAND 13 VOLUME CONTROL 14 REMOTE SENSOR 15 DOWN SCAN 16 UP SCAN 17 OPEN CLOSE 18 CD DVD DOOR 19 POWER 20 COAXIAL 21 S VIDEO 22 OP...

Page 6: ...if the remote control is operated within the effective range its operation may be impossible if there are any obstacies between the appliance and the remote control If the remote control is operated n...

Page 7: ...N Set the BAND selector to FM mode for MONO reception Set the BAND selector to FM ST mode for FM STEREO reception The Stereo indicator light up to show FM ST mode RADIO OPERATION E 6 FOR BETTER RECEPT...

Page 8: ...ration PLAYBACK 1 Set the FUNCTION selector to CD MP3 mode 2 Open the CD door and place a CD MP3 disc with the label up in the CD compartment 3 Close the CD door 4 Focus search is performed if disc is...

Page 9: ...le in stop mode If the unit is playing press the STOP button first and turn on the TV set 1 Press the PROGRAM button on the remote control the TV screen will show 2 3 Press the PLAY PAUSE button to st...

Page 10: ...the static picture B Press it again to continue playing 2 PREV NEXT BUTTON Under the state of play or pause press it once to skip one chapter or one music forward or backward then continue playing 4...

Page 11: ...he angle of the scenes As to those DVD recorded without multi angular not valid 10 LANGAUGE When playing DVD disc A Press the AUDIO button on the remote control to select audio channel 1 output B Pres...

Page 12: ...PAGE SYSTEM SETUP LANGUAGE SETUP AUDIO SETUP VIDEO SETUP SPEAKER SETUP DIGITAL SETUP SYSTEM SETUP TV SYSTEM NTSC PAL60 PAL AUTO SCREEN SAVER ON OFF VIDEO INTER TV RGB LACE YUV P SCAN YPBPR S VIDEO TV...

Page 13: ...PAGE OSD LANG ENGLISH GERMAN SPANISH AUDIO LANG CHINESE ENGLISH JAPAN FRENCH SPANISH PORTUGUESE LATIN GERMAN SUBTITLE LANG CHENESE ENGLISH JAPAN FRENCH SPANISH PORTUGUESE GERMAN OFF MENU LANG CHINESE...

Page 14: ...13 AUDIO SETUP AUDIO OUT SPDIF OFF SPDIF RAW SPDIF PCM VIDEO SETUP BRIGHTNESS CONTRAST HUE SATURATION SPEAKER SETUP DOWNMIX LT RT STEREO VSS DIGITAL SETUP OP MODE LINE OUT RF REMOD DYNAMIC RANGE DUAL...

Page 15: ...ase select this item B P SCAN YPBPR when you use Y Pb Pr cable to connect this unit to the TV set and convert the TV system to progressive scan please select this item C S VIDEO Choose this setting if...

Page 16: ...he setup options to default settings 2 LANGUAGE SETUP After entering OSD LANGUAGE setting select your desired OSD language by using the direction button then press ENTER button to confirm it There are...

Page 17: ...ng to your audio output connection mode for instance if you want the audio out from the SPEAKER terminals the audio out must be set to SPDIF OFF if you want the audio out from the COAXIAL OUT it must...

Page 18: ...l be show full screen on TV Press the RETURN to go back to the Directory serene ZOOM 1 When playing JEPG pictures press the ZOOM button to enlarge or reduce the picture from ZOOM 2 ZOOM 3 ZOOM 4 ZOOM...

Reviews: