2.4 Controls
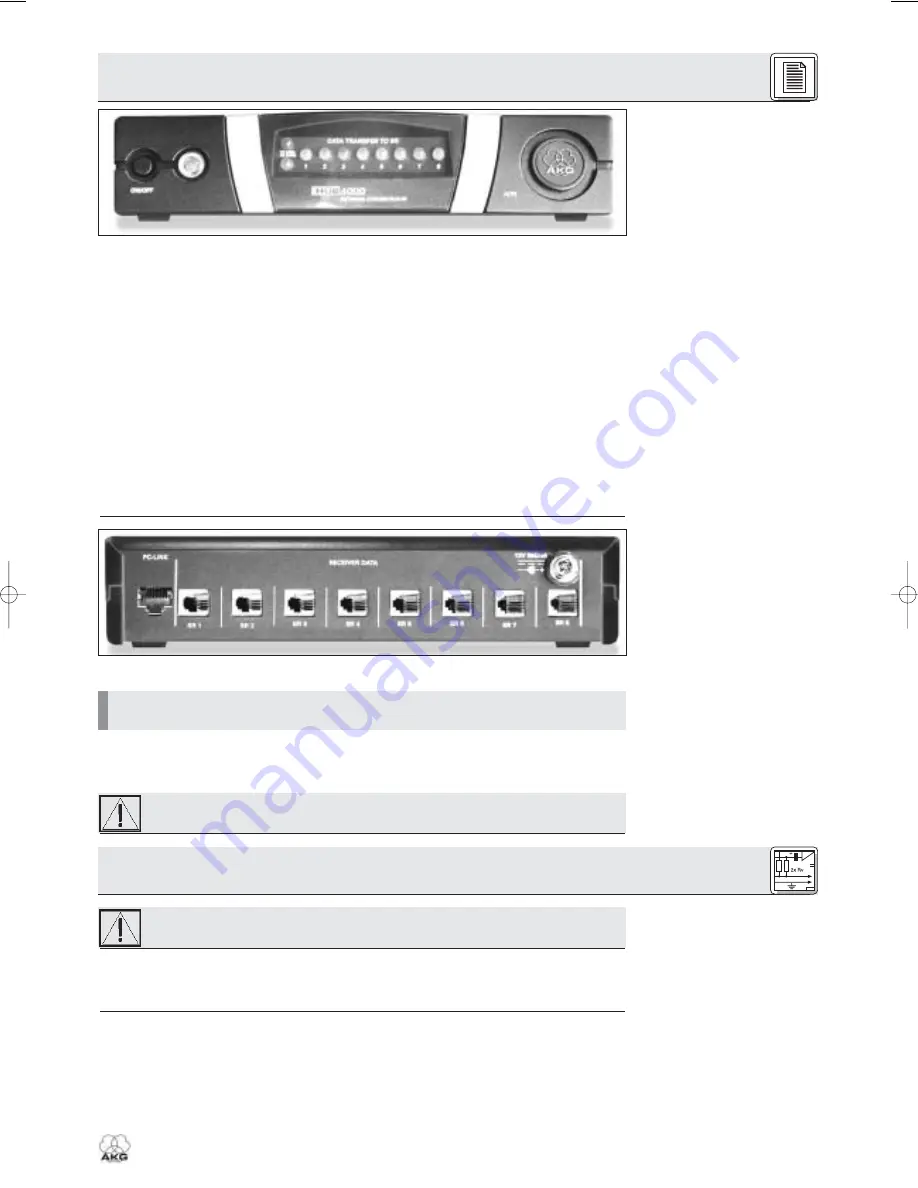
2.4.1 Front Panel
Fig. 1: Front panel controls.
Refer to fig. 1.
2.4.2 Rear Panel
Fig. 2: HUB 4000 rear panel.
Refer to fig. 2.
Note:
Warning!
Important!
3.1 Data Connections
3.1.1 Direct Connection to the
Computer
Refer to fig. 4.
3.1.2 Connecting to the
Computer via an Ethernet Hub
Refer to fig. 5.
ON/OFF:
Switches power to the unit on and off. The status LED next to the ON/OFF key will be lit green
to indicate power is on.
PC LINK:
This green LED will be lit constantly to indicate the unit is connected to an Ethernet network.
PC DATA:
This green LED will flash to indicate the unit is receiving or sending data.
DATA TRANSFER TO SR 1-8:
These blue LEDs indicate the status of data exchange between the
HUB 4000 and the SR 4000 receivers connected to it. Each LED is assigned to one of the rear panel
SR 1 through SR 8 data ports.
Each LED indicates the following conditions:
LED flashing:
Data is being exchanged between the assigned data port on the HUB 4000 and the
connected SR 4000 receiver.
LED flashing slowly
(approx. once every 3 seconds): There is a communication problem between the
assigned data port on the HUB 4000 and the connected SR 4000 receiver (hard or software error,
defective data cable, etc.).
LED is dark:
No receiver is connected to the assigned data port or the connection has been inter-
rupted.
ADR:
Located beneath the cover with the AKG logo is a bank of four DIP switches for setting the IP
address of the HUB 4000.
PC LINK:
This RJ 45 socket accepts the connecting cable to the computer.
The connecting cable is not supplied with the unit. To connect the unit directly to a computer, use a
crossover Ethernet cable. To connect the unit to a standard Ethernet hub, use a straight-through
Ethernet cable.
RECEIVER DATA SR 1 - SR 8:
RJ 11 sockets for connecting up to eight SR 4000 receivers.
12 V/500 mA:
Locking DC input for connecting the included power supply (12 VDC, 500 mA).
Operate the equipment with the included power supply with an output voltage of 12 VDC,
500 mA only. Using adapters with an AC output and/or a different output voltage may
cause serious damage to the unit.
Prior to setting up the unit, check that the AC mains voltage stated on the included power
supply is identical to the AC mains voltage available where you will use your system.
Using the power supply with a different AC voltage may cause damage to the unit.
1. Use a crossover Ethernet cable to connect the HUB 4000 to a computer.
2. Connect the PC LINK socket on the HUB 4000 to a network input on the computer or Ethernet card.
(For details refer to the manual of your computer.)
A single HUB 4000 allows you to control up to eight SR 4000 receivers from a computer. You can use
one or more commercial Ethernet hubs to daisy-chain several HUB 4000s and control the entire setup
from the computer. The number of receivers you can actually control on your computer will ultimately
depend on the size and resolution of your monitor.
1. Connect the Ethernet hub to the computer referring to the manual(s) of the Ethernet hub and/or com-
puter.
2. Plug a straight-throughEthernet cable into the PC LINK socket of each HUB 4000.
7
HUB 4000
2 Description
3 Setting Up
3199_03_HUB4000_fsch 11.11.2003 9:06 Uhr Seite 7
Summary of Contents for HUB 4000
Page 26: ...26 HUB 4000 Notizen Notes Notes Note Notas Notas ...
Page 27: ...27 HUB 4000 Notizen Notes Notes Note Notas Notas ...
Page 29: ...A B C Fig 3 1 A C B D D Fig 3 2 ...
Page 31: ......


