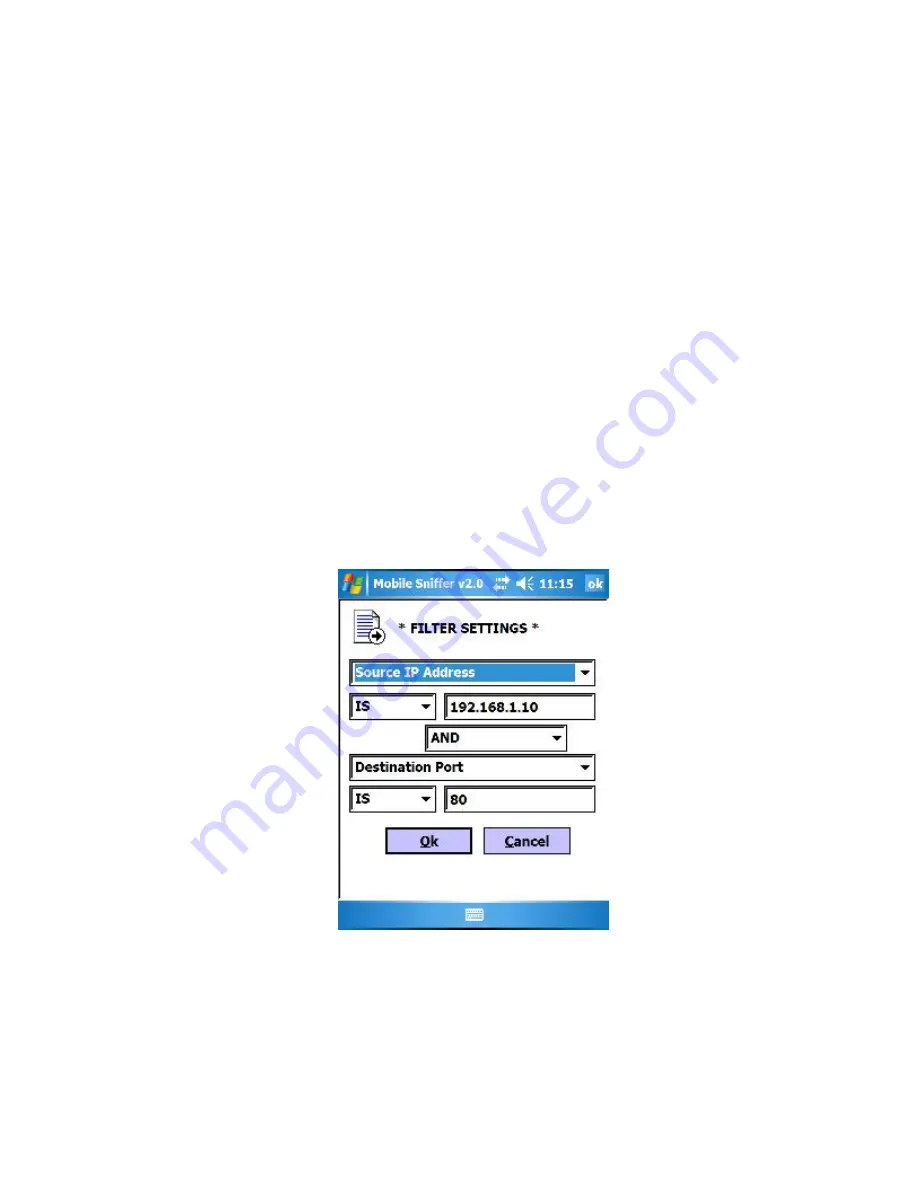
Ethereal, enhanced filtering is not necessary (nor is it even possible on a Pocket PC).
The filtering page allows you to define a maximum of two filters. The filters are
defined as the following:
•
Protocol: TCP, UDP
•
MAC Address: The hardware address of a WNIC. Existing MACs will be
displayed in the capture window. This can help you collect data from a particular
client, regardless of their IP address.
•
IP Address: The IP address assigned to the WNIC. Existing IPs will be displayed
in the capture window. This can help you target a particular client from which to
collect data.
•
Port: The port to which data is entering or leaving. This can help you narrow
down traffic to a particular service.
•
Port Number: The port number is important because it often indicates the reason
for the traffic. For example, port 80 is the default port used for HTTP traffic.
The following example filter could be used to monitor all HTTP requests coming
from one IP addresses. This filter could be used to passively monitor a suspect to see if
they are using a company WLAN to access pornography:
Source IP is 192.168.1.10 AND Destination Port is 80
To setup this filter, select 'Source IP Address' from the top filter group, leave the
condition as 'IS', and enter the IP address '192.168.1.10' in the value field. Then select
'AND' from the middle condition menu and select the 'Destination Port' from the lower
filter group menu. Select 'IS', and enter the port number '80' in the value box.


