


5
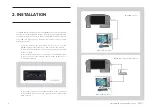
2. INSTALLATION - USER’S MANUAL SOLO GA
MFS / P3D:
• Copy the "VFConnect3.exe" file from the Memory Stick in the
MFS / P3D desktop computer.
• If you already have the FSUIPC in computer MFS / P3D skip this
step. Otherwise, you must have at least the free version installed.
From the Memory Stick execute the "Install FSUIPC4.exe" for FSX
/ P3D. During the installation will appear a registration window,
you must ignore the registration pushing "Not Now". Restart MFS
/ P3D after the installation.
X-Plane:
• Copy the "VFConnect3-Xplane.exe" file from the Memory Stick in
the X-Plane desktop computer.
¡Important! “VFConnect3-Xplane” may not work properly if
DataRefTool plugin is installed and activated in X-Plane, if you are
using this plugin please deactivate it before using SOLO panel.
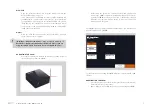
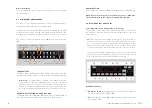
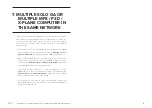
ACTIVATING THE SOLO:
•
Press the push-button to start the "Windows" operating system of
the mini-computer from the SOLO.
• At this time, the "Windows" operating system and all programs
found in the SOLO computer will start automatically. (It is very im-
portant that SOLO not be disconnected, or "Windows" stopped
while the programs are loading. Doing so may cause problems
with booting in the future).
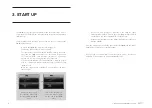
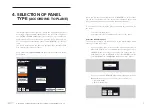
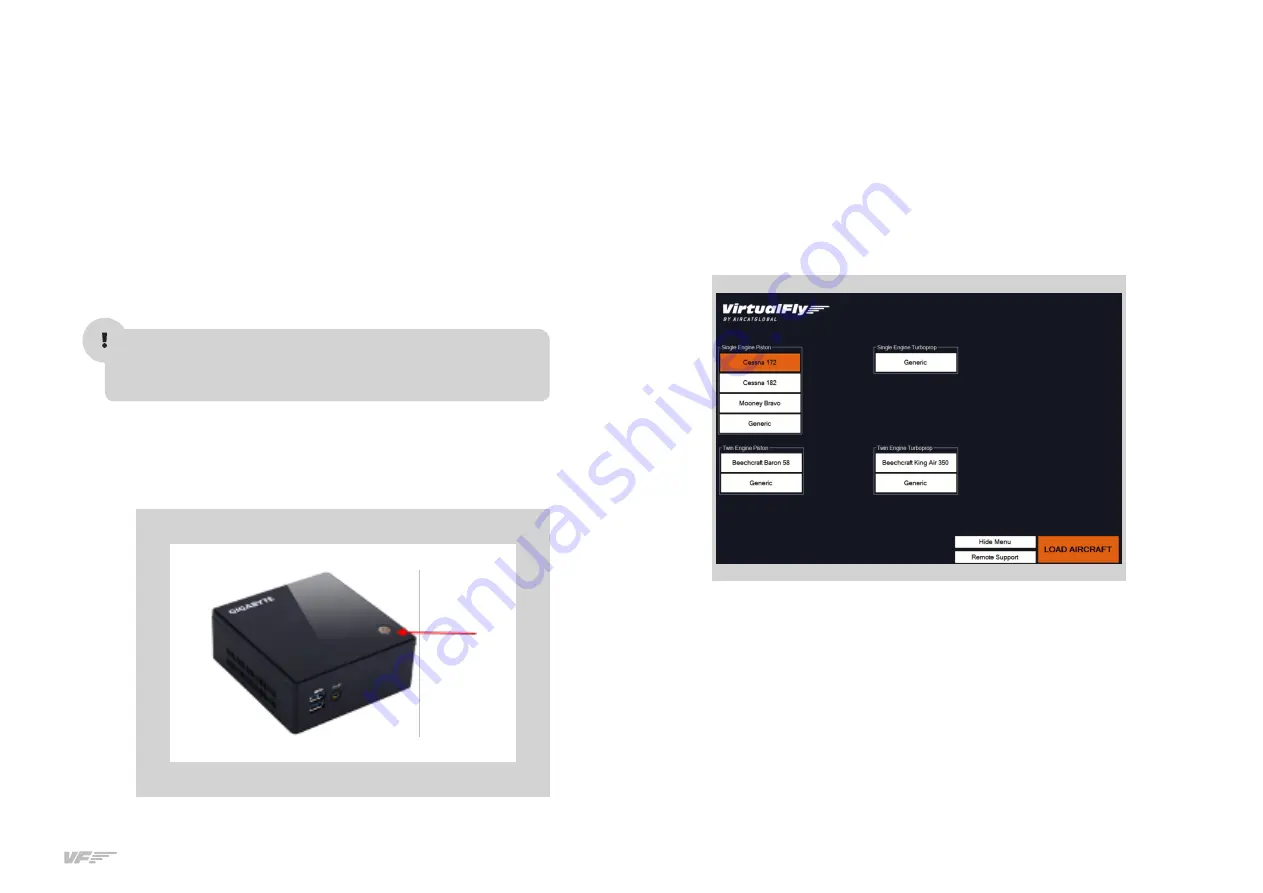
The SOLO is ready to operate after about 60 seconds, you must see the
“SELECT PANEL TYPE SCREEN”
See Chapter 3 for connecting the SOLO with your computer’s MFS / P3D
/ X-Plane.
DEACTIVATING THE SOLO:
•
Press the push-button of the mini-computer to stop the "Windows",
wait for Windows to stop totally.
• Once "Window" has totally stopped, you can unplug the SOLO


