


Performance Tests
3
Installation and Verification Manual
103
12
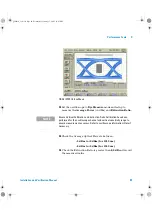
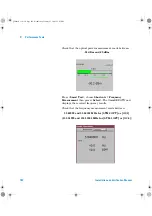
Reduce the Optical Attenuator setting by a further 20 dB and
check the Receiver
Optical Power
result is between:
–11 dBm and –9 dBm
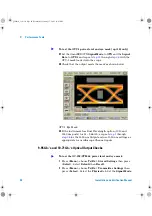
13
Press
<Smart Test>
, choose
Shortcuts > Trouble Scan
then
press
<Select>
. Press
<Run/Stop>
to begin measurement.
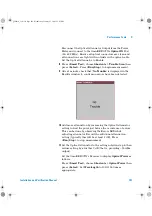
After 1 minute check that
‘No Trouble’
is displayed in the
Results window to confirm no errors have been detected.
Press
<Run/Stop>
to stop measurement.
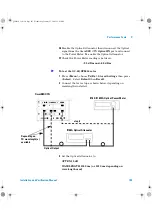
14
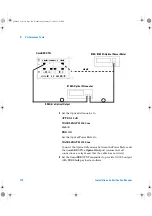
Disable the Optical Attenuator then disconnect the Optical
signal from the OmniBER OTN
Optical IN
port and connect
to the Power Meter. Re-enable the Optical Attenuator.
15
Check the Power Meter reading is between:
–10.5 dBm and –9.5 dBm
16
Repeat
through
, substituting SIGNAL RATE
[OC-3] in
17
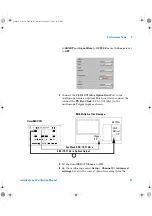
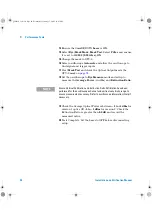
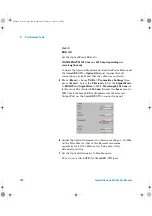
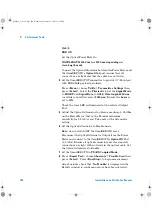
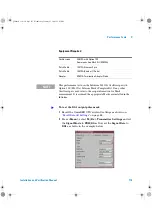
Set the OmniBER OTN Transmitter to provide OC-12 output
with PRBS bulk payload as follows:
Press
<Menu>
, choose
Tx/Rx > Transmitter Settings
then
press
<Select>
. Select the
Physical
tab. Set the
Signal Rate
to
OC12
,
Wavelength 1310 nm
(or if this is not fitted, select
1550 nm
). Ensure the
Laser
is set to
ON
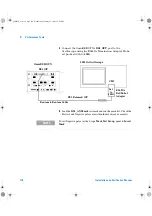
.
Check the laser LED is illuminated at the selected Output
Port.
Ensure the Optical Attenuator and Optical power meter are
set for the Wavelength being used.
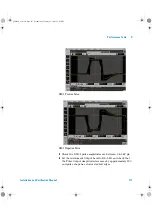
18
Adjust the Optical Attenuator to obtain a reading of –28 dBm
on the Power Meter (that is, the Receiver minimum
sensitivity for 622 Mb/s rates). Take note of the Attenuator
setting.
19
Set the Optical Attenuator to Disable mode.
Note:
do not switch OFF the OmniBER OTN laser.
To test the OC-12/STM-4 rates
panther3_iv.book Page 103 Wednesday, January 15, 2003 12:03 PM