4-16
Agilent 4155B/4156B VXIplug&play Driver User’s Guide, Edition 4
Sample Application Programs for HP VEE
Using sample1.vee
To execute the sample1.vee program, do the following.
NOTE
If you execute sample1.vee in Offline mode, skip steps 3, 5, and 6.
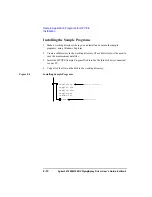
1. Create a directory (Example: C:\lot1\test1\data) to be used to save the
measurement data. To create a directory, use Windows Explorer. See “Installing
the Sample Programs” on page 10.
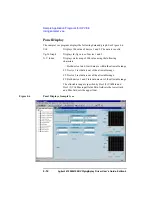
2. Display the panel (Figure 4-6) and enter the following input fields.
Save Directory
Enter the name of the directory to save measurement data.
Enter only the name if the directory is under the current
directory which this program is stored, or enter the entire
path to specify another directory, such as C:\lot1\test1\data.
Load PPD File
Enter the file name of the probe plan data file (*.ppd) for
the Cascade Microtech Prober Control Software. Ignore
this field if you do not use the semi-auto prober.
Dev1 Vth Min/Max Enter the allowable range of device 1 Vth value. Min field
sets the lower limit, Max field sets the upper limit.
Dev2 Vth Min/Max Enter the allowable range of device 2 Vth value. Min field
sets the lower limit, Max field sets the upper limit.
3. Connect the device.
If you use the semi-auto prober, load a wafer on the prober, and keep the platen
handle up.
If you do not use the semi-auto prober, connect devices (two MOSFETs) to a test
fixture, or load a wafer on a manual prober and probe a die tested.
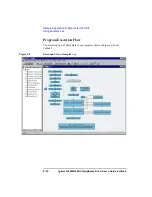
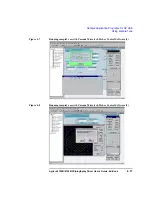
4. Click the run button on the HP VEE menu bar. If you use the semi-auto prober,
the Wait the DDE Server setup dialog box is displayed, and the Cascade
Microtech prober control software is called. See Figure 4-7
If you do not use the semi-auto prober, skip steps 5 and 6.
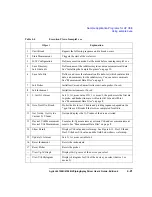
5. Click Continue. A window for the prober control software is displayed as shown
in Figure 4-8.
This example shows the SAMPLE.PPD window of the prober control software.
The title of the window will be the file name you entered in the Load PPD File
input field in step 2.
6. Move the wafer to align the probes over the probe plan alignment position, then
click OK in the ALIGN PROBES dialog box.


