background image

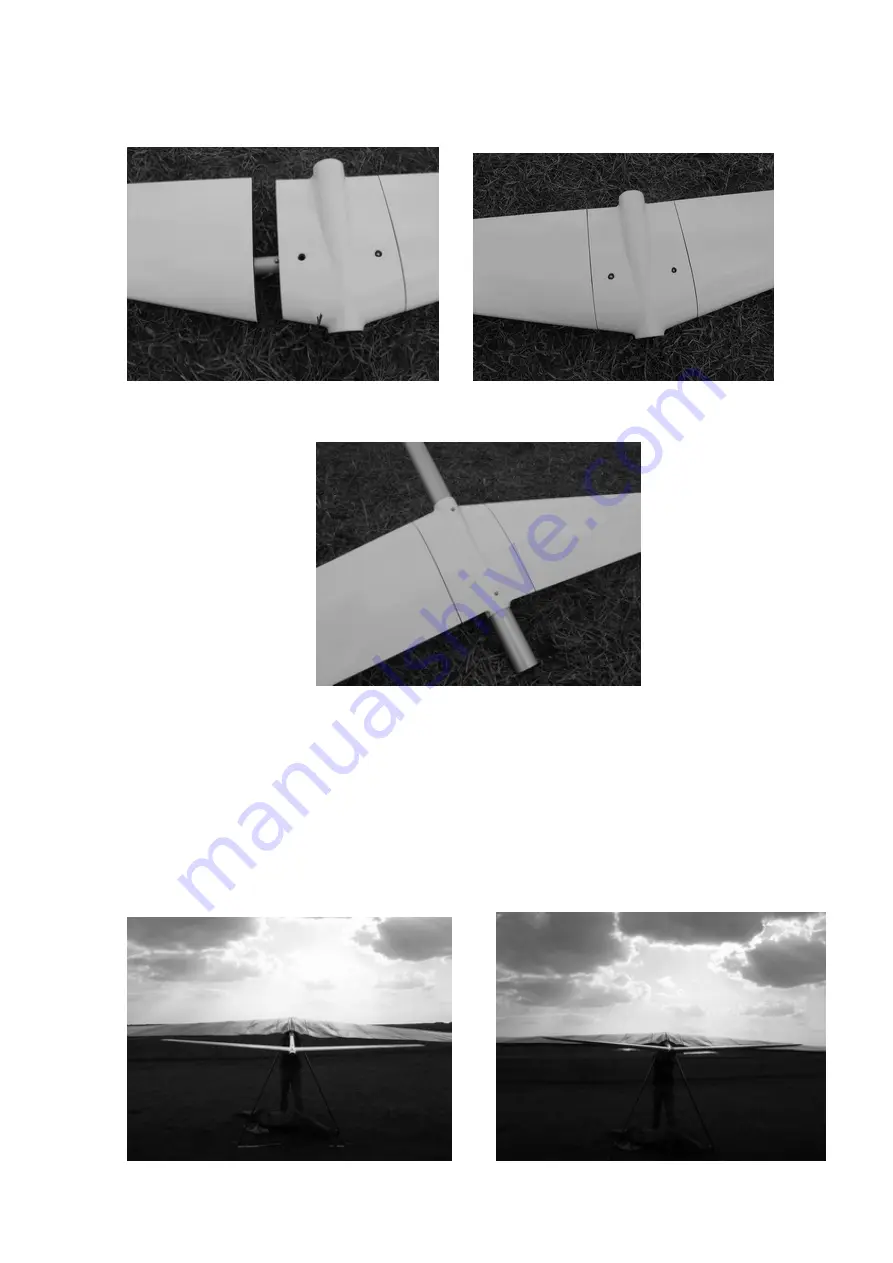
4. Take the tail out of its protection bag. Attach the outer tail section to the center tail 
section and secure it wit a push pin. 


5. Attach the tail to the keel tube as shown on the photo.  


6. Place two equal supports, about 1.7 m long under each leading edge tube / cross bar 
junction and one support under the keel tube so that the side cables are tight and the 
wing is positioned at positive angle of attack.  
 
7. Set the VG full tight. 
 
8. Looking from behind and exactly at the center of the wing, project the tail on the 
trailing edge or at the leading edge of the glider. Rotate the keel tube # 2 with the tail as 
necessary to make it level with the wing.  


5

Summary of Contents for Combat 09 13.7

Page 1: ...s necessary to adjust it back to its standard tailless configuration 1 The standard 2625 mm side wires have to be installed 2 The sprogs have to be set 1 degree higher 3 The plastic caps of both leading edge tubes 3 have to be rotated one hole up COMBAT 09 12 WITH THE TAIL Your Combat 09 12 features the tail installed on your glider therefore pitch stability of your glider significantly increased ...

Page 2: ...HANG GLIDER STABILIZER MANUAL Manufactured by AEROS Ltd Tel 380 44 4554120 Post Volynskaya St 5 Fax 380 44 4554116 Kiev 03061 E mail aerosint aerosint kiev ua Ukraine http www aeros com ua 1 ...

Page 3: ...s Ltd DEFINITIONS Definitions used in this Manual such as WARNING CAUTION and NOTE are employed in the following context WARNING OPERATING PROCEDURES TECHNIQUES ETC WHICH IF NOT FOLLOWED CORRECTLY MAY RESULT IN PERSONAL INJURY OR DEATH CAUTION OPERATING PROCEDURES TECHNIQUES ETC WHICH IF NOT STRICTLY OBSERVED MAY RESULT IN DAMAGE TO THE AIRCRAFT OR ITS INSTALLED EQUIPMENT NOTE Operating procedures...

Page 4: ...glider The tail has symmetrical low drag profile and is rigidly mounted at 5 deg negative angle of attack to the slightly extended keel tube The tail consists of three parts the center tail section and the left and the right outer tail sections It is made of stiff light weight carbon fiber and strong enough to withstand a point loading and can be easily stored when de rigged and packed in a glider...

Page 5: ...acron as shown on the photo IF YOU RETROFIT YOUR GLIDER WITH THE TAIL The tail is easy to install on all Combat series gliders provided that the glider is prepared for that The following items should be done to prepare the glider for the tail installation 1 Set up the glider 2 Remove the keel tube 2 from the glider using an undersurface batten push the end cap off the keel tube 2 undo the knot of ...

Page 6: ... m long under each leading edge tube cross bar junction and one support under the keel tube so that the side cables are tight and the wing is positioned at positive angle of attack 7 Set the VG full tight 8 Looking from behind and exactly at the center of the wing project the tail on the trailing edge or at the leading edge of the glider Rotate the keel tube 2 with the tail as necessary to make it...

Page 7: ... tube 2 with a tail in position 10 Drill a 6 mm diameter hole through the corresponding hole in the rear part of the keel tube 1 11 Remove a holdfast and install a push pin in the front part of the keel tube 2 Now when the tail is installed your glider may require few adjustments for better comfort and performance 6 ...

Page 8: ... and central section assembled in one compartment and with another outer section in the second compartment The tail must not be subjected to load during storage or transportation Make sure it is protected from mechanical damage soiling or moisture during storage or transportation WARNING USING CERTAIN TROLLEYS FOR TAKE OFF DURING AERO TOW WITH A TAIL MAY LEAD TO POTENTIAL DANGER THE MATTER IN QUES...

Reviews: