Fokker
Dr.1
46.7”
1/6
Scale
Page
9
Copyright©
2007
‐
11
M.K.
Bengtson
All
Rights
Reserved
Rev
07/11
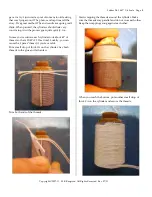
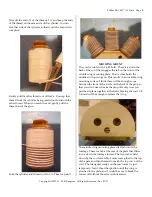
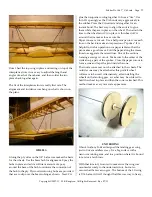
Trim
off
the
end
of
1
of
the
threads.
Try
and
keep
the
ends
of
the
thread
on
the
same
side
of
the
cylinder.
You
can
face
that
side
of
the
cylinder
so
that
it
can
ʹ
t
be
seen
when
complete.
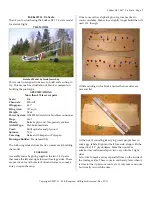
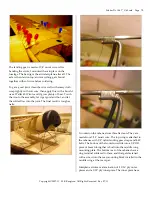
Gently
pull
the
other
thread
out
of
the
Ca.
Unwrap
that
thread
from
the
cylinder,
being
careful
not
to
disturb
the
other
thread.
When
you
reach
the
end,
gently
pull
the
thread
out
of
the
glue.
Soak
the
cylinder
and
thread
in
thin
CA.
Time
for
paint!
MID
WING
MOUNT
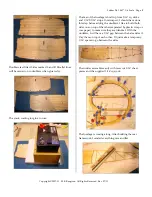
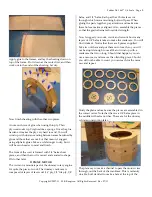
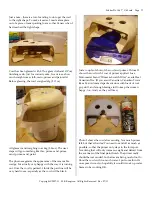
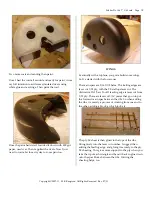
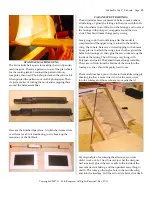
The
cowl
mounts
with
2
4
‐
40
bolts.
There
is
a
slot
in
the
back
of
the
cowl
that
engages
the
tab
on
the
front
of
the
middle
wing
mounting
plate.
That
is
what
holds
the
middle
and
top
wings
on.
This
results
in
an
invisible
wing
mounting
system.
I
think
there
will
be
enough
room
between
the
front
of
the
cowl
and
the
back
of
the
prop
so
that
you
don
ʹ
t
need
to
take
the
prop
off
every
time
you
put
the
airplane
together
at
the
field.
Moving
the
cowl
1/4
ʺ
forward
will
be
enough
to
release
the
wing.
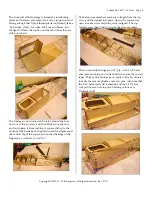
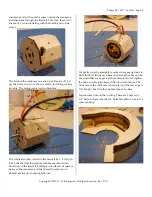
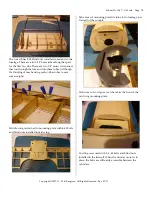
The
middle
wing
mounting
plate
sits
flush
inside
the
fuselage.
There
is
a
tab
at
the
rear
of
the
plate
that
slides
into
a
slot
in
the
fuselage
former.
The
front
tab
is
held
down
by
the
cowl
assembly.
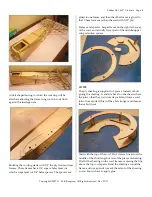
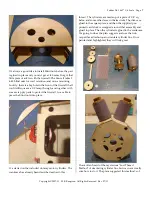
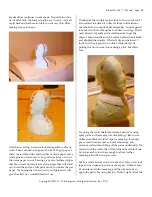
Formers
are
glued
to
the
top
of
the
pate
and
then
sheeted
to
match
the
top
curve
of
the
cowl.
The
triangular
wedge
on
the
rear
former
is
just
temporary.
I
can
ʹ
t
sheet
that
portion
until
the
wing
is
attached
to
the
plate,
and
I
would
be
sure
to
break
the
former
off
without
the
extra
reinforcement.


