5
operation
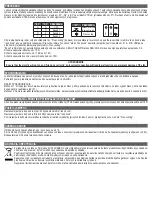
In both versions, the unit pulls air out for 70 seconds, then it pushes air in for the same time.
When heated air is pulled (extracted) from inside the room, it warms up the heat exchanger; when the cold air is pushed (supplied) in the room, it gets preheated,
recovering most of thermal energy which would be otherwise lost in the ventilation process.
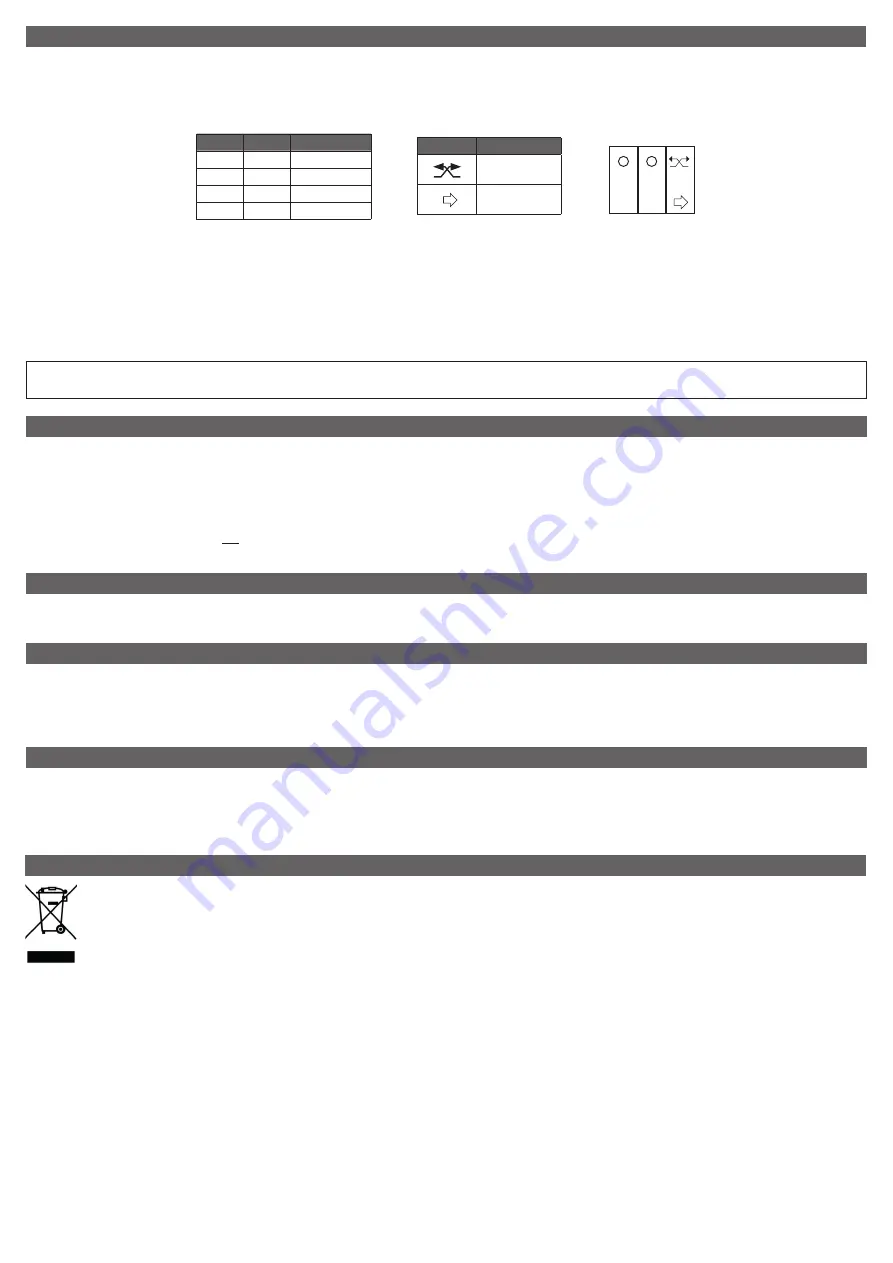
The unit runs at the speed selected by activating the two-position switches “S1”, “S2” and “S3” of the CTRL-S (accessory fig. 57). The same functionality can be
achieved with CTRL-S or with 3 two-position switches.
S3 switch activates the “Free cooling“ (Bypass) mode, which stops alternate flow and keeps the fan in “extract-only” or “intake-only” mode, to avoid the heat
exchange when necessary. To set the extract-only” mode or “intake-only”, place the integral jumpers as per fig. 20A-20B). The front cover LED indicates
when the Free cooling mode is on.
An automatic “Boost”mode can be achieved through a dedicated switch or room sensors like SEN-HY, SEN-PIR or SEN-CO2, connecting such switch in
parallel to the S2 switch.
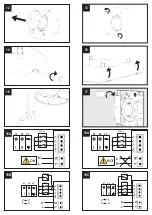
Wiring diagram of one unit: fig. 18A.
Wiring diagram with ambient sensors: fig.18B-18C.
Wiring diagram of two or more units: fig. 18D.
“S1”
“S2”
Operation
O
O
OFF
I
O
Speed 1
O
II
Speed 2
I
II
Speed 3
“S3”
Operation
Heat recovery
(Alternate flow)
Free cooling
S1 S2 S3
II
I
warning:
ensure that the electric wiring to l and n is done correctly; an incorrect connection will lead to malfunction or permanent damage of the fan
When the units are installed in pair, they must be synchronised so that when one unit is extracting, the other is supplying, and viceversa (fig. 18E-18F-18G).
This is achieved by setting the dedicated jumper (fig. 20A-20B).
RESET OF THE SYNCHRONISATION
OPTION 1: If two or more units are connected under the same main switch, to reset the synchronisation, the main switch must be switched first OFF and
then ON to reactivate (fig. 31).
OPTION 2: If two or more units are not connected under the same main switch, to reset the synchronisation, press at the same time the black pin of each
unit (fig. 33) for at least 3 seconds.
synchronisation
If two or more units are controlled by means of the same controller (CTRL-S or similar), they always operate in a synchronised way. Wiring diagram as per
fig. 18D.
synchronisation in case oF installation with controller
Intergal jumper set in position A (fig. 20A) means “extract-only” mode.
Intergal jumper set in position B (fig. 20B) means “intake-only” mode.
The jumper position defines both the air-flow direction when the unit is activated for the first time (for the synchronisation) and the air-flow direction of the
free-cooling mode.
juMper position
Maintenance can be carried out by the user as indicated at page 19.
Service must be perfmormed only by technically qualified personnel in accordance with local rules and regulations. Make sure that the mains supply to the
unit is disconnected (page 20).
Cleaning of the heat exchanger can be performed from outside as well.
Maintenance and serVice
Information on disposal of units at the end of life.
This product complies with EU Directive 2002/96/EC.
The symbol of the crossed-out dustbin indicates that this product must be collected separately from other waste at the end of its life. The user
must, therefore, dispose of the product in question at suitable electronic and electro-technical waste disposal collection centres, or else send the
product back to the retailer when purchasing a new, equivalent type device.
Separate collection of decommissioned equipment for recycling, treatment and environmentally compatible disposal helps to prevent negative
effects on the environment and on health and promotes the recycling of the materials that make up the equipment.
Improper disposal of the product by the user may result in administrative sanctions as provided by law.
disposal and recycling
Summary of Contents for Quantum HR
Page 25: ...25 71 100mm HR100 115mm HR150 44 45 46 47 48 49 50 51 ...
Page 30: ...30 NOTES ...
Page 31: ...31 NOTES ...


