background image

Note:  1. The gang box should be sized 3×2×2.75 inch / 75×50×70 mm or larger, minimum volume 14 in / 230cm . 
          2. Use flexible copper conductors only.

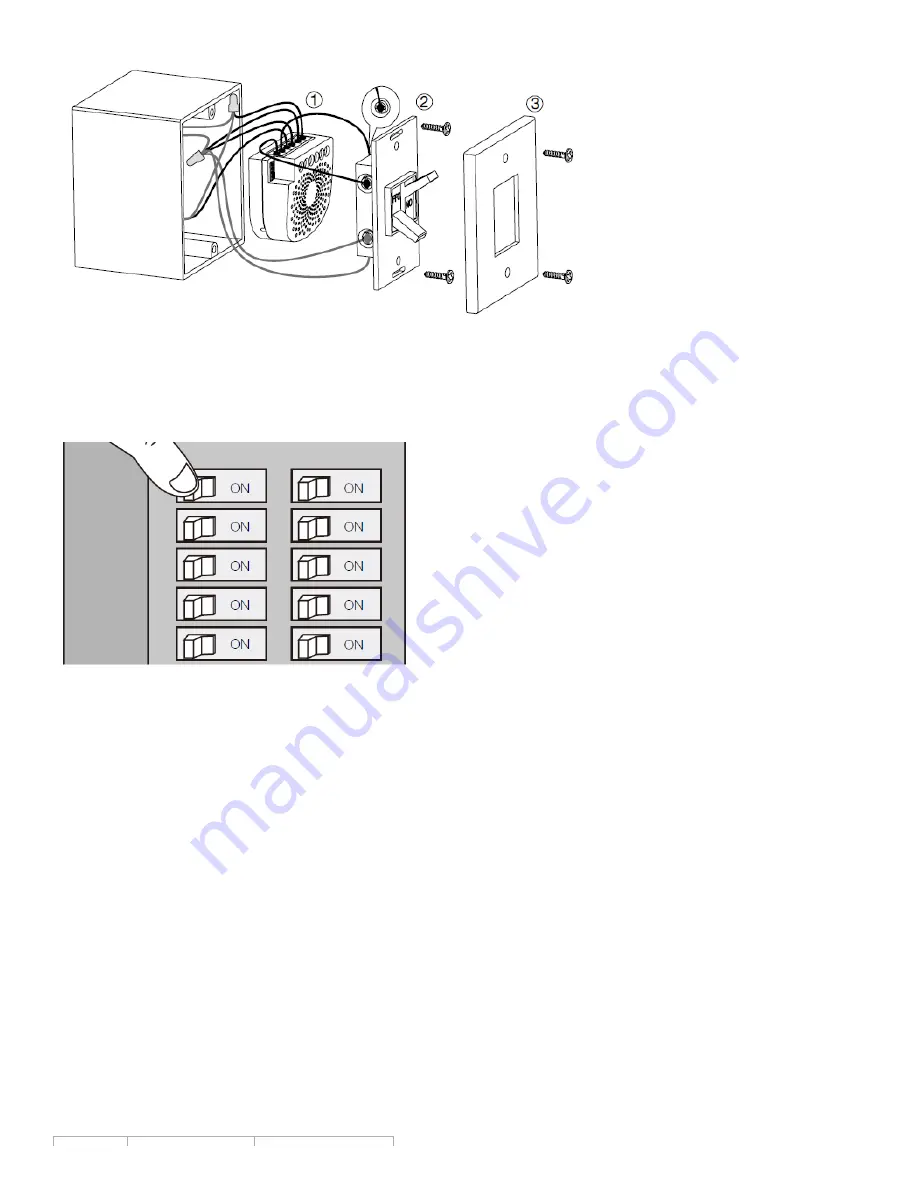
5. Restore Power.

Restore power at the circuit breaker or fuse.

Quick Start.

Adding your Nano Switch to a Z­Wave network.

After your Nano Switch is installed and powered on, you are now able to manually control the Nano Switch to turn it On/Off
directly via pressing your Nano Switch’s Action Button, it is now time to add your Nano Switch to the Z­Wave network. To set
your Z­Wave gateway/controller into pairing mode, please refer to the respective section within your controller instruction
manual.

1. Set your Z­Wave controller into pairing mode.
2. Press the Action Button on the Nano Switch once or toggle the external manual switch once, the green LED (non­
secure indication) will blink to indicate the Nano Switch is entering into pairing mode.
3. If the Nano Switch has been successfully added to your Z­Wave network, its RGB LED will be solid. If the pairing was
unsuccessful, the red LED will be on for 2 seconds and then remain a colorful gradient. Repeat the instructions above 
from step 1.

With your Nano Switch now working as a part of your smart home, you’ll be able to configure it from your home control
software/phone application. Please refer to your software or gateway user guide for further instructions on configuring Nano
Switch to your needs.

The colour of RGB LED will change according to the output load power level:
 

Summary of Contents for Aeotec Nano switch

Page 1: ...ot please reference our Z Wave gateway comparison listing The technical specifications of Nano Switch can be viewed at that link Familiarize yourself with your Nano Switch Notes for the wire connectio...

Page 2: ...y during the installation and ensure the wires are not short circuited during the installation which will cause damage to the Nano Switch Note Your home s main circuit breaker must support the overloa...

Page 3: ...please refer to the following diagram to achieve this Wiring diagram of 120 230VAC power input connection to 24VDC power output Note The IN terminal should be connected to the of 24VDC input Wiring d...

Page 4: ...ected to the Live of AC 120V 230V power wire All above wiring diagrams show that the Nano Switch uses 2 Way or momentary button switches as the external manual switch for 2 Way connection The below di...

Page 5: ...res to the S1 and S2 on the Nano Switch e External manual Switch connection Connect 2 18AWG wires form the 2 terminals on the External manual Switch to the Live wire Note This is the physical connecti...

Page 6: ...l 1 Set your Z Wave controller into pairing mode 2 Press the Action Button on the Nano Switch once or toggle the external manual switch once the green LED non secure indication will blink to indicate...

Page 7: ...lowing the state of the output load repeat the instructions above from step 1 Advanced functions Changing mode on the External Switch Button Control The Nano Switch can be controlled via 2 state flip...

Page 8: ...t your Nano Switch as a non secure device in your Z Wave network press the Action Button once on Nano Switch when you pair it to your gateway If inclusion is successful the green LED will be on for 2...

Page 9: ...r Nano Switch s settings to their factory defaults To do this press and hold the Action Button for 20 seconds and then release it Your Nano Switch will now be reset to its original settings and the gr...

Reviews: