AEI Security & Communications DigiSender ZX7 Instruction Manual Download Page 14

DG458 - DigiSender® ZX7 - 5.8GHz Quad Input Wireless AV Sender

Please read this instruction manual carefully prior to installation

Page 14

Troubleshooting

Picture Problems

Q: What do you see on your second television?

The picture is present but

poor quality

I still see a Black Screen...

WRONG AV CHAN-
NEL SELECTED

1. Switch the Transmitter back
on.
2. Ensure the correct SCART
channel is selected on your sec-
ond television. Some televisions
feature multiple AV channels for
one or more SCART, phono and
S-Video inputs.
3. If available try another SCART
socket on the second television.

POOR RANGE

1. The picture & sound quality is
affected by the Transmitter and
Receiver’s location. Try position-
ing them in different locations.
The Transmitter and Receiver
should be connected to a mains
extension lead that can be
moved.
2. Try the other 3 available
Audio/Video channels ensuring
that the Audio/Video Channel
setting is the same on both the
Transmitter and Receiver.
3. Ensure the units are within
the usable range, normally this
would be 40m when passing
through 2 average internal
walls. Thicker or stone/granite
walls may lower the usable
range of this device.

RECEIVING BLANK
SIGNAL

1. Switch the Transmitter on.
2. Ensure the Transmitter is con-
nected to your source device
(such as your Satellite, Cable,
Freeview, DVD or VCR).
3. Ensure that your source
device is switched on.
4. Use the supplied DigiSender®
Remote Control to select the
correct Input. This can be done
at either the Transmitter or
Receiver.

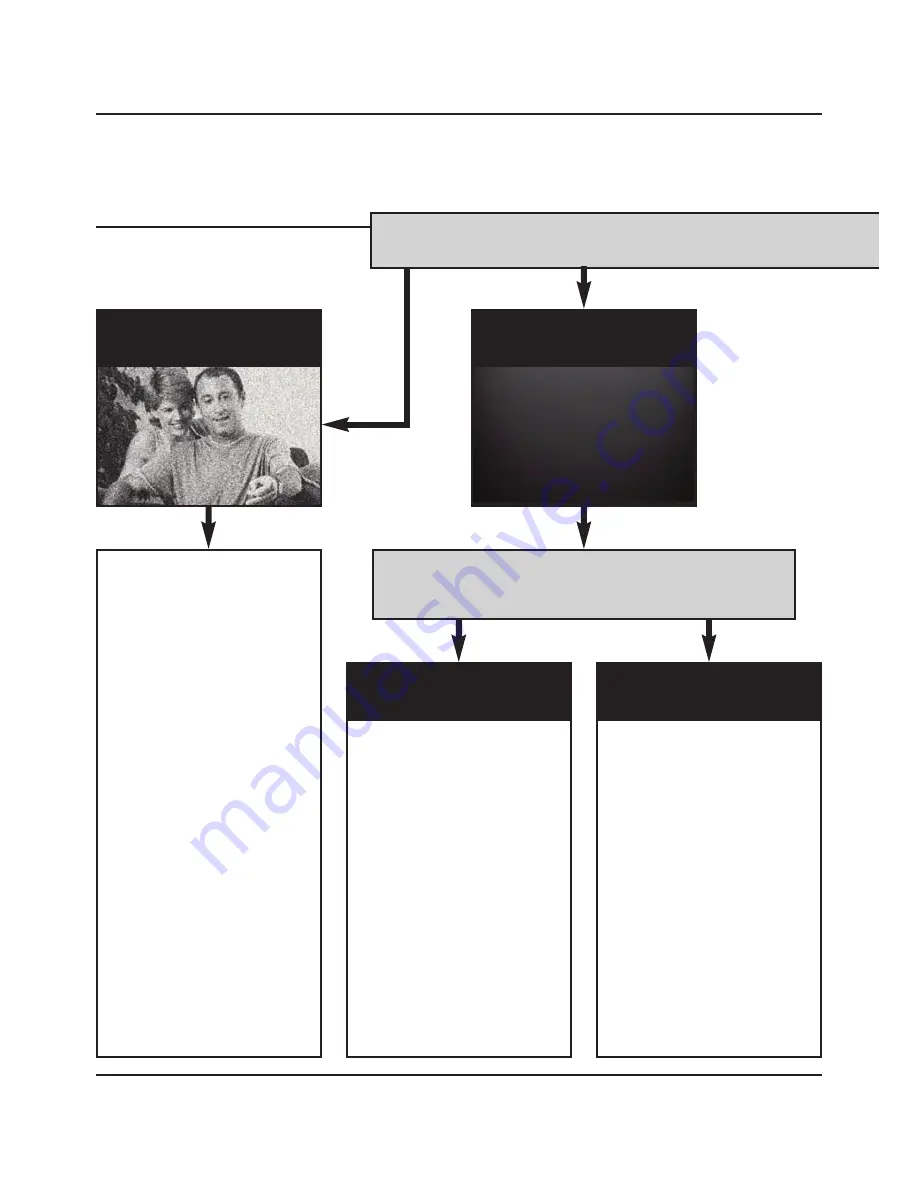
I now see a snowstorm or

blue screen...

I see a black or blank screen

Switch OFF your DigiSender® TRANSMITTER

What do you now see at the

second

TV?

Summary of Contents for DigiSender ZX7

Page 1: ...ailable online at www aei eu video WATCH A VIDEO INSTALLATION TROUBLESHOOTING GUIDE Available online at www aei eu video 121009 1 DigiSender ZX7 MODEL DG458 5 8GHz Quad Input Wireless AV Sender PLEASE...

Page 2: ...ll the IR Systeme Technik 07 STEP 4 Install the DigiSender ZX7 Receiver 08 STEP 5 Using the DigiSender ZX7 09 12 The DigiSender Remote Control 10 DigiSender ZX7 Basic Functions 11 DigiSender ZX7 Advan...

Page 3: ...reo sound from your Satellite Cable Freeview DVD or VCR in another room in your home The DigiSender ZX7 is a quad input wireless AV sender with a difference Because it uses 5 8GHz to transmit rather t...

Page 4: ...ender orders are computer weight checked when packed However it is a good idea to check all kit contents are present before proceeding with the installation POWER 1 2 3 4 R E C E I V E R POWER 1 2 3 4...

Page 5: ...d TV or OUT Connect any existing SCART lead into the rear of the DigiConnector 1 Connect DigiConnector 2 to your DVD Player HDD Recorder or VCR Use the SCART socket labelled TV or OUT Connect any exis...

Page 6: ...nnect the Power Supply Unit PSU to an available mains socket and switch on at the back of the Transmitter 6 What s the A B switch for The Contrast A B switch is present to compen sate for differences...

Page 7: ...e s set up is different there are many ways you can install the IR Systeme Technik and the various included accessories will help you in setting it up correctly Mount the IR Emitter vertically using a...

Page 8: ...8 STEP 4 Install the DigiSender ZX7 Receiver The Receiver will pick up the signals being sent by your Transmitter and output them to a connect ed TV Connect the Power Supply Unit PSU to the socket lab...

Page 9: ...om red to green to indi cate the unit is switched on Alternatively press the Power button on the DigiSender Remote Control 2 On the receiving TV select the SCART channel assigned to the SCART socket t...

Page 10: ...t 3 The Input 3 button will select Input 3 on the Transmitter and Receiver Input 3 will be what ever source equipment is connected to the Aux 1 socket on the Transmitter For example a DVR or VCR 5 Inp...

Page 11: ...power button on the front of the Transmitter once Input LED 1 will light up green to indicate that the unit is set to input 1 To select Input 2 press the power button on the front of the Transmitter a...

Page 12: ...ly change the position of the Audio Video Channel switches to match below For your DigiSender ZX7 to function correctly it is very important that the Audio Video Channel settings are the same on both...

Page 13: ...eivers as you require to your DigiSender system Connect to any SCART enabled TV or use with the MOD01PIS Aerial Converter Supplied with Power Supply Unit Requires existing DigiSender ZX7 Transmitter A...

Page 14: ...The Transmitter and Receiver should be connected to a mains extension lead that can be moved 2 Try the other 3 available Audio Video channels ensuring that the Audio Video Channel setting is the same...

Page 15: ...on the second televi sion Look for buttons on this tel evisions remote control which could select the AV Channel such as EXT AV VIDEO VCR AUX Channel 0 AND I still see a snowstorm or blue picture INT...

Page 16: ...g they are pushed into the sockets firmly 2 If you are using a home cinema DVD player with surround sound please ensure the analogue audio output on SCART is switched on Turn down the volume on your s...

Page 17: ...trying to control your Satellite Receiver you will need to use the Satellite remote control 3 Ensure the IR Emitter is facing the Infra Red remote control pick up point on your source equipment 4 Mov...

Page 18: ...e and technical support During busy periods we would suggest using the web option to obtain support 1 On the web Free technical advice is available online 24 7 at our dedicated support web site www ae...

Page 19: ......

Page 20: ...Relay Receiver 433 92MHz Audio Video Frequency 5 7250GHz 5 8750GHz Modulation FM Video Input Level 1V PP 75 Colour Video Input Phase Alternate Line PAL Audio Input Level 1 0v PP Mod 1KHz Dev 15KHz Au...

Reviews: