


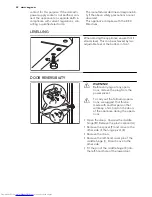


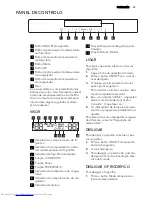


A
C
B
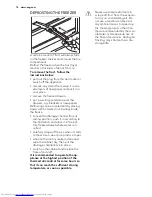
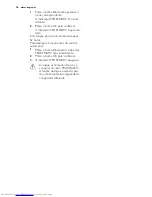
• Remove using a tool the cover (A). Un-
screw the lower hinge pivot (B) and the
spacer (C) and place them on the oppo-
site side.
• Re-insert the cover (A) on the opposite
side.
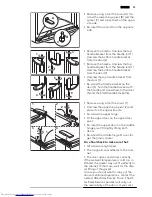
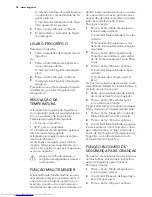
1
2
3
6
5
4
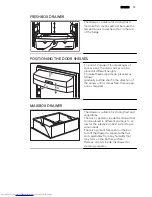
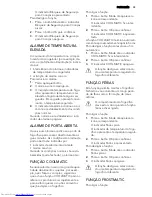
• Remove the handle. Unscrew the top
handle bracket from the handle rod 1).
Unscrew the bottom handle bracket
from the door (2)
• Remove the handle. Unscrew the top
handle bracket from the handle rod (1).
Unscrew the bottom handle bracket
from the door (2)
• Unscrew the top handle bracket from
the door (3).
• Re-screw the handle bracket on the
door (4). Turn the handle bracket with
the handle and screw them to the door
(5) and the fitted handle bracket (6).
1
2
1
2
1
2
3
4
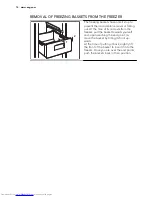
• Remove using a tool the cover. (1).
• Unscrew the upper hinge pivot (2) and
place it on the opposite side.
• Re-screw the upper hinge.
• Fit the upper door on the upper door
pivot.
• Re-insert the upper door on the middle
hinge pivot (3 )slightly tilting both
doors.
• Re-screw the middle hinge. Do not for-
get the plastic spacer.
Do a final check to make sure that:
• All screws are tightened.
• The magnetic seal adheres to the cabi-
net.
• The door opens and closes correctly.
If the ambient temperature is cold (i.e. in
Winter), the gasket may not fit perfectly to
the cabinet. In that case, wait for the natu-
ral fitting of the gasket.
In case you do not want to carry out the
above mentioned operations, contact the
nearest After Sales Service Force. The Af-
ter Sales Service specialist will carry out
the reversibility of the doors at your cost.
ENGLISH
23
Summary of Contents for S83200CMM1
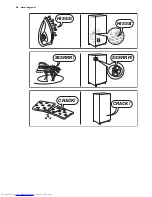
Page 26: ...HISSS HISSS SSSRRR SSSRRR CRACK CRACK 26 www aeg com ...
Page 53: ...HISSS HISSS SSSRRR SSSRRR CRACK CRACK PORTUGUÊS 53 ...
Page 80: ...HISSS HISSS SSSRRR SSSRRR CRACK CRACK 80 www aeg com ...
Page 81: ...ESPAÑOL 81 ...
Page 82: ...82 www aeg com ...
Page 83: ...ESPAÑOL 83 ...