


the menu the path:
Basic Settings /
Service / Licence
.
It is possible to download the source
code of the open source software used
in the product by following the hyperlink
present in the web product page.
5.3
First Connection
When you connect the appliance to the
mains you have to set:
• the language
• time
• clock format
• date
• fast heat-up
The chosen name or number can be set
in two ways. Scroll it to the required
position or touch the chosen option. You
can change the settings in the menu:
Basic Settings.
5.4
Setting the hardness level
for the water
When you connect the appliance to the
mains, you have to set the water
hardness level.
The table below explains the water
hardness range with the corresponding
Calcium deposit (mmol/l) and the quality
of the water.
Water hardness
Calcium deposit
(mmol/l)
Calcium deposit
(mg/l)
Water classi-
fication
Class
dH
1
0 - 7
0 - 1.3
0 - 50
Soft
2
7 - 14
1.3 - 2.5
50 - 100
Moderately
hard
3
14 - 21
2.5 - 3.8
100 - 150
Hard
4
over 21
over 3.8
over 150
Very hard
When the water hardness exceeds the
values in the table, fill the water drawer
with bottled water.
1.
Take the four colour change strip
supplied with the steam set in the
oven.
2.
Put all the reaction zones of the strip
into the water for approximately 1
second.
Do not put the strip into the running
water!
3.
Shake the strip to remove the excess
of the water.
4.
After 1 minute check the hardness of
the water according to the table
below.
The colours of the reaction zones
continue to change after 1 minute.
Do not consider this in the
measurement.
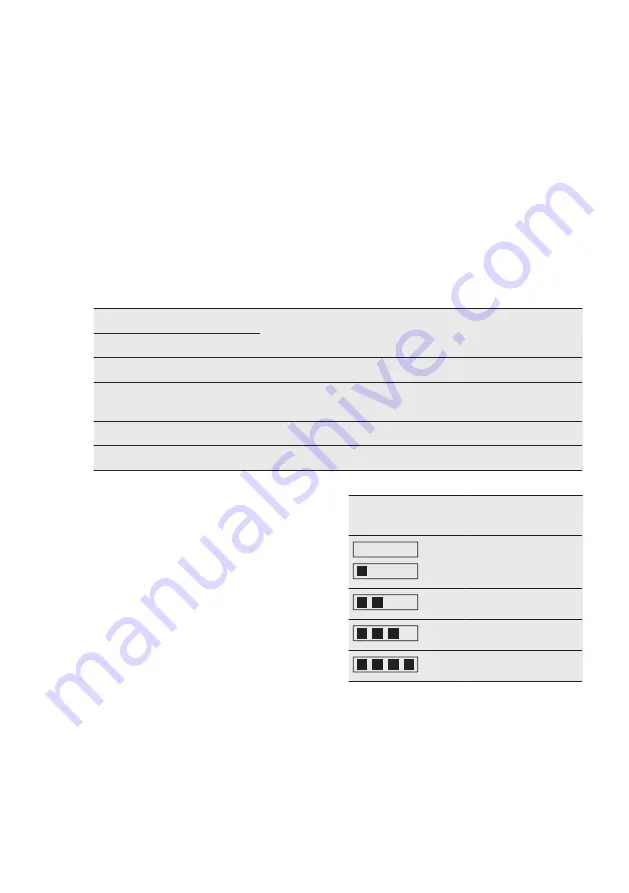
5.
Set the hardness of the water in the
menu: Basic Settings.
Test strip
Hardness of the
water
1
2
3
4
The black squares in the table
correspond to red squares on the test
strip.
You can change the hardness level of the
water in the menu: Basic Settings / Water
hardness.
After a power cut you do not have to set
the hardness level of the water again.
www.aeg.com
10


