Advent ADVDLX10 Owner'S Manual Download Page 21

20

PLAYING DVDS

1.  Press the DISPLAY button on the remote control to display the status banner. The banner includes title, chapter, angle, audio, subtitle, and time.

2.   

Title Selection 

Press the numeric (0~9) buttons to initiate a change of title selection. Then press OK to implement the selection.

3.   

Chapter Selection 

Press the numeric (0~9) buttons to initiate a change of chapter selection. Then press OK to implement the selection.

PLAYING MP3 DISCS

MP3 is a format for storing digital audio. An audio CD-quality song can be compressed into the MP3 format with very little loss of quality, while taking up 

much less space. CD-R discs that have been encoded in MP3 format can be played on the DVD player. The DVD player plays the songs in the order they 

were burned onto the disc. When playback is started, the elapsed time of the track that is playing will be displayed.

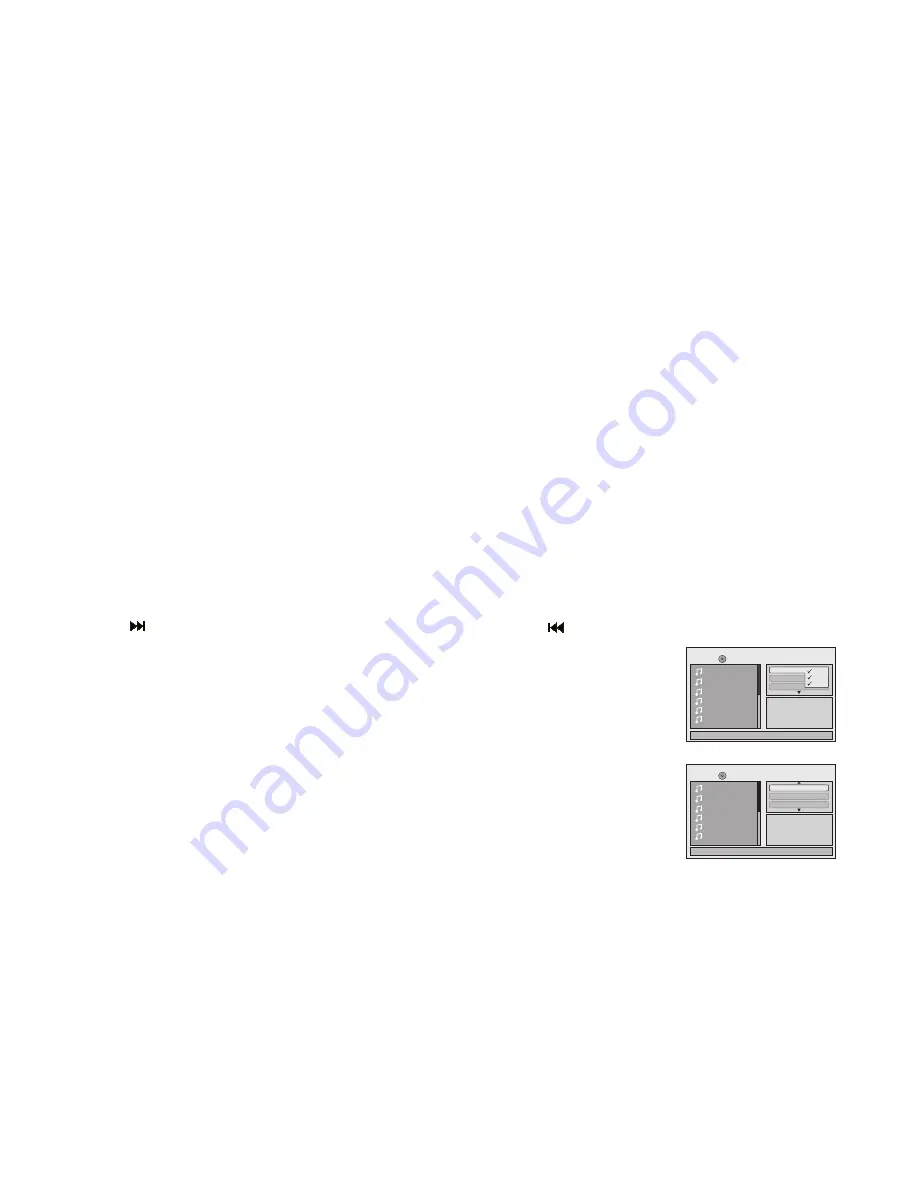
Selecting Folders and Songs

When a device containing MP3 files is loaded in the player, the navigation menu appears automatically.

1.   Use  the 

p

 or 

q

 cursor buttons to select the desired folder (if present) on the left side of the menu and press OK. The songs in the folder will be 

displayed on screen. 

2.  Use the 

p

 or 

q

 cursor buttons to select the desired track containing the song and press OK to begin track playback.

Skipping Songs

Use the Next (   ) button on the remote control to move to the next song. Use the Previous (   ) button to move to the previous song.

Selecting a Play Mode

Filter (For MP3 & JPEG only)

The Filter Mode enables or disables the display of files contained on the media based on their file extension.

The filter function applies to the following formats:

 Audio

  - Audio data format (MP3, WMA)

 Photo 

 - Photo data format (JPEG)

 Video

  - Video data format (MPEG 

I

II

)

Flat Mode: play the entire disc

This mode is always on (default). During the Flat Mode, all the data folder with MP3, JPEG, and movies will be  

played in sequence. If the Flat Mode function is off, it will only play the selected folder; other folders are disabled.

1/12

Repeat :     off

002
003
004
005
006

Flat Mode

Music Playing

/

001

00:00:01

Filter

Audio
Photo
Video

1/12

002
003
004
005
006

Music Playing

/

001

00:00:01

Mode     :   Normal

Repeat  :   Off

Flat Mode

Summary of Contents for ADVDLX10

Page 1: ...ADVDLX9 9 OVERHEAD LED BACKLIT LCD MONITOR WITH DVD PLAYER R OWNER S MANUAL...

Page 2: ...rence in a residential installation Reorient or relocate the receiving antenna Increase the separation between the equipment and receiver Connect the equipment into an outlet on a circuit different fr...

Page 3: ...n or navigation If the LCD panel or video monitor is used for television reception video or DVD play the LCD panel or video monitor must be installed so that these features will only function when the...

Page 4: ...en seat belts to change video media or make any adjustments to the system System adjustments can be accomplished using the remote control while seat belts remain fastened Enjoy your ADVENT entertainme...

Page 5: ...k from where movie was stopped Press the STOP button twice and then press the PLAY button to start playback from the beginning of the DVD 6 EJECT Button This button is used for ejecting disc from the...

Page 6: ...nd to remote commands when M2 is selected on the remote control and will transmit audio on the B channel Note Use 2 channel IR headphones set to CH B when the monitor is set to M2 mode Note M1 will ap...

Page 7: ...o use the remote control Battery Replacement 1 Remove the battery holder 2 Insert one CR2025 battery into the battery holder Be sure to observe the correct polarity 3 Align the battery holder with the...

Page 8: ...ntrol of the unit in M2 mode 4 SCAN BACKWARD Press to search in a backward direction Press repeatedly to change the search speed from 2 4 8 16 times and normal speed 5 SCAN FORWARD Press to search in...

Page 9: ...sed to implement a selected setting or menu option 14 SETUP Allows the user to access the Setup Menu when the unit has been placed in DVD mode Use the cursor buttons pqt u to select options such as la...

Page 10: ...ress the button the language changes Note The available languages vary from disc to disc 21 FM MODULATOR CHANNEL SELECT C The unit has a 100 channel built in wireless FM Modulator The FM Modulator can...

Page 11: ...the wireless headphones or the FM Modulator output 26 MUTE Press this button to mute the audio for wireless FMM and IR headphones Pressing the button again restores the audio to the previously set le...

Page 12: ...le the system is in use 3 Press the power button on the unit or the remote control to turn the system on and off When in use the internal backlighting will illuminate the controls 4 After the unit has...

Page 13: ...he System Menu contains features and options that let the user customize the system For example the user can change the FM Modulator OSD language source default screen mode display and the monitor mod...

Page 14: ...select a frequency not used by a radio station in the area Press OK to select the highlighted frequency There are a total of 5 FM CHANNEL pages containing frequencies from 88 1 to 107 9 in 0 2 MHz ste...

Page 15: ...OFF and press OK to access the submenu 3 Use the p or q cursor buttons to select ON or OFF 4 Press the OK to confirm the setting Note The unit is set to source default DVD on as the default mode of op...

Page 16: ...position the highlight back on the icon side of the setup page to set the other options Repeat steps 1 2 3 Press the SETUP button again to exit the Setup Menu LANGUAGE SETUP DVD Language for On Screen...

Page 17: ...ed in the disc DVD AUDIO SETUP The Audio Menu allows the user to select the language for audio 1 Press the SETUP button on the remote to enter the Setup Menu 2 Use the p or q cursor buttons to select...

Page 18: ...Select this type for PAL TV MULTI Select this type for multi system TV 1 Press the SETUP button on the remote to enter the Setup Menu 2 Use the p or q cursor buttons to select the Video menu option 3...

Page 19: ...ue your own password 1 Press the SETUP button on the remote to enter the Setup Menu 2 Use the p or q cursor buttons to select the Rating menu option 3 Use the u cursor button to select parental submen...

Page 20: ...ss the SETUP button on the remote to enter the Setup Menu 2 Use the p or q cursor buttons to select the Misc menu option 3 Use the u cursor button to select the screen saver submenu 4 Use the q cursor...

Page 21: ...omatically 1 Use the p or q cursor buttons to select the desired folder if present on the left side of the menu and press OK The songs in the folder will be displayed on screen 2 Use the p or q cursor...

Page 22: ...ogram To add the selected songs into Browser view make sure disc playback is off Move the cursor to the Edit mode function and press OK After Edit mode is selected move cursor to songs list and select...

Page 23: ...ere the DVD player is sold A DVD from a different region cannot be played in this unit and the unit will display WRONG REGION 22 Region 1 USA Canada Region 2 Japan Europe South Africa Middle East Gree...

Page 24: ...dable DVD formats However due to the variety of disc manufacturers and software playback cannot be guaranteed Loading and Playing Discs Before you load a disc make sure that it is compatible with the...

Page 25: ...sary to set this unit to M2 mode is if there is an RSA Rear Seat Audio installed in the vehicle or if two of these monitors are installed in one vehicle Press the system menu and highlight monitor mod...

Page 26: ...ayer to dry out No sound or distorted sound Make sure the DVD is connected properly Make sure all cables are securely inserted into the appropriate jacks If the 2 channel IR headphones are being used...

Page 27: ...during forward or reverse scan No forward or reverse scan Some discs have sections that prohibit rapid scanning or title and chapter skip If you try to skip through the warning information and credit...

Page 28: ...20 000 Hours Video Display System NTSC PAL Video Output 1 0 Vp p 75 ohms Power Source 12 VDC Dimensions L x W x H 11 0 x 9 5 x 1 7 Closed 289mm x 243mm x 44mm Closed 11 0 x 9 5 x 8 5 Open 289mm x 243...

Page 29: ...ical systems This Warranty does not apply to any product or part thereof which in the opinion of the Company has suffered or been damaged through alteration improper installation mishandling misuse ne...

Page 30: ...NOTES 29...

Page 31: ......

Page 32: ...2014 VOXX ELECTRONICS CORP 150 Marcus Blvd Hauppauge NY 11788 128 9219B...

Reviews: