23
Chapter 3
2.
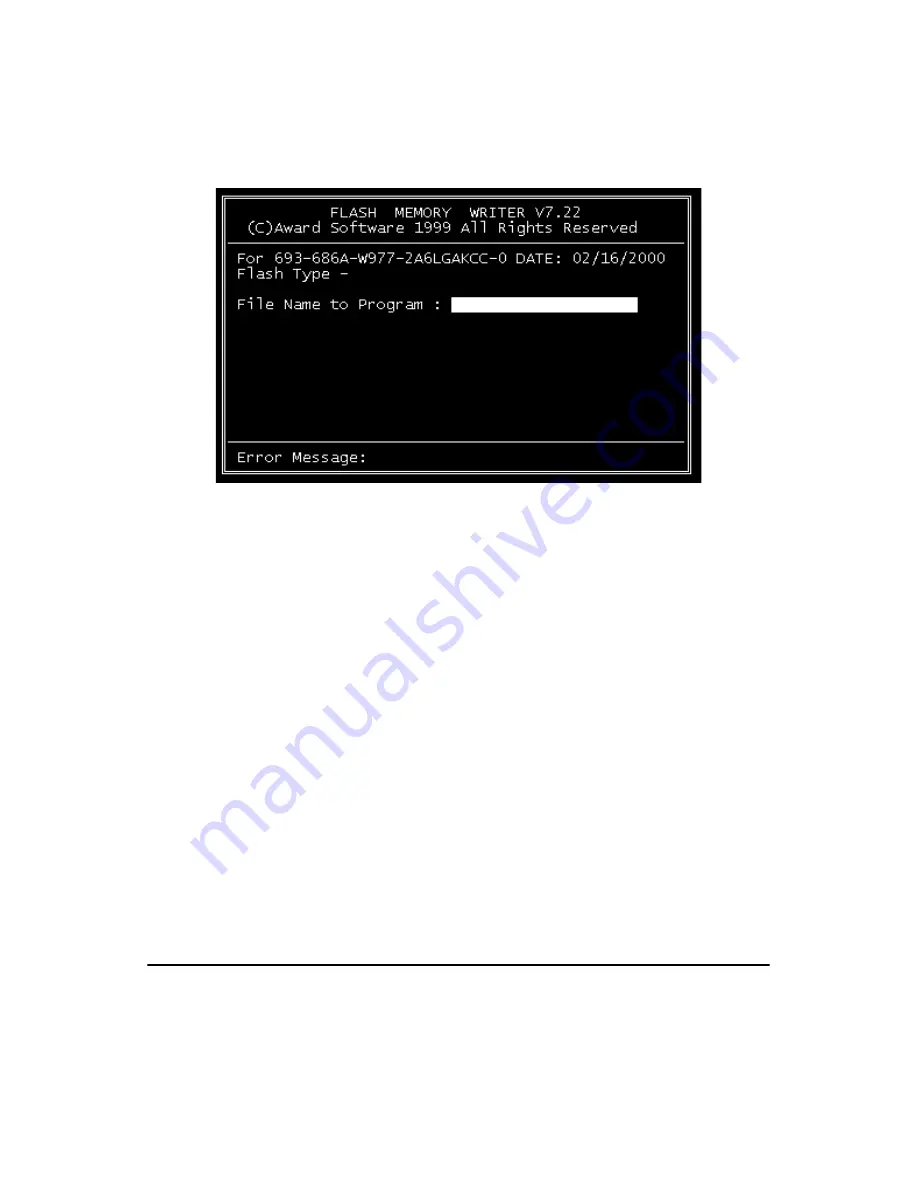
At the prompt, type AWDFLASH.EXE and press <Enter>. The
VGA configuration program will then display the following:
3.
At the prompt, enter the new BIN file which supports your display.
When you are sure that you have entered the file name correctly
press <Enter>.
4.
The screen will ask “do you want to save the BIOS?” If you change
your mind or have made a mistake, press N to abort and end the
setup procedure. Press Y if you wish to save the existing configura-
tion before changing it. Then type the name under which you want
to save the current configuration.
5.
The prompt will then ask “Are you sure to program?” Press Y if
you want the new file to be written into the BIOS. Press N to exit
the program.
The new VGA configuration will then write to the ROM BIOS chip. This
configuration will remain the same until you run the AWDFLASH.EXE
program and change the settings.
3.3 Connectors to Standard LCDs
The following table illustrate typical LCD connection pinouts for the
PCI-6881.
Figure 3.1: VGA setup screen
Summary of Contents for PCI-6881 Series
Page 6: ...PCI 6881 User Manual vi...
Page 16: ...PCI 6881 User Manual 6...
Page 30: ...PCI 6881 User Manual 20...
Page 54: ...PCI 6881 User Manual 44 2 Press the Next button 3 Press the Next button...
Page 58: ...PCI 6881 User Manual 48 2 Press the Next button...
Page 62: ...PCI 6881 User Manual 52 3 Press the Next button...
Page 71: ...61 Chapter6 2 Click the Finish button...
Page 73: ...63 Chapter6 2 Click Add 3 Click Have Disk...
Page 75: ...65 Chapter6 6 Click Yes...
Page 77: ...67 Chapter6 8 Click Apply 9 Click Yes to reboot your computer...
Page 78: ...PCI 6881 User Manual 68...
Page 84: ...PCI 6881 User Manual 74...
Page 90: ...PCI 6881 User Manual 80...
Page 114: ...PCI 6881 User Manual 104...
Page 115: ...105 Appx D D SpeedStep Technology Appendix...
Page 117: ...107 Appx D Step 2 Change Power schemes to Portable Laptop...
Page 120: ...PCI 6881 User Manual 110...


