7
Chapter 2
1.Standard drive bay.
2.HDD bay.
3.Front chassis door.
The rear section includes:
1.Backplane.
2.Power supply with two fans.
3.Bracket for COM port
2.3 The HDD Drive Bay
The HDD drive bay of the AIMB-C300 can hold up to two hard disk.
Installing disk drives
1.Remove the top cover.
2.Detach the two screws holding the HDD bay.
3.Lift off the HDD bay.
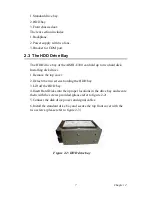
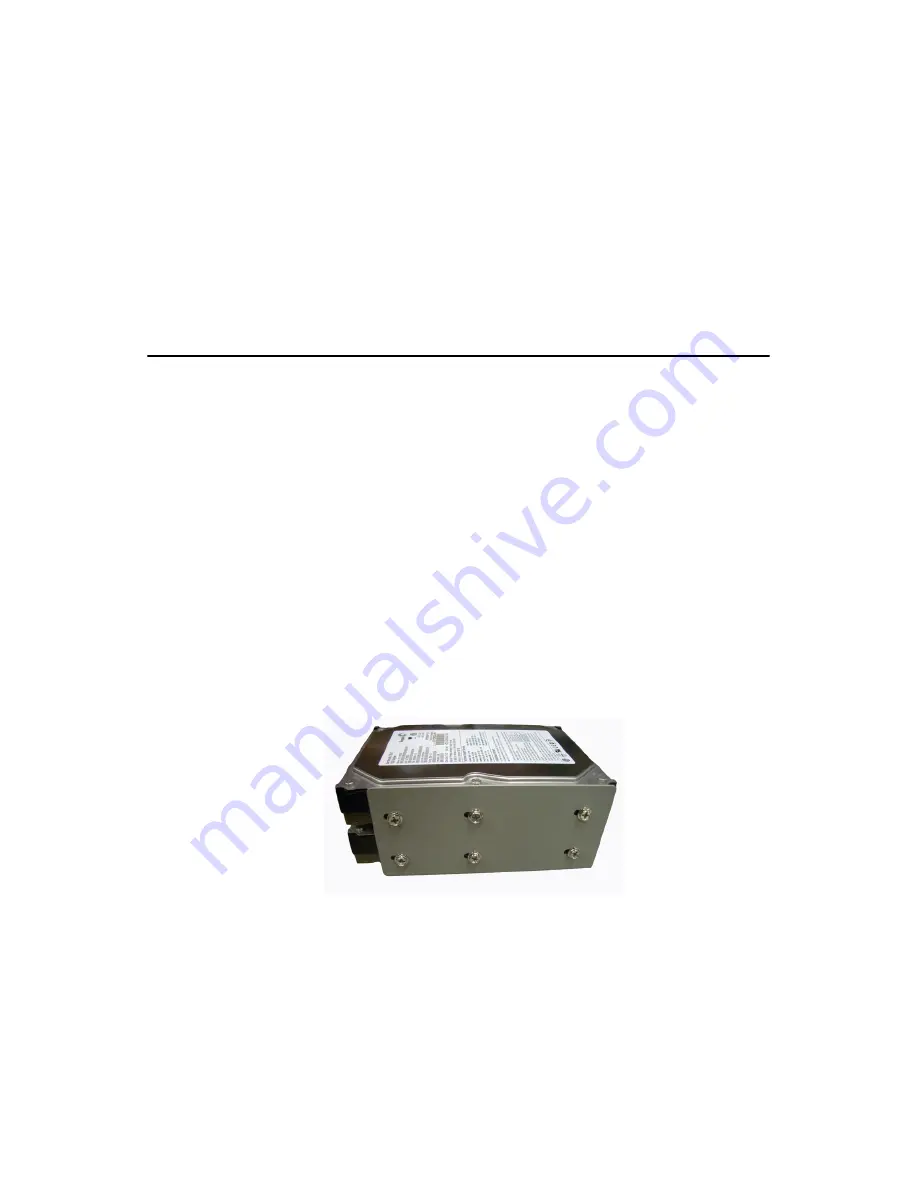
4.Insert Hard Disks into their proper locations in the drive bay and secure
them with the screws provided.(please refer to figure 2-2).
5.Connect the disk drive power and signal cables.
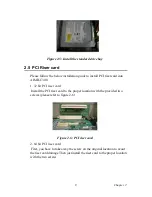
6.Install the standard drive bay and secure the top front cover with the
two screws.(please refer to figure 2-3)
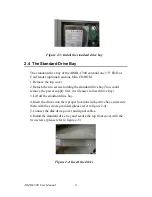
Figure 2.2: HDD drive bay
Summary of Contents for AIMB-C300
Page 1: ...AIMB C300 Multifunction Chassis for EmbATX motherboard User Manual...
Page 4: ...AIMB C300 User Manual IV...
Page 6: ...AIMB C300 User Manual VI...
Page 7: ...CHAPTER 1 General Information...
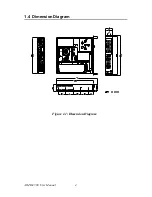
Page 10: ...AIMB C300 User Manual 4 1 4 Dimension Diagram Figure 1 1 Dimension Diagram...
Page 11: ...CHAPTER 2 System Setup...
Page 18: ...AIMB C300 User Manual 12...
Page 19: ...Appendix A Safety Instructions...
Page 22: ...AIMB C300 User Manual 16...

