45
3.3.17.7 Earth Fault Notification
This parameter determines whether an Earth Fault is shown on the display during normal operation. To change
the setting, press the
✔
button. The status changes from
✔
to
X
and vice versa.
3.3.17.8 Routing Interface
This parameter determines whether the panel supports a fire and / or fault routing interface. It is possible to
select between no routing interfaces, monitored routing interfaces (requires installation of the Routing Interface
Peripheral Card and non-monitored routing interface using the on-board fire and fault relays. To change the
setting, press the
✔
button. With each press, the option cycles between
X,
Monitored and Non-Monitored.
When a routing option is selected, Function LED1 (Red) is used to indicate that the Fire Routing Output is
activated and Function LED2 (Yellow) is used to indicate that the Fire Routing Output is disabled. If the
monitored option is selected, Function LED3 (Yellow) is used to indicate a fault in the transmission path of the
fire routing connection. Function LED3 will also illuminate if there is a fault on the routing interface or if the
routing interface card is not present.
If a routing option is selected, these function LED indicators are reserved for these indications and are not
available for other programmable indication use.
By default, the fire routing output (panel internal addresses
– 11.1 unmonitored & 16.0 monitored) and the fault
routing output (panel internal addresses 11.0 unmonitored & 17.0 monitored) are assigned to Output Groups
199 & 200, respectively. These can be assigned to alternative output groups using the "Panel" menu option if
required.
By default, the fire routing output will be activated if there is fire in any zone. The output is configured not to turn
on in the event of a fire test even if the output group rule contains this option.
By default, the fault routing output will be turned off if there is a fault in any zone.
3.3.17.9 Program ID
The display shows the part number and version of the software installed in the panel. Press the
button to see
the program checksum (8 digits)
3.3.17.10
Config Data
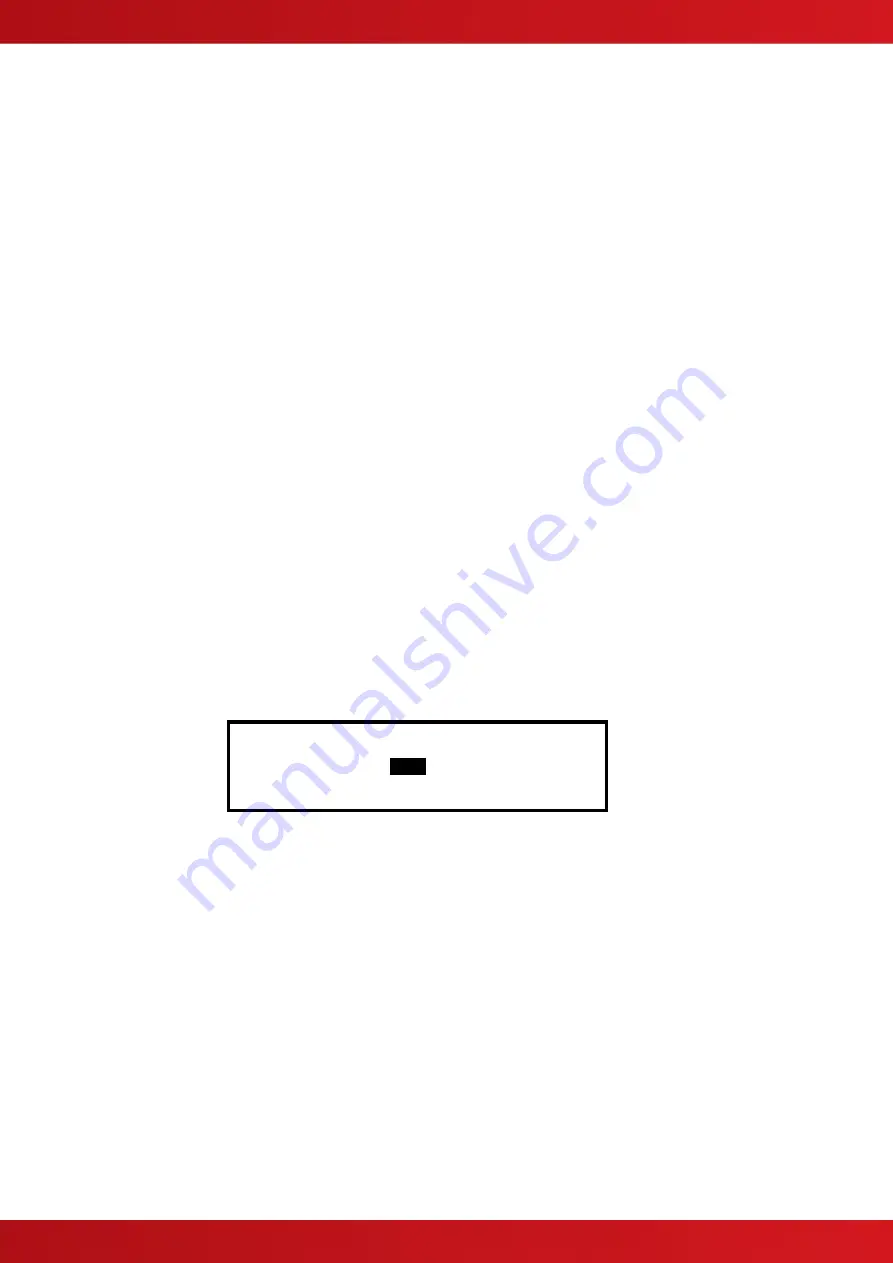
The Config Data option shows the loop protocol and the checksum for the configuration data. A note of this
number can be taken and then checked on the next service visit to see if any changes have been made to the
configuration data.
In addition, there is an option to erase the Config Data.
To view the Config Data Checksum, press the
button. The display then shows:
[Setup]
CONFIG DATA :
VEGA
More>
www.acornfiresecurity.com
www.acornfiresecurity.com
Summary of Contents for MX-4200V
Page 68: ...68 This page is intentionally left blank www acornfiresecurity com www acornfiresecurity com ...
Page 69: ...69 This page is intentionally left blank www acornfiresecurity com www acornfiresecurity com ...
Page 70: ...70 This page is intentionally left blank www acornfiresecurity com www acornfiresecurity com ...
Page 71: ...71 USER NOTES www acornfiresecurity com www acornfiresecurity com ...
Page 72: ...www acornfiresecurity com www acornfiresecurity com ...


