


Chapter 5:
Testing Samples
OsmoPRO MAX Automated Osmometer User Guide
50
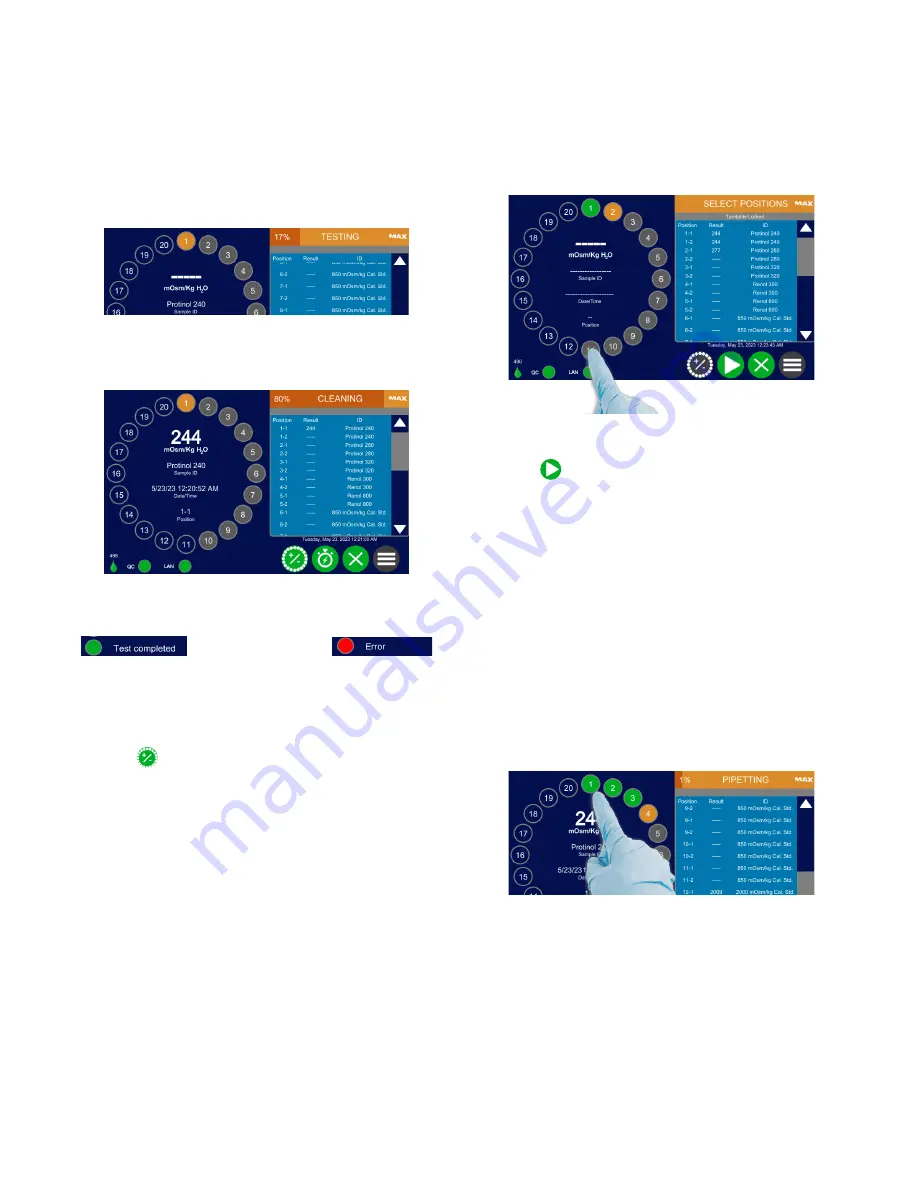
The status bar located on the top right of the screen also
shows the progress of the sample test.
After a test finishes, the test results are reported on the
right side of the screen. The test results are also saved
on the instrument and printed if a printer is connected.
After a sample tube is tested, the color of the
corresponding tube changes in the turntable display.
Routine Samples
If the turntable has empty positions or positions with
completed tests, you can add more samples.
1.
Press
at any point during testing or after testing
is complete.
2.
Press to select each position on the turntable display
containing a sample.
If required, log in before loading more samples.
NOTE:
If you stop loading tubes for more than two
minutes, the instrument prompts you to
continue loading. If you do not respond within
30 seconds, the instrument cancels all loading
and marks the loaded tube positions as
empty.
3.
Add the samples to the selected turntable position(s).
4.
Press
to resume testing.
The sample is scanned into the testing sequence and
testing continues from the position after the last
completed test.
Checking Results of Completed Tests
While an automated test is in progress, you can check
the results of completed tests by pressing the sample
position on the turntable display.
Statistics are also printed for replicate measurements if
an external printer is connected.
The display shows the results in mOsm/kg H
2
O, sample
ID, date /time, test position, and replicate number if
appropriate.


