


Installation Instructions
2.2 Static IP Assignment
If required, you can assign a static IP address to your
unit. To do so, please follow these steps:
•
Prepare a PC with an Ethernet adaptor. If this PC is already part of your network, records its TCP/IP
configuration settings. Configure the PC with a static IP address of
192.168.234.10
and
255.255.255.0
as
the subnet mask.
•
Connect the
unit to the same network switch/hub as the PC you’ve configured.
Alternatively, connect the
unit directly to the PC you’ve configured using an Ethernet
cross-over cable (not included).
•
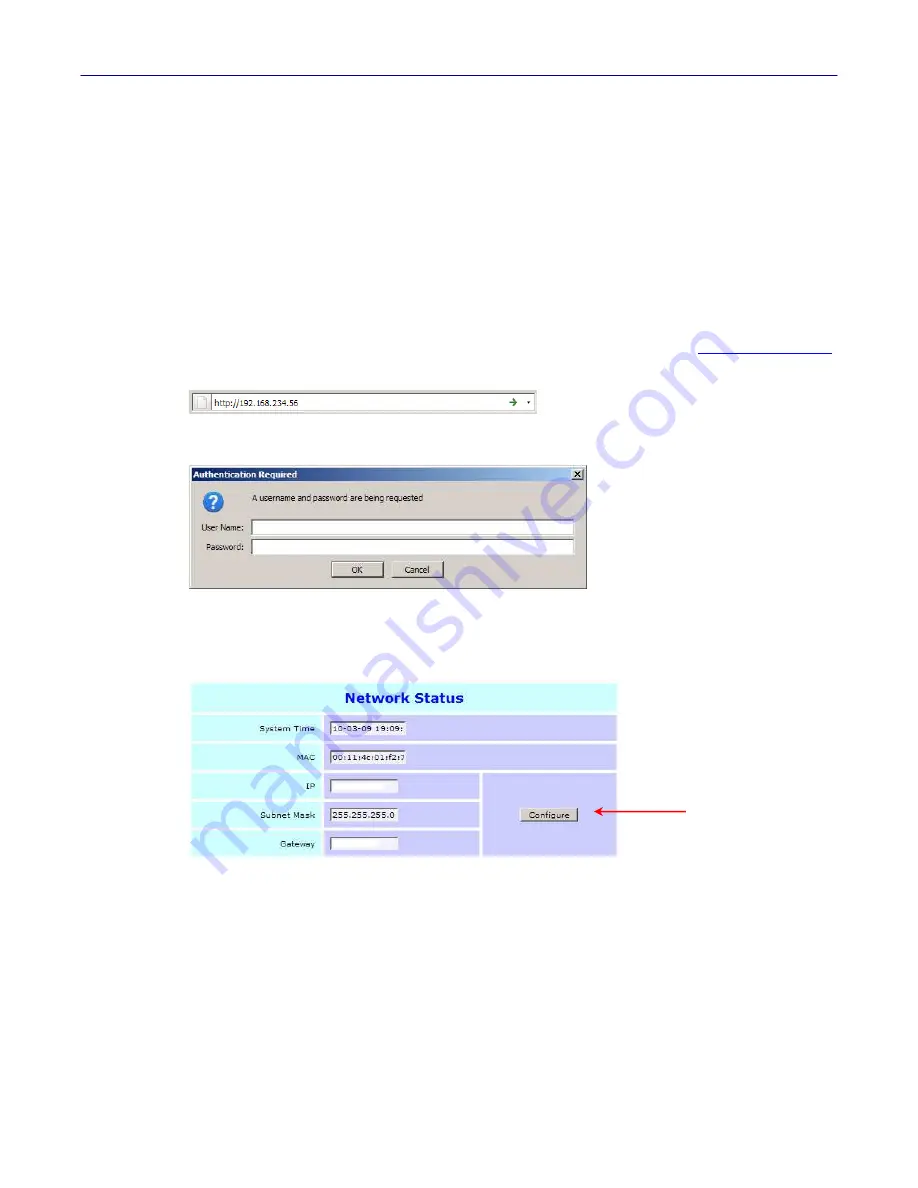
Connect to the
unit by opening your web browser and entering
http://192.168.234.56
in the address field:
•
A login window will display.
•
When prompted, enter
admin
for the user name and
nimda
for the password, both in lower-case letters.
•
The
status page will display. Click on the
Configure
button in the
Network Status
section:
Click the
Configure
button


