


Installation Instructions
ON HOLD ANNOUNCER
The
is a high quality digital on-hold announcer. It is designed to be attached to a 100BASE-T Ethernet
network to receive audio production updates via the Internet. These instructions will provide a detailed, illustrated guide on
how to properly attach and troubleshoot the
.
These instructions contain the following sections:
1.0
Package Contents
2.0
Hookup Instructions
2.1
Verify Hookup
2.2
Static IP Assignment
3.0
Hookup Complete
4.0
Troubleshooting
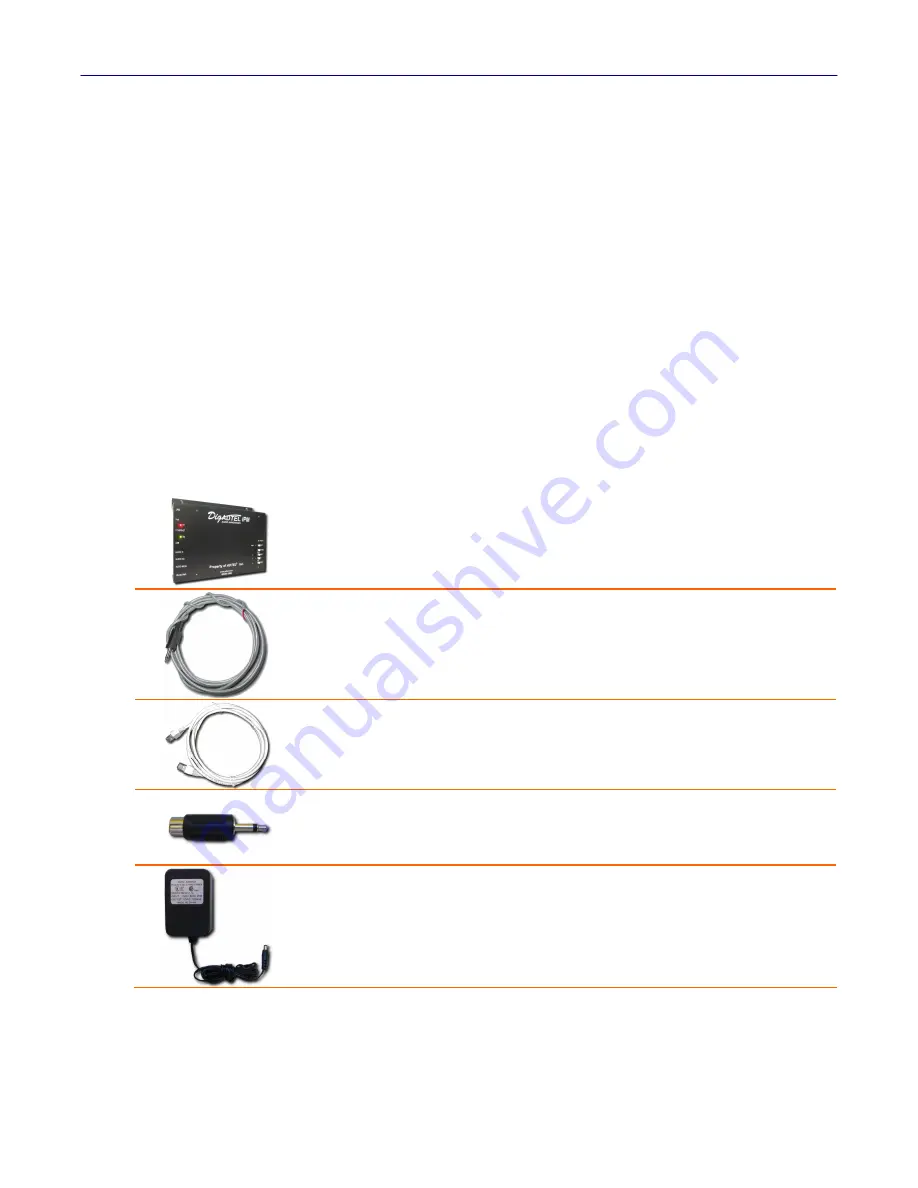
1.0 Package Contents
Once you receive your
audio announcer, check the packaging to ensure that all of the following
items are enclosed:
Audio Announcer
•
This is the audio announcer itself.
3.5mm mini-plug to bare wire audio cable
•
This cable is designed for new installations only. One end plugs into one of
the AUDIO OUT ports of the
unit and the other is
punched down to a telephone termination block.
Category-5 patch cable
•
This cable is used to provide a 100BASE-T Ethernet connection between the
unit and a piece of network equipment (i.e. a switch,
hub, router, etc.)
RCA to 3.5mm adaptor
•
This adaptor is to be used in existing installations. It converts an RCA style
connection to a 3.5mm connection. The
unit will only
accept a 3.5mm connection.
Power Adaptor
•
This is the AC adaptor. It converts standard 120VAC current to the 12V that
the
unit requires.


