background image


INSTALLING YOUR GLIDEPOINT

®

 DRIVER SOFTWARE  

1) 

Please be sure that your touchpad is properly connected to your PC.  

2) 

Insert the Glidepoint ® 3.3 software CD into your CDROM. 

3) 

If the Auto Run feature does not launch the Windows Installer, select 

RUN

 from the 

START

 menu 

and type D:\

setup

 (where d is the drive letter of your CD-ROM) 

4) 

The setup wizard will now appear advising you that “The installer will now guide you through the 
installation process of your Glidepoint® Software”. 
Single Click on 

next

 to continue 

5)  

Read the end user license agreement and click on button to accept the terms of agreement.  
Single click on 

next

 to continue. 

6) 

Choose your type of installation. If you’re using a PS/2 touchpad, select “

install driver for a ps/2 

touchpa

d. If you’re using a USB touchpad select, “

install driver for a USB touchpad

”. 

Single click on 

next

 to continue. 

7) 

Installer will automatically install you’re the program files directory. If you don’t wish to change this, 
single click on 

next

 to continue. 

8) 

Confirm installation by single clicking on 

next

.  

Glidepoint® will now begin to install on your PC. This may take a few moments. Once Glidepoint is 
installed, you will be notified and single click on 

close

 to exit the installation. 

9) 

Open the GlidePoint® Control Center and adjust the touchpad settings to suit your needs.  (For more 
information on customizing your touchpad, refer to “

How can I customize my touchpad

” on page 6) 


Upon installation, the touchpad allows you to tap, right-tap, drag and highlight 
without the use of an Adesso driver.  The Glide Extend virtual edge extender and the 
wheel mouse scrolling feature are also available.   


To use additional custom options, advanced Horizontal scroll, zoom In, zoom out, 
Back and forward capabilities you must install the Adesso Glidepoint

®

 driver software 

contained on your Adesso GlidePoint

®

 software CD or available by download from 

http://www.adesso.com/drivers/glidepoint.zip


3.0 USING YOUR GLIDEPOINT

®


TOUCHPAD  


BASIC FUNCTIONS 

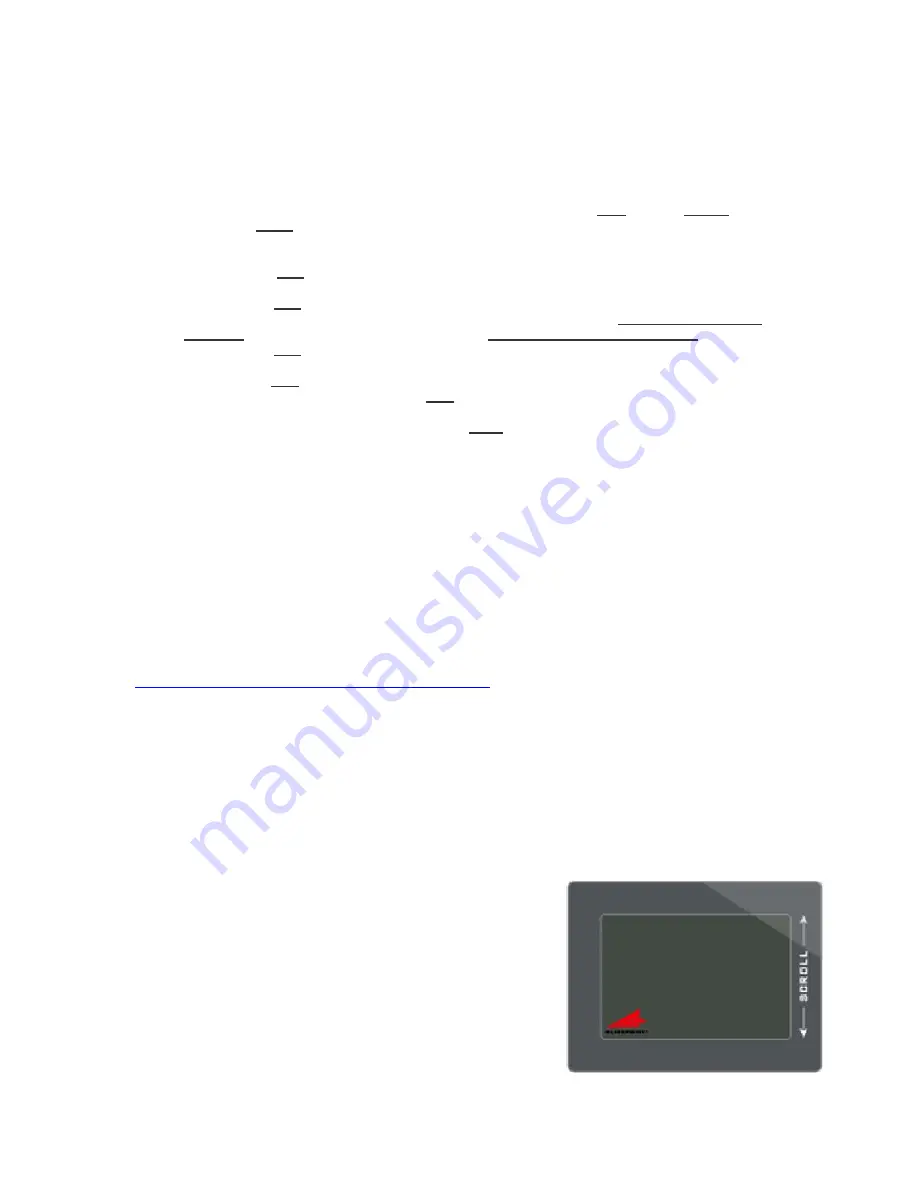
Unlike the mouse or trackball, Glidepoint

®

 touchpad 

requires little arm and wrist motion and no finger 
pressure. Like all pointing devices, you may take a 
short time to become familiar with the operation of 
your touchpad. Yet you will soon find that using your 
finger is a more natural and intuitive way to control 
your computer. Simply glide your finger across the 
surface of the pad to move the cursor and tap your 
finger to “click”. It’s easy!   


3 of 8

Summary of Contents for ATP-400

Page 1: ...Browser Cat Easy Cat Smart Cat Smart Cat Pro USER S MANUAL ...

Page 2: ......

Page 3: ...ER SOFTWARE 3 3 0 USING YOUR GLIDEPOINT TOUCHPAD 3 BASIC FUNCTIONS 3 ADVANCE FUNCTIONS 4 HORIZONTAL SCROLL 4 ZOOMING 5 BACK FORWARD PAGE CONTROL 5 PRODUCT FEATURES 5 4 0 CUSTOMIZING YOUR TOUCHPAD FEATURES 6 USING THE GLIDEPOINT CONTROL CENTER 6 5 0 CUSTOMER SERVICE 6 TROUBLESHOOTING 6 FREQUENTLY ASKED QUESTIONS 7 CUSTOMER SERVICE ASSISTANCE 7 6 0 WARRANTY INFORMATION 8 7 0 FCC REGULATORY NOTICE 8 ...

Page 4: ...s For Windows Vista XP 2000 users Touchpad supports most of the advanced features such as Horizontal Scrolling Zoom In Out Back and Forward functions Glidepoint Touchpad driver version 3 3 required For Windows ME and 98 users It is Plug and Play and acts as a basic mouse functions with vertical scrolling For Windows Vista XP 2000 users Touchpad supports most of the advanced features such as Horizo...

Page 5: ...uter off 2 Attach the PS 2 adapter to your computer NOTE Because the PS 2 ports for both touchpad and keyboard may appear identical look for an icon or description next to each port on your computer to identify which to use 3 Turn your computer on and start Windows If you see the New Hardware Found dialog box after Windows starts select CANCEL and continue with the next step 4 Test the touchpad it...

Page 6: ... a few moments Once Glidepoint is installed you will be notified and single click on close to exit the installation 9 Open the GlidePoint Control Center and adjust the touchpad settings to suit your needs For more information on customizing your touchpad refer to How can I customize my touchpad on page 6 Upon installation the touchpad allows you to tap right tap drag and highlight without the use ...

Page 7: ...ree seconds while you reposition and complete the drag To shut off GlideExtend earlier than three seconds simply tap or click a button Vertical Scroll place your finger down the right edge of the touchpad and glide up or down ADVANCE FUNCTIONS Your Adesso touchpad represents the latest in capacitive touch technology All products are designed to give you the highest level of performance and include...

Page 8: ...rward page control X X X X Touchpad rotation X X X X Tapping control X X X X Cursor movement control X X X X Number of mechanical buttons 2 2 3 3 Number of programmable touchpad zones 1 1 1 1 Number of programmable hot buttons 0 0 0 4 Please Note Features within the shaded area require the use of the Adesso driver software Touchpad buttons and tap zones can be programmed to launch applications ope...

Page 9: ...nformation on accessing Control Panel for your version of Windows Please Note These instructions only apply for Windows Vista XP and 2000 5 0 CUSTOMER SERVICE To customize settings on a Macintosh for your CyberCat go to the Apple menu Control Panel Mouse TROUBLESHOOTING Your GlidePoint touchpad should work immediately when connected to your computer If you have trouble Check all connections to be ...

Page 10: ...ur desktop hold it in your other hand or on your lap How can I customize my touchpad settings The GlidePoint Control Center is complete with context sensitive help You must install the GlidePoint software driver in order to customize your touchpad features Refer to Installing your GlidePoint driver on page 3 To access the GlidePoint Control Center go to Start All Programs GlidePoint Glidepoint Con...

Page 11: ...onditions 1 this device may not cause harmful interference and 2 this device must accept any interference received including interference that may cause undesired operation Warning Changes or modifications to this unit not expressly approved by the party responsible for compliance could void the user s authority to operate this equipment Note This equipment has been tested and found to comply with...

Reviews: