2
www.addi-data.com
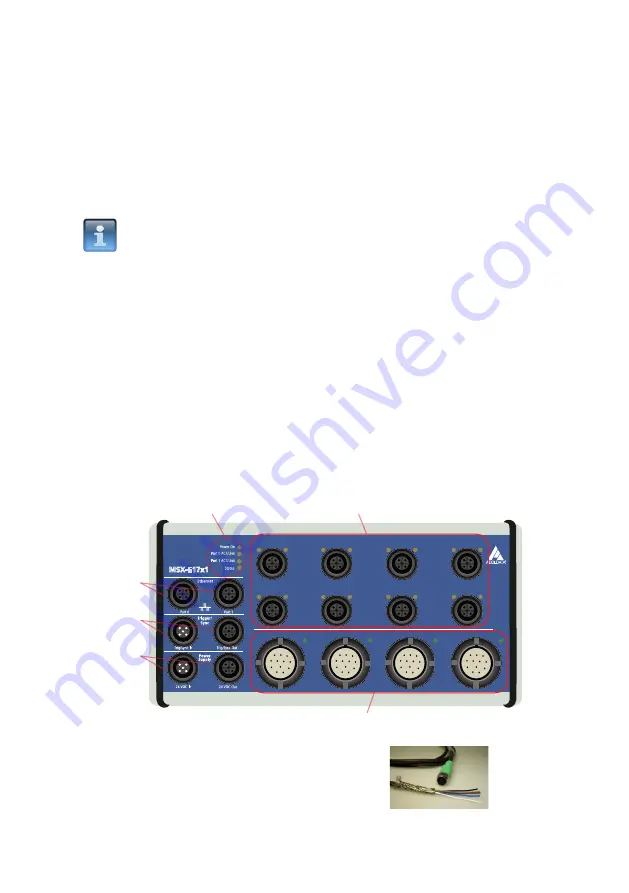
Connecting the Ethernet system
- Please read the safety precautions (yellow leaflet) first!
- Afterwards, connect your Ethernet system as follows:
A) Connect the Ethernet system to your PC or network using an Ethernet cable
(e.g. CMX-60).
B) Connect the desired functions.
C) Optional: Connect the cable for trigger/synchro signals (e.g. CMX-40) to the Ethernet
system.
NOTICE!
Please ensure that the default IP address of the Ethernet system
(192.168.99.99) is not assigned to another system on your network yet.
Starting the Ethernet system
D) Connect the Ethernet system to the power source using a power supply cable
(e.g. CMX-20).
E) Check the status of the Ethernet system by means of the LED display:
Power On:
- lights green
= Power supply is OK
Port 0 ACT/Link: - flashes yellow
= Ethernet cable is connected to Port 0
Port 1 ACT/Link: - flashes yellow
= Ethernet cable is connected to Port 1
Status:
- lights green
= Ethernet system is ready for operation
- lights yellow
= Ethernet system is booting
- lights/flashes red
= Error while booting
As soon as the “Status” LED lights green, you can install the software (see page 6).
CMX-20:
Power supply cable
Counter
Digital I/O
System
CH0
CH1
CH2
CH3
CH4
CH5
CH6
CH7
Counter 0
Counter 2
Counter 3
Counter 1
CH8
CH9
CH10
CH11
CH12
CH13
CH14
CH15
Digital I/O
Counter
(E) LED display
(B) Digital I/O (0 to 15)
(D)
Power
supply
(A)
Ethernet
ports
(C)
Trigger/
Synchro
(B) Incremental counter inputs (0 to 3)


