6
Installation and Operation
Mounting
AdderView Prism offers two main mounting methods:
• Supplied four self-adhesive rubber feet
• Optional rack mount assembly to hold up to eight 4-port AdderView Prism
units or up to sixteen 2-port AdderView Prism units.
Connections
Installation of the AdderView Prism involves a number of basic connections to
some or all of the following items:
•
Host computer or KVM switch
•
Keyboards, video monitors and mice
•
Power supply (use is optional)
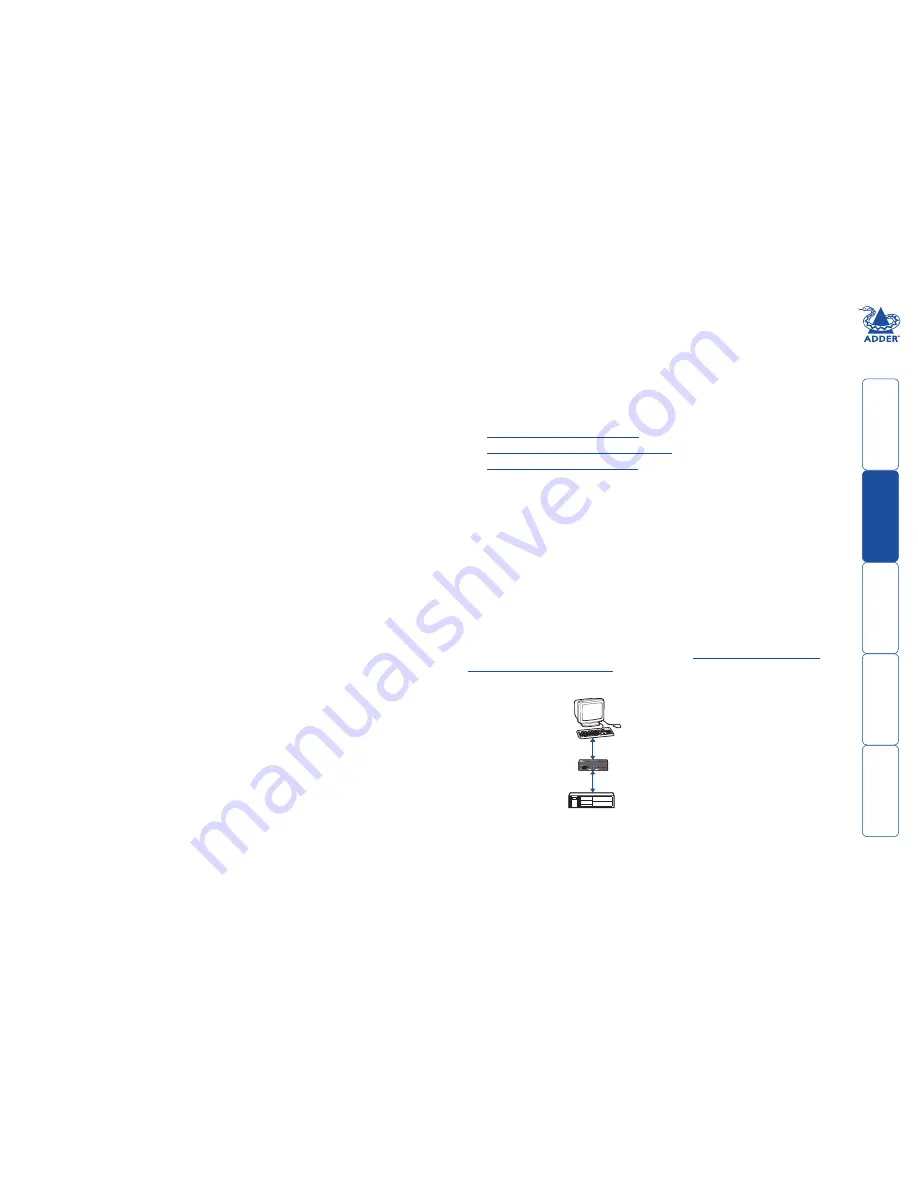
Cable lengths
The AdderView Prism uses high quality powered circuitry to prevent signal
degradation. When used in conjunction with the accompanying power supply,
this means that you can use relatively long cable links between the AdderView
Prism, the system and the user console or KVM switch. The lengths of cables
that can be used for given situations are summarised below.
Video resolutions of up to 1600 x 1280 are supported on longer cable lengths
while higher resolutions of up to 1900 x 1440 may be used with shorter links.
The AdderView Prism also features a video boost feature to ensure that picture
quality remains sharp over longer distances. See
Configuration switches -
Video signal boost (switch 2)
for more information.
Cable position
Used without
Used with
power supply
power supply
AdderView Prism to Console
2m*
10m**
AdderView Prism to System
2m
20m**
Note: The total cable length (from system through to console) should not exceed 30m.
* Cable lengths can be increased to 5m when used in square matrix formation (in conjunction
with KVM switches).
** For video only applications (i.e. without keyboard or mouse), any ‘video only’ link cable may
be up to 30m long provided the overall cable run (i.e. including the cable on the other side of the
AdderView Prism) does not exceed 32m.
1
ON
2 3 4 5 6 7 8
OPTIONS
1.5A
5V
1
2
3
4 PWR
Indoor use only
COMPUTER
HT


