


Upload Serial Passthrough code for Feather or ItsyBitsy
First, back up any code and files you have on your CIRCUITPY drive . It will be overwritten by the code
you're going to upload to your board. You should not end up losing any files on the QSPI flash, but it's a
good idea to back them up anyways.
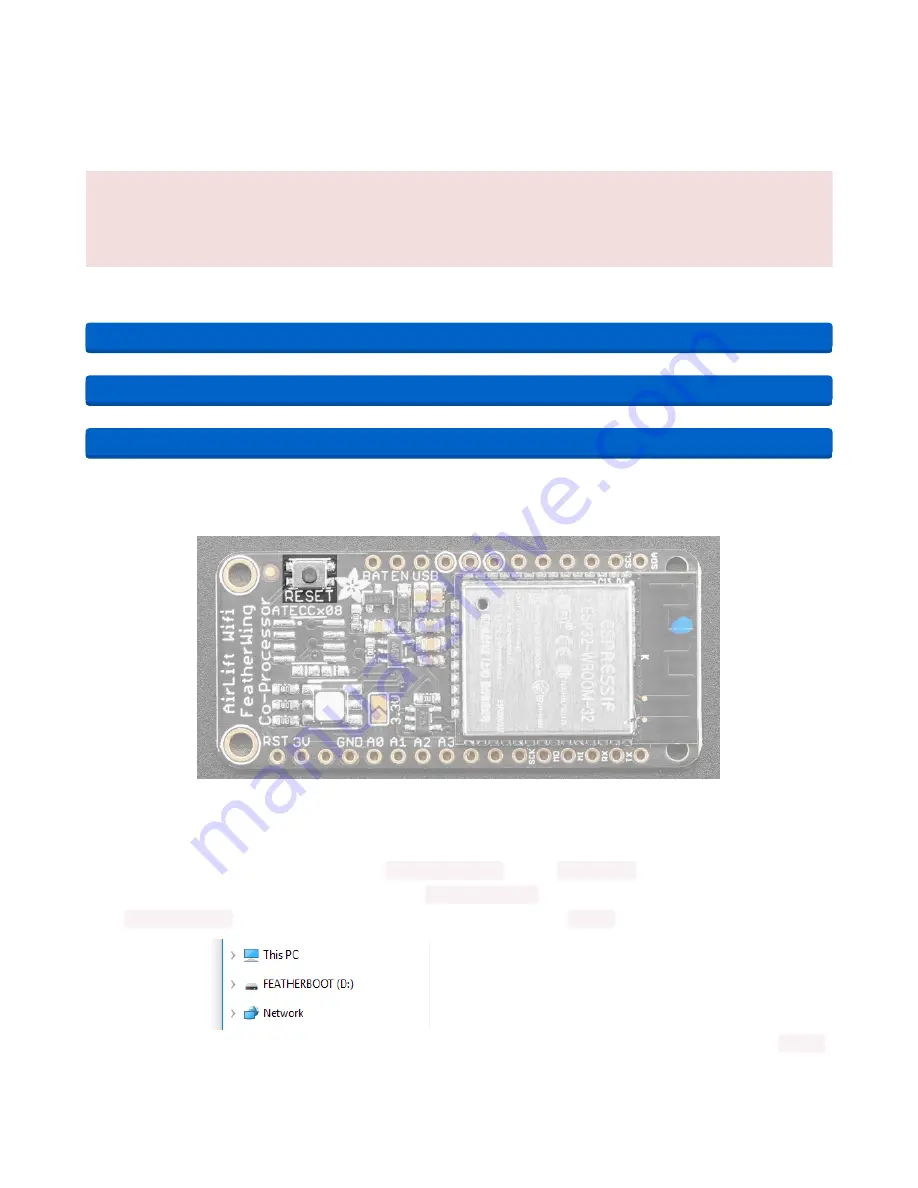
This section is only for an AirLift FeatherWing with a Feather M4, or an AirLift BitsyWing with an
ItsyBitsy M4. If you are using a different hardware combination - scroll down to the "External AirLift
Breakout" section.
Download the UF2 for your board to your Desktop.
https://adafru.it/OYF
https://adafru.it/PTE
https://adafru.it/IEK
Find the reset button on your board. It's a small, black button, and on most of the boards, it will be the only
button available.
Tap this button twice to enter the bootloader. If it doesn't work on the first try, don't be discouraged. The
rhythm of the taps needs to be correct and sometimes it takes a few tries.
Once successful, the RGB LED on the board will flash red and then stay green. A new drive will show up
on your computer. The drive will be called
boardnameBOOT
where
boardname
is a reference to your
specific board. For example, a Feather will have
FEATHERBOOT
and a Trinket will
have
TRINKETBOOT
etc. Going forward we'll just call the boot drive
BOOT
The board is now in bootloader mode. Now find the UF2 file you downloaded. Drag that file to the
BOOT
drive on your computer in your operating system file manager/finder.
© Adafruit Industries
https://learn.adafruit.com/adafruit-airlift-shield-esp32-wifi-co-processor
Page 49 of 56


