Getting Started
SDR2-USB Configuration Guide rev 1.0
8
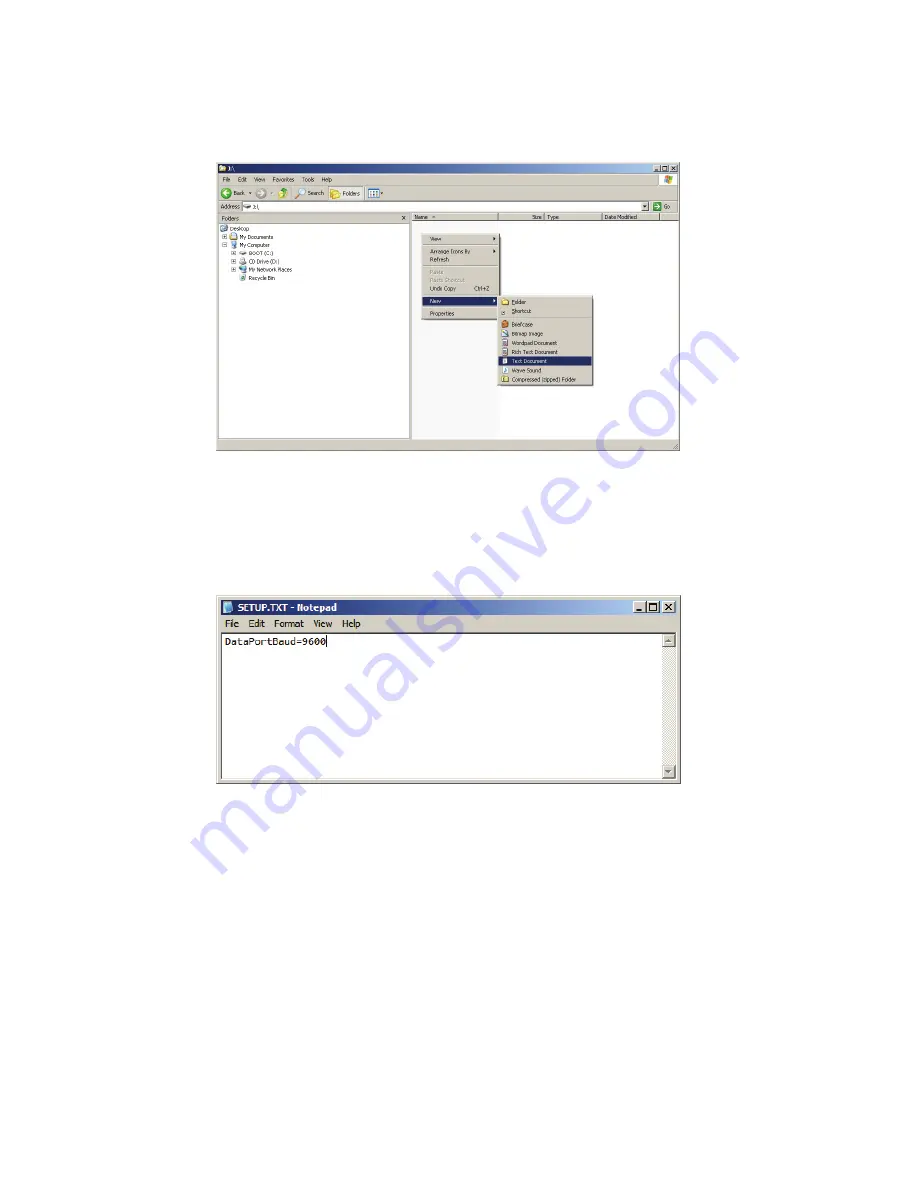
Figure 1.3. Creating setup.txt.
Once the file is created, double-click it to open the file in Windows Notepad
and enter “DataPortBaud=9600” as shown in Figure 1.4. This tells the
SDR2-USB to communicate with your data source at 9600 baud. The baud
rate for your serial data source may differ from 9600 bps.
Figure 1.4. Editing a simple setup.txt file.
Close Windows Notepad, then right-click the USB device’s drive letter and
click “Eject” to safely remove the device from your system.
Insert the USB device into the SDR2-USB, connect your serial data source
to the DB9M connector, and connect power. The SDR2-USB will display a
left-to-right-to-left flashing sequence. If your data source is outputting data,
the front panel “data” indicator will flash as data arrives.
1.4.3 Congratulations!
You’ve set up the SDR2-USB to communicate with your device!
Summary of Contents for DATABRIDGE SDR2-USB
Page 1: ...ACUMEN INSTRUMENTS CORPORATION DataBridge SDR2 USB Configuration Guide revision 1 0 04 2009...
Page 2: ......
Page 4: ......
Page 28: ......
Page 38: ......
Page 41: ...Specifications SDR2 USB Configuration Guide rev 1 0 39 Notes...


