9
8
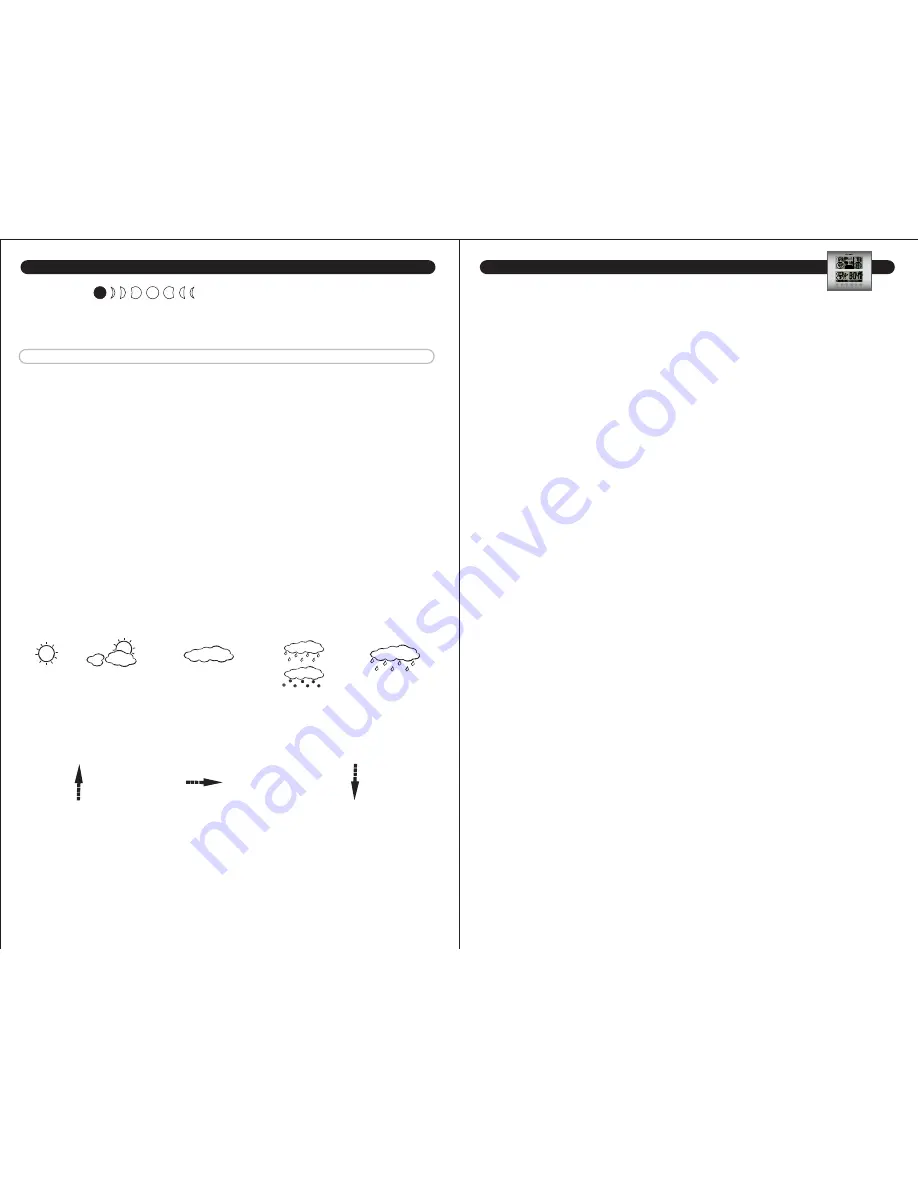
Moon Phase:
The moon phase will automatically display based on the calender date. The moonphase
will not be displayed correctly unless the date and year are programmed correctly.
MAIN UNIT - OTHER ADJUSTMENTS
View Pressure History:
To view air pressure from 0 (current) to the past 12 hours,
press the “PRESSURE” button. The hour is displayed in the small box in the pressure
portion of the upper display. Each time you press “PRESSURE”, the value changes to
that of the previous hour.
NOTE:
The main unit example Upper Display illustrated in
section 5
shows what the
pressure is, the current hour being zero (0). This pressure history is available only after
the barometer has operated and kept pressure data for 12 continuous hours.
Barometer History Graph:
The bar chart just below the air pressure display, shows the
pressure readings (range from +0.24 inHg to –0.24 inHg/ –8 hPa mb to +8 hPa mb) of
the current and past 1, 2, 3, 6 and 12 hour periods.
WEATHER FORECASTING
The main unit predicts weather conditions of the next 12 – 24 hours based on the
changes in atmospheric pressure. The coverage area is approximately 19-31 miles (30 –
50 km). The weather forecast is based on atmospheric pressure changes and is approxi-
mately 70-75% correct. As weather conditions cannot be 100% correctly forecasted, we
cannot be responsible for any loss caused by an incorrect forecast.
Trend Indicators:
Arrow indicators beside the upper display outdoor temperature and humidity readings
show:
Rising
Steady
Falling
The arrow icons will indicate rising, steady or falling if the temperature or humidity
change is more than 1 unit (degree/percent) within an hour.
(FLASHES)
STORMY
RAIN/SNOW
CLOUDY
PARTLY CLOUDY
SUNNY
SETTING THE ALARM:
1) Hold “ALARM” for 5 seconds.
2) The hour number(s) and “SET” flash. Press + or - to enter the desired hour.
Press “ALARM” to confirm the hour setting.
3) The minute number(s) and “SET” flash. Press + or - to enter the desired
minute.
Press “ALARM” to confirm the minute setting.
To view the set alarm time, press the “ALARM” button during the normal operating
mode. Alarm time will display for five seconds. Then, the current time is displayed.
To Turn the Alarm On and Off:
press the “ALARM” button and then the “+” button
during the normal operating mode. An alarm icon will appear when the alarm is on.
To Turn off the Alarm for 24 hours:
To turn the alarm off for 24 hours, press the
“ALARM” button when the alarm sounds
Snooze:
When the alarm sounds, press the “SNOOZE” button to trigger the snooze feature. The
alarm is silenced for five minutes.
MEMORY:
Press the “MEMORY” button to view the
min
imum values (Inside/ Outside Temperature
and Humidity) for 5 seconds. Press the “MEMORY” button again to view the
max
imum
memory.
The memory will automatically refresh every 24 hours.
NOTE:
The air pressure memory will not be cleared manually, but instead will be cleared
automatically every 12 hours.
USING THE MAIN UNIT (continued)
USING THE MAIN UNIT (continued)


