11
2a.
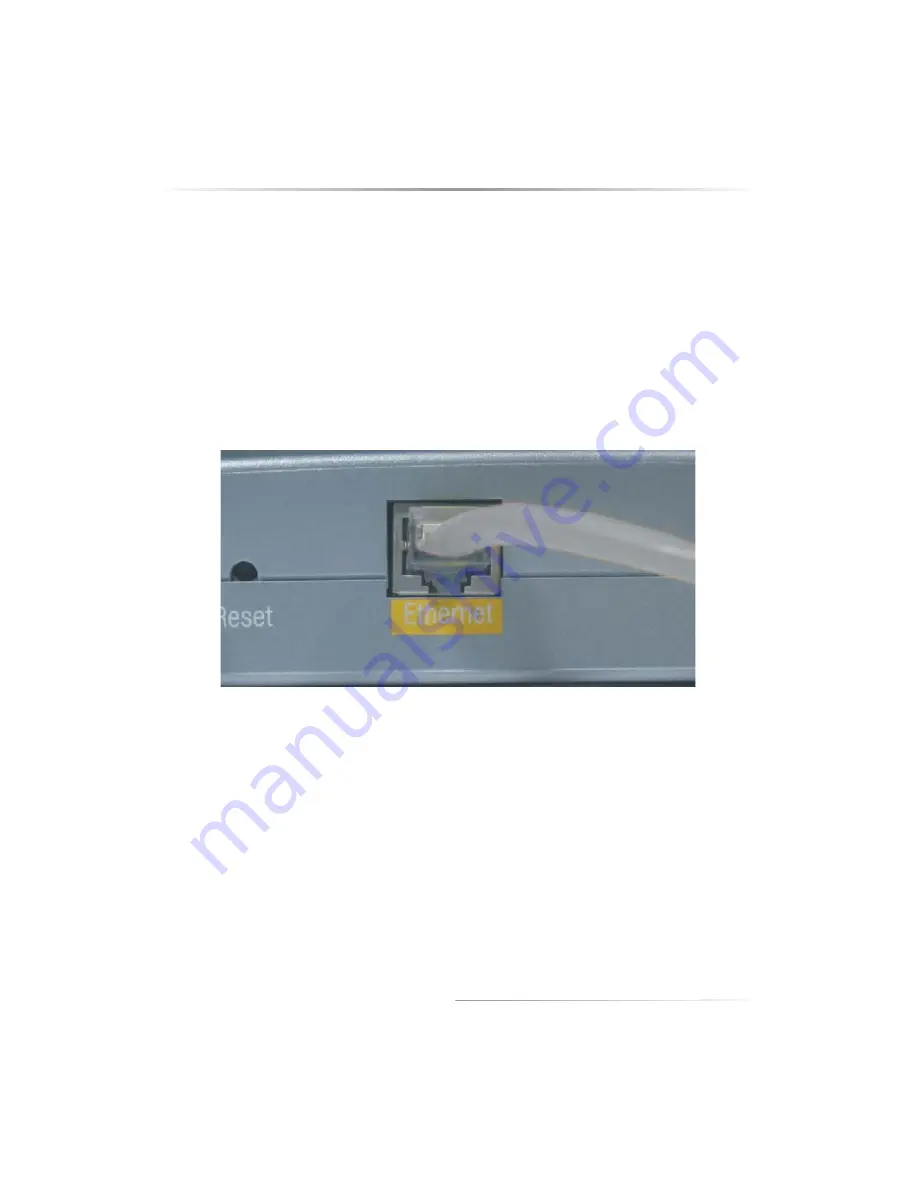
If connecting to a Router, hub or switch for wireless network usage or for
administration of an access point (using the Web Configuration Utility to
change an access point’s settings, for example), plug one end of Gray
Crossover Ethernet cable (included in this Quick Start Kit) in the LAN port
on the back of the Access Point, and plug the other end into the computer. See
figure below.
+
Note
: Do not use the Ethernet cable included with the Access
Point Quick Start Kit to connect to a computer. This Gray
Ethernet cable is a “crossover” type, and is used to connect the
Access Point to a network hub or switch.
An Ethernet port looks like a phone port, but is slightly larger.
Placing or Mounting the Access Point
The Access Point can be placed on a flat surface (such as a desktop). Ensure there
are no obstructions around the Access Point that may interfere with the sending
and receiving of wireless signals.
The Access Point can also be mounted on a wall. On the bottom panel of the Access
Point are four screw mounting holes. Insert two screws into the wall, and ensure the
screw heads protrude slightly from the wall surface. Mount the access point on the wall.
+
Note
: If planning to mount the Access Point in a hard-to-reach
location, ensure the cables are connected and the Access Point is
configured properly before mounting.
Next, go to “Setting Up the Access Point” on page 12.


