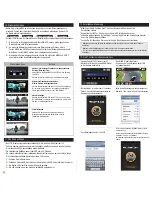
●
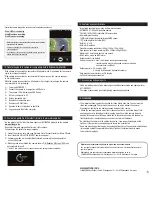
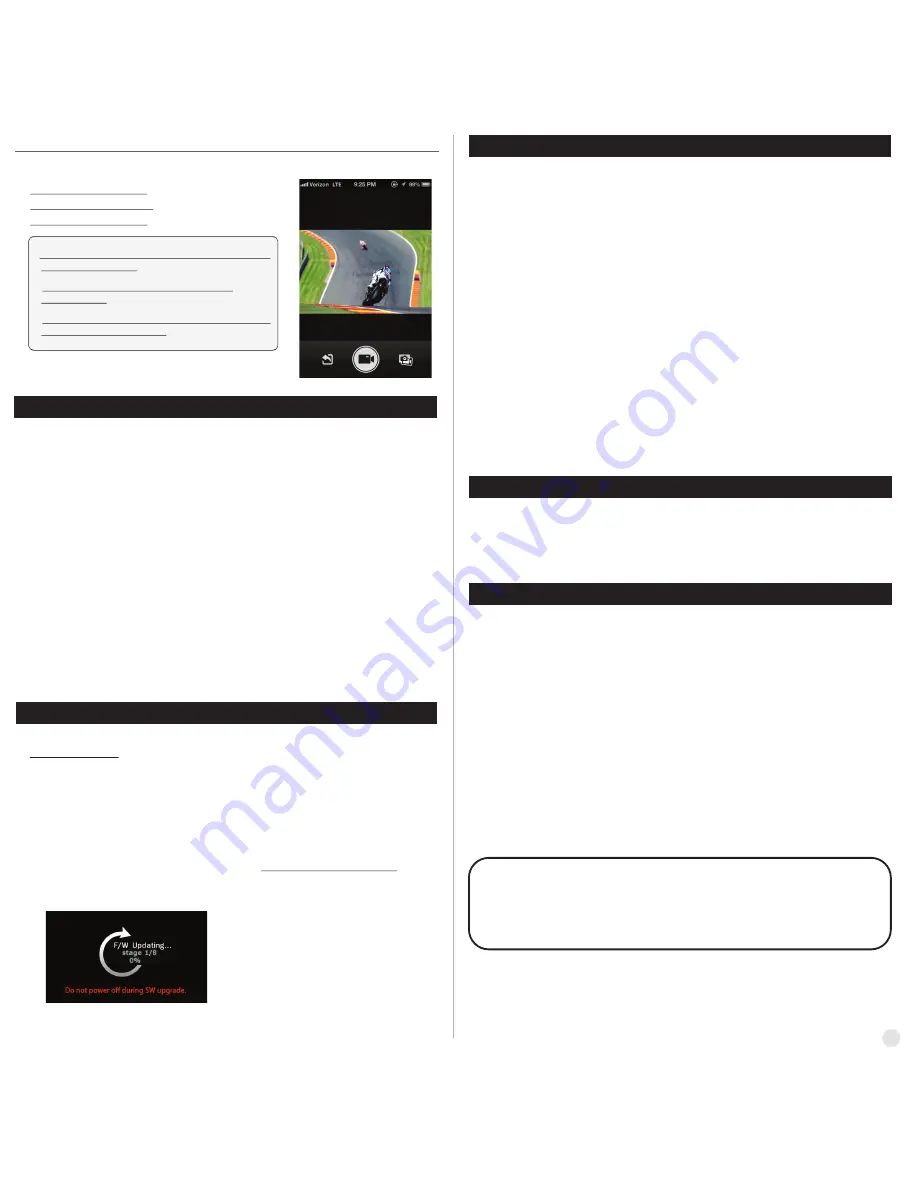
Control the camera through the control panel of smartphone application.
-
Show LIVE screen display
-
Start/Stop video recording
-
Start/Stop photo shooting
* While smartphone is connected to the camera, camera button
operation will be disabled
* Select all settings of the camera before connect to
your smartphone.
* 'ActionViewer' features will be upgraded through application
update through your smartphone.
14. Transferring data to computer (compatible both in Windows & Mac OS)
●
If the camera is connected to a computer or AC adapter while it is powered off, the camera
starts to recharge the battery.
●
If the camera is connected to a computer while it is powered on, the camera changes
to file-transfer mode.
●
While the camera is connected to a AC adapter or Car charger for recharge, the camera
can record while it is recharging.
1.
Power on ACTIONPRO 7
2.
Connect the camera to a computer via USB cable.
3.
The camera LCD will display as 'USB Ready'.
4.
Go to ‘my computer’ in PC.
5.
Search ‘removable disc’.
6.
Double click ‘removable disc’.
7.
Double click ‘DCIM’ folder.
8.
Open the folders to find video or photo file.
9.
Copy and paste files to the computer.
15. Firmware Update (find the latest firmware in www.actionpro.de)
●
You can always find the latest firmware updates of ACTIONPRO products on the website.
www.actionpro.de
●
Do not start firmware upgrade if battery isn’t fully charged.
Fully recharge the battery for proper upgrade.
1.
Format the memory card, and copy firmware file to the root directory of Micro SD card.
2.
Insert the Micro SD to ACTIONPRO X7 and turn on power.
3.
Firmware upgrade will be automatically started as showing the updating status
on the LCD screen.
4.
When upgrade is completed, the camera shows 'F/W Updating 8/8 stage 100%' and
automatically turns off.
(
*Do NOT turn off the device or take out the battery during firmware upgrade. )
16. Features and specifications
●
For detailed specifications, please visit www.actionpro.de
●
ACTIONPRO X7 1080p 60fps Action camera
●
FULL HD (1920 x 1080) resolution, 60fps recording
●
60m waterproof housing
●
12M Pixel high precision digital Image CMOS sensor
●
152° wide-angle field of view (FOV)
●
Built in 2.0" LCD
●
Built in WiFi antenna
●
Versatile recording resolution (1080p / 1200p / 720p / 480p)
●
High speed slow motion recording (720p 120fps / 480p 240fps)
●
Maximum 11 burst photo shots in one second
●
H.264 codec, saved as MP4 format
●
Rechargeable Li-ion battery
●
Battery running time : max. 100 minutes of continuous recording
(recording time may vary, depends on video mode and
environmental condition.)
●
Recharging time : 3.5 hours by USB
2.5 hours by AC adapter (Optional Accessory)
●
Easy graphical user interface in LCD display
●
Full line of mounting accessories
15
17. Accessories and spare parts
●
Visit www.actionpro.de to find a wide range of additional accessories and spare parts for
ACTIONPRO X7
●
The range of accessories is constantly being expanded and updated
18. WARNINGS
www.actionpro.de
CI IMAGEWEAR activSport GmbH - Steinegaden 151 - 88167 Röthenbach - Germany
●
The waterproof housing must be checked for leaks before each use. The seal must be
clean and undamaged. Check this before each use by a dive without the camera.
We accept no liability for any damage caused by leaks in the casing.
●
Attach the camera always in a way, that it does not get lost in a possible drop off self
adhesive pad or at a breaking of other mounting parts. Secure the camera always in
addition, for example by attaching a safety line to the camera housing. We assume no
liability for direct or indirect damages caused by the failure of hardware.
●
Do not attach the camera to the outside of vehicles, if you are participating in public
traffic, or if the camera is causing danger to others in a possible fall.
●
Seals and mounting parts are aging, depending on frequency of use and ambient conditions
(for example sunlight, temperature, humidity, vibration). Therefore this parts needs
to be replaced regularly.
Batteries and rechargeable batteries do not belong in household waste.
You are legally obliged to return batteries. You can return to a municipal collection point or
your local retailer.
Alternatively, you can return the rechargeable batteries delivered by us to:
CI IMAGEWEAR activSport GmbH - Steinegaden 151 - 88167 Röthenbach - Germany
Summary of Contents for X7
Page 1: ...www actionpro de User Manual Bedienungsanleitung ...
Page 7: ...MSQ X7 ...
Page 13: ...MSQ X7 ...
Page 14: ......


