


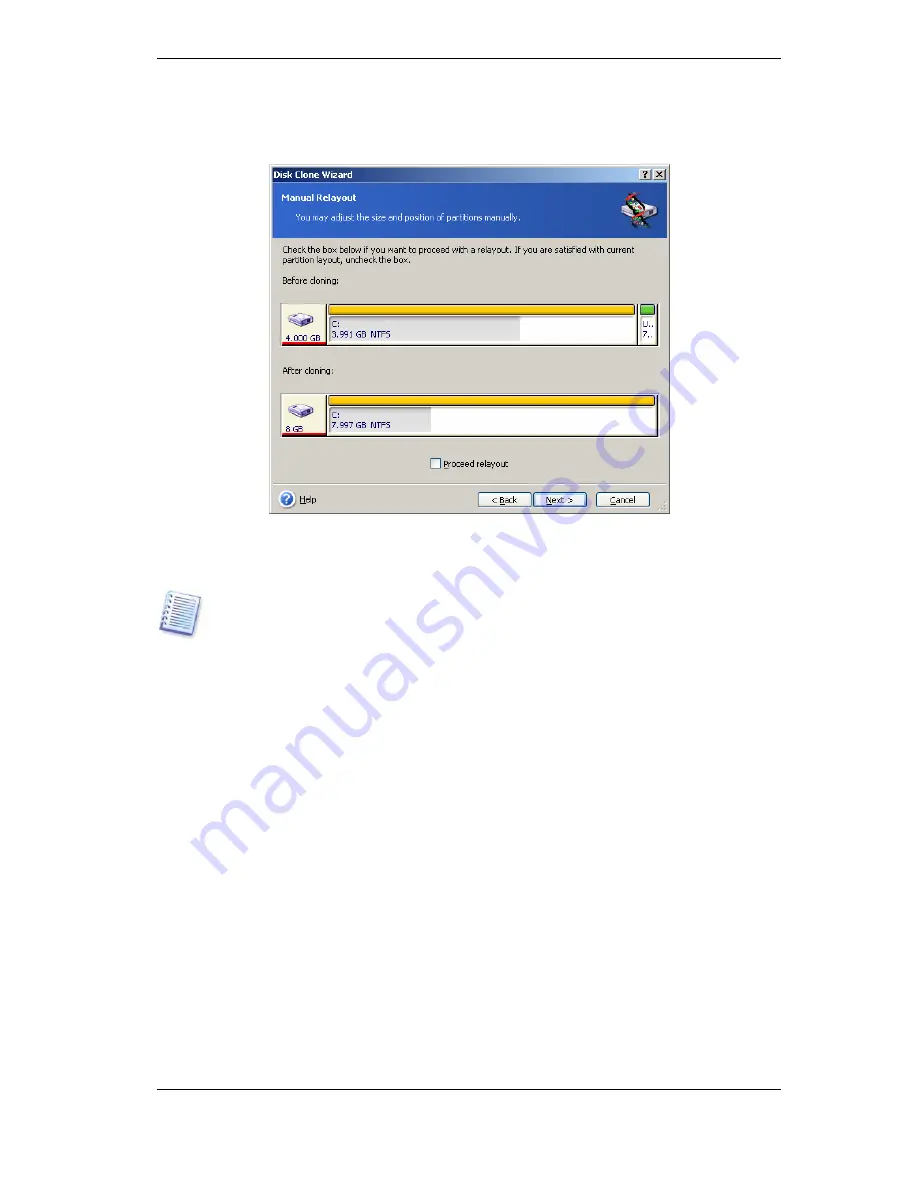
139 Copyright © Acronis, Inc., 2000-2009
Along with the hard disk number, you will see disk capacity, label, partition and file
system information. Different partition types, including primary, logical and unallocated
space are marked with different colors.
To resize either partition, check the
Proceed relayout
box. If you are satisfied with the
partition layout shown, uncheck this box (if checked). Clicking
Next
, you will proceed to
the cloning summary window.
Be careful! Clicking
Back
in this window will reset all size and location changes that
you've selected, so you will have to specify them again.
First, select a partition to resize. It will be underlined in red.
Resize and relocate it on the next step.
You can do this by entering values to the
Unallocated space before, Partition size,
or
Unallocated space after
fields, by dragging the partition borders or by dragging the
partition itself.
If the cursor turns to two vertical lines with left and right arrows, it is pointed at the
partition border and you can drag it to enlarge or reduce the partition’s size. If the cursor
turns to four arrows, it is pointed at the partition, so you can move it to the left or right (if
there's unallocated space near it).
Having provided the new location and size, click
Next
. You will be taken two steps back
to the partition layout. You might have to perform some more resizing and relocation
before you get the layout you need.