


Chapter 1
13
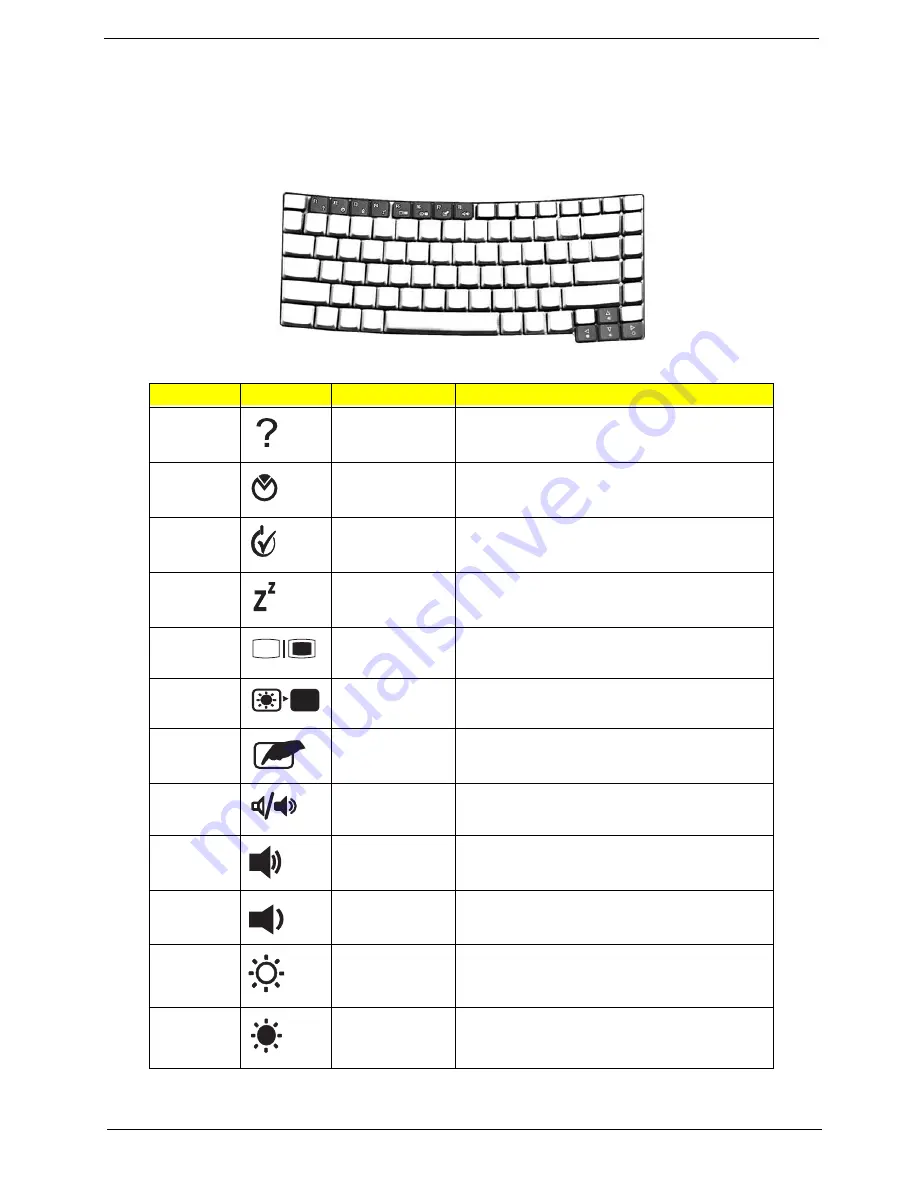
Hotkeys
The computer employs hotkeys or key combinations to access most of the computer's controls like
screen brightness, volume output and the BIOS utility. To activate hotkeys, press and hold the <Fn>
key before pressing the other key in the hotkey combination.
Hot Key
Icon
Function
Description
Fn + F1
Hot key help
Displays help on hot keys.
Fn + F2
Acer eSetting
Launches the Acer eSetting in the Acer
eManager.
Fn + F3
Acer ePower
Management
Launches the Acer ePower Management in the
Acer eManager.
Fn + F4
Sleep
Leads the computer to Sleep mode.
Fn + F5
Display toggle
Switches the display output between the display
screen, external monitor (if connected) and both.
Fn + F6
Screen blank
Turns off the display screen backlight to save
power. Press any key to return.
Fn + F7
Touchpad toggle
Turns the internal touchpad on and off.
Fn + F8
Speaker toggle
Turns the speakers on and off.
Fn +
K
Volume up
Increases the sound volume.
Fn +
L
Volume down
Decreases the sound volume.
Fn +
J
Brightness up
Increases the screen brightness.
Fn +
I
Brightness down
Decreases the screen brightness.
<Fn>
Key
Description
<
> + <Tab>:
<
> + <E>:
<
> + <F1>:
<
> + <F>:
+ <R>:
<
> + <M>:
<Shift> + <
> + <M>:
Hotkey
Icon
Function
Description
<Fn> + <F1>
<Fn> + <F2>
"Acer eManager" on
page 20
<Fn> + <F3>
<Fn> + <F4>
<Fn> + <F5>
<Fn> + <F6>
<Fn> + <F7>
<Fn> + <F8>
<Fn> + < >
<Fn> + < >
<Fn> + <
>
<Fn> + <
>
Hotkey
Icon
Function
Description
<Fn> + <F1>
<Fn> + <F2>
"Acer eManager" on
page 20
<Fn> + <F3>
<Fn> + <F4>
<Fn> + <F5>
<Fn> + <F6>
<Fn> + <F7>
<Fn> + <F8>
<Fn> + < >
<Fn> + < >
<Fn> + <
>
<Fn> + <
>
Hotkey
Icon
Function
Description
<Fn> + <F1>
<Fn> + <F2>
"Acer eManager" on
page 20
<Fn> + <F3>
<Fn> + <F4>
<Fn> + <F5>
<Fn> + <F6>
<Fn> + <F7>
<Fn> + <F8>
<Fn> + < >
<Fn> + < >
<Fn> + < >
<Fn> + < >
Hotkey
Icon
Function
Description
<Fn> + <F1>
<Fn> + <F2>
"Acer eManager" on
page 20
<Fn> + <F3>
<Fn> + <F4>
<Fn> + <F5>
<Fn> + <F6>
<Fn> + <F7>
<Fn> + <F8>
<Fn> + < >
<Fn> + < >
<Fn> + < >
<Fn> + < >
Hotkey
Icon
Function
Description
<Fn> + <F1>
<Fn> + <F2>
"Acer eManager" on
page 20
<Fn> + <F3>
<Fn> + <F4>
<Fn> + <F5>
<Fn> + <F6>
<Fn> + <F7>
<Fn> + <F8>
<Fn> + < >
<Fn> + < >
<Fn> + <
>
<Fn> + <
>
Hotkey
Icon
Function
Description
<Fn> + <F1>
<Fn> + <F2>
"Acer eManager" on
page 20
<Fn> + <F3>
<Fn> + <F4>
<Fn> + <F5>
<Fn> + <F6>
<Fn> + <F7>
<Fn> + <F8>
<Fn> + < >
<Fn> + < >
<Fn> + <
>
<Fn> + <
>
Hotkey
Icon
Function
Description
<Fn> + <F1>
<Fn> + <F2>
"Acer eManager" on
page 20
<Fn> + <F3>
<Fn> + <F4>
<Fn> + <F5>
<Fn> + <F6>
<Fn> + <F7>
<Fn> + <F8>
<Fn> + < >
<Fn> + < >
<Fn> + <
>
<Fn> + <
>
Hotkey
Icon
Function
Description
<Fn> + <F1>
<Fn> + <F2>
"Acer eManager" on
page 20
<Fn> + <F3>
<Fn> + <F4>
<Fn> + <F5>
<Fn> + <F6>
<Fn> + <F7>
<Fn> + <F8>
<Fn> + < >
<Fn> + < >
<Fn> + <
>
<Fn> + <
>
Hotkey
Icon
Function
Description
<Fn> + <F1>
<Fn> + <F2>
"Acer eManager" on
page 20
<Fn> + <F3>
<Fn> + <F4>
<Fn> + <F5>
<Fn> + <F6>
<Fn> + <F7>
<Fn> + <F8>
<Fn> + < >
<Fn> + < >
<Fn> + <
>
<Fn> + <
>
Hotkey
Icon
Function
Description
<Fn> + <F1>
<Fn> + <F2>
"Acer eManager" on
page 20
<Fn> + <F3>
<Fn> + <F4>
<Fn> + <F5>
<Fn> + <F6>
<Fn> + <F7>
<Fn> + <F8>
<Fn> + < >
<Fn> + < >
<Fn> + <
>
<Fn> + <
>
Hotkey
Icon
Function
Description
<Fn> + <F1>
<Fn> + <F2>
"Acer eManager" on
page 20
<Fn> + <F3>
<Fn> + <F4>
<Fn> + <F5>
<Fn> + <F6>
<Fn> + <F7>
<Fn> + <F8>
<Fn> + < >
<Fn> + < >
<Fn> + < >
<Fn> + < >
Hotkey
Icon
Function
Description
<Fn> + <F1>
<Fn> + <F2>
"Acer eManager" on
page 20
<Fn> + <F3>
<Fn> + <F4>
<Fn> + <F5>
<Fn> + <F6>
<Fn> + <F7>
<Fn> + <F8>
<Fn> + < >
<Fn> + < >
<Fn> + < >
<Fn> + < >
Summary of Contents for TravelMate 8200
Page 2: ...II PRINTED IN TAIWAN ...
Page 30: ...20 Chapter 1 ...
Page 35: ...Chapter 1 25 ...
Page 37: ...Chapter 1 27 View information about Acer ePower Management ...
Page 108: ...Chapter 5 98 Top View of Main Board Jumper and Connector Locations Chapter 5 ...
Page 109: ...99 Chapter 5 Part One of Top View Part Two of Top View ...
Page 111: ...101 Chapter 5 Bottom View Part One of Bottom View ...
Page 115: ...105 Chapter 6 Exploded Diagram ...


