Chapter 3
33
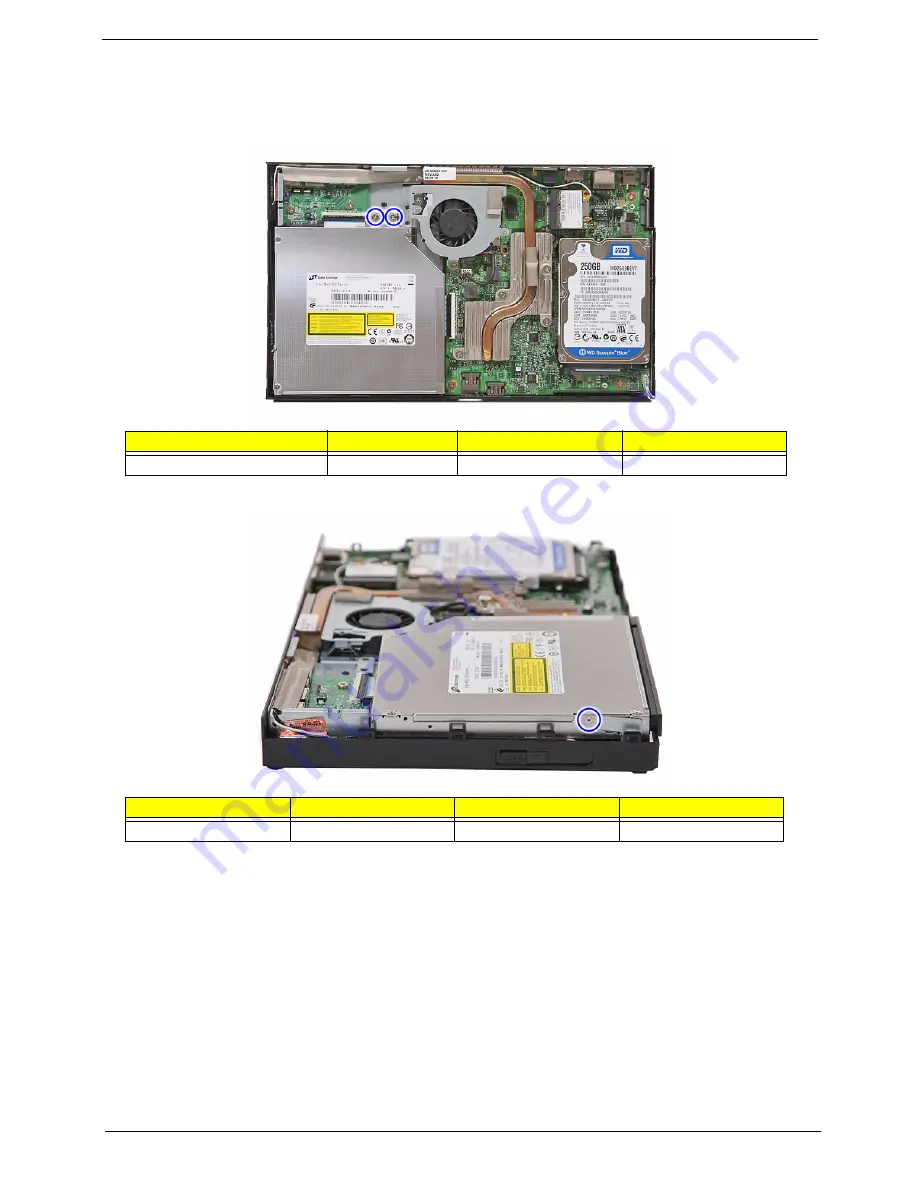
Removing the Optical Drive
1.
Remove the top cover. Refer to the previous section for instructions.
2.
Remove the two screws (B) securing the optical drive.
3.
Remove the screw (C) that holds the bracket to the optical drive and system.
Screw (Quantity)
Color
Torque
Part No.
MECH TRUSS M3*L4 NI (2)
Silver
4.5
0.3 kgf-cm
86.3A534.4R0
Screw (Quantity)
Color
Torque
Part No.
M2*2 (1)
Silver
1.5
0.2 kgf-cm
86.9AJ32.2R0
Summary of Contents for RL100
Page 1: ...Acer Aspire RL100 Service Guide PRINTED IN TAIWAN...
Page 34: ...26 Chapter 2...
Page 52: ...44 Chapter 3 3 Detach the hard disk drive from its connector and lift it off the mainboard...
Page 66: ...58 Chapter 4...
Page 67: ...Chapter 5 59 System Block Diagram System Block Diagram and Board Layout Chapter 5...
Page 70: ...62 Chapter 5...
Page 72: ...64 Chapter 6 Exploded Diagram...
Page 76: ...68 Chapter 6...


