29
6-2 Apron & Saddle
1.
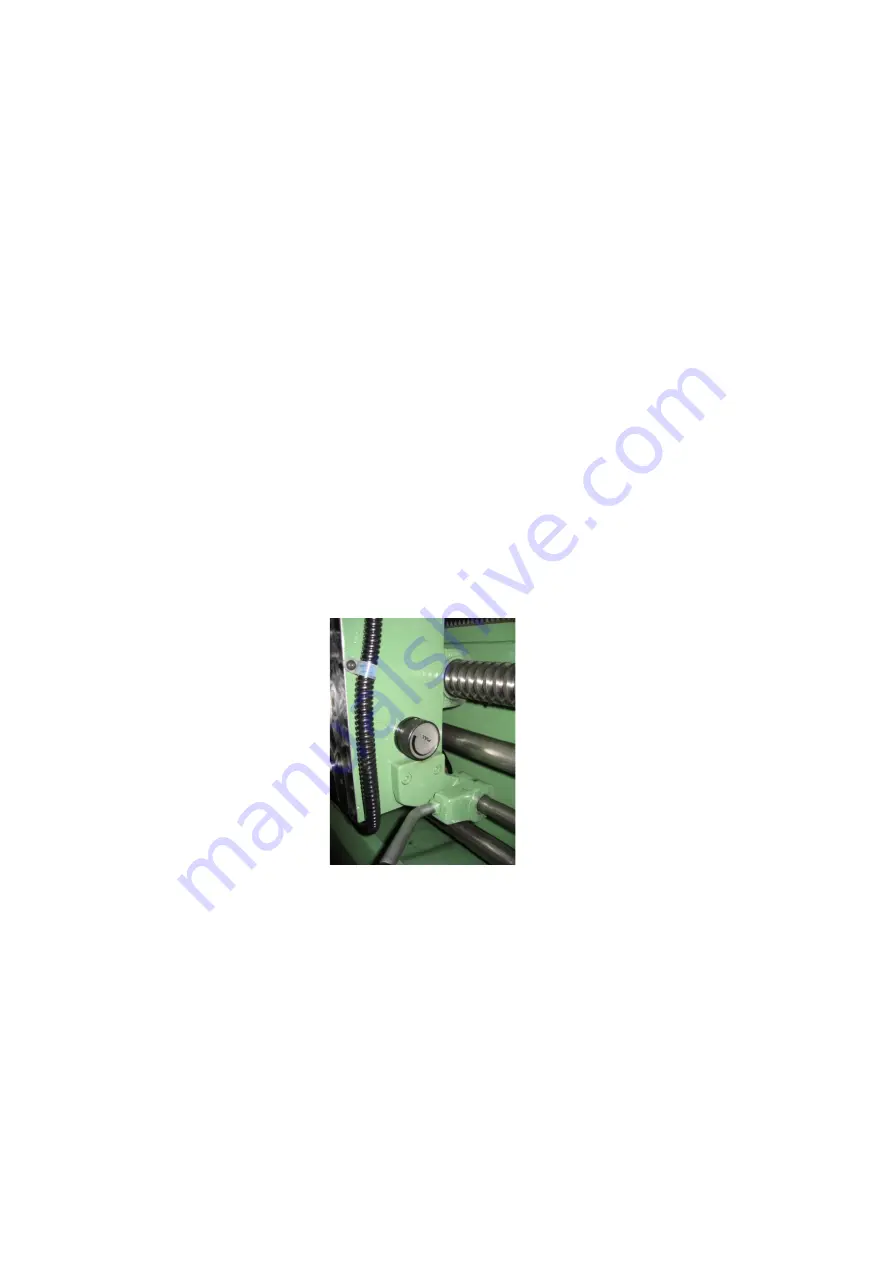
Apron lubrication location: On the right top side of the saddle, the oil inlet plug
marked “OIL” is the oil inlet hole.
2.
Apron drain hole is located on the bottom cover of the apron.
3.
Oil brand and oil exchange time: Use Shell Tellus #32 and replace the oil every 6
months.
4.
To adjust the half nut engaged lever: After long period of usage, the lever may
become loose and needed to be adjusted. First, please take off the thread chasing
dial and find the 4 gib adjusting screws. Second, while pressing the lever, also
adjust the 4 gib adjusting screws until they are properly tightened. Afterwards,
please re-install the thread chasing dial in position.
5.
Adjustment for the longitudinal & cross auto feeding overload:
Please stop the machine before doing adjustment. The cone clutch on the right
hand side of the apron is an overload protection device. Turning clockwise, the
overload will increase; turning anticlockwise, the overload will decrease.
6-3 Gear Box
1.
Lubrication location: Below the top cover of the gear box, please take off the top
cover to find the oil plug marking “OIL”, which is the oil inlet hole.
2.
Drain hole: On the left bottom side of the 10-step feed selection dial. The screw
with hexagon nut is the oil drain hole .
3.
Oil brand and oil replacement time: Use Shell Tellus Omala 150 and replace the
oil every 6 months.
Summary of Contents for Dynamic 33130
Page 5: ...5 1 Machine Assembly ...
Page 9: ...9 2 4 Circuit Diagram ...
Page 26: ...26 7 Leadscrew Add oil with oil gun As required Once per day 8 Bedways Auto lubrication ...
Page 27: ...27 5 4 Lubrication Location A Oil input hole B Oil drain hole ...
Page 33: ...33 7 1 Headstock Assembly ...
Page 39: ...39 7 2 Gear Box Assembly ...
Page 43: ...43 7 3 Gear Box Cover Assembly ...
Page 45: ...45 7 4 Apron Assembly Right Hand ...
Page 50: ...50 7 4 Apron Assembly Left Hand ...
Page 56: ...56 7 5 Machine Bed and Base Assembly ...
Page 60: ...60 7 6 Brake System ...
Page 63: ...63 7 7 Carriage and Crossfeed System ...
Page 67: ...67 7 8 Tailstock ...
Page 71: ...71 7 9 Chip Guard ...
Page 73: ...73 7 10 Leadscrew Cover and Rear Splash Guard ...


