English
3. Toggle to the left or right to adjust the sliding scales.
4. Input: Select the source fro
m HDMI 1,HDMI 2 or DP
.
5. Auto Source:The default is “On”, can support auto search for signal source in order.
-----------------------------------------------------------------------------------------------------------
Note:
Surround application must set Auto Source is “Off”.
6.
DP Format: Default is DP1.2, can selection support DP1.1, or DP1.2 format.
7.
Wide mode: You can select which screen aspect you are using. The options are Full,
Aspect .
8.
Hotkey Assigment: Select the function of shortcut key 1(Modes, Volume, Brightness,
Gamma, Contrast, Blue Light, Over Drive) and shortcut keys 2 (Modes, Volume,
Brightness, Gamma, Contrast, Blue Light, Over Drive)
9. DDC/CI: Allows the monitor settings to be set through the software on the PC.
-----------------------------------------------------------------------------------------------------------
Note:
DDC/CI, short for Display Data Channel/Command Interface, which allows
monitor controls to be sent via software.
10.
HDMI Black level setting.
11. Quick start mode: Select Off or On. Turn on to speed up boot speed.
12. Power-off USB charge: Turn On or Off. On: DC off/Saving mode can to electrify for
USB port. Off: DC off/Saving mode can't to electrify for USB port.
Save Setting to…(User mode only)
X
Mode - User
Mode: ECO
Mode: Graphic
Mode: CAD/CAM
Save setting to...
Mode: Standard
Enter
Move
System
Pertormance
Audio
Picture
Color
OSD
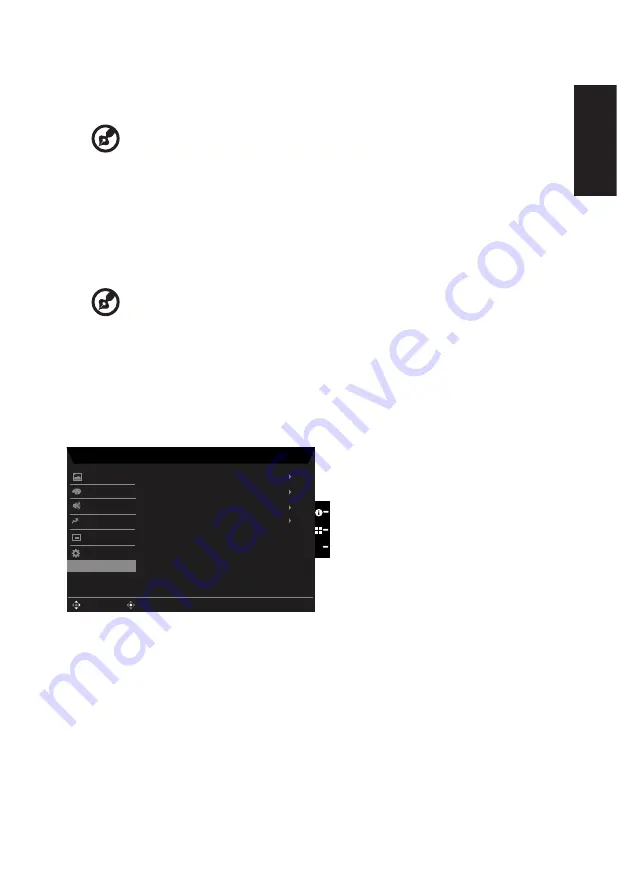
1. Press the MENU key to open the OSD.
2. Toggle the joystick to the up or down to select "Save Setting to..." from the OSD.Then
toggle to the right to
navigate to the element you wish to adjust and press the joystick
to enter it.
3.
Save Setting to some mode: There are three user-defined profiles available. When you
have decided what settings suit you, save them and system will be able to recall the
settings in the future when you turn on these mode.


