Getting Started
35
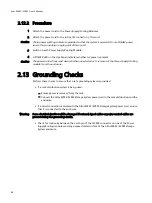
2.11.2 Procedure
1
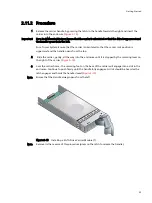
Release the carrier handle, by pressing the latch in the handle towards the right and insert the
carrier into the enclosure (
Important
For a Rack Mounted System: Ensure that the carrier is orientated so that the drive is uppermost and
the handle opens from the left.
For a Tower System: Ensure that the carrier is orientated so that the carrier lock position is
uppermost and the handle opens from the top
2
Slide the carrier, gently, all the way into the enclosure until it is stopped by the camming lever on
the right of the carrier (
)
3
Cam the carrier home - the camming foot on the base of the carrier will engage into a slot in the
enclosure. Continue to push firmly until the handle fully engages. A click should be heard as the
latch engages and holds the handle closed (
).
Note
Ensure that the Handle always opens from the left.
Note
Removal is the reverse of this procedure (press on the latch to release the handle).
Figure 2–13
Installing a SATA Drive Carrier Module (1)

