background image

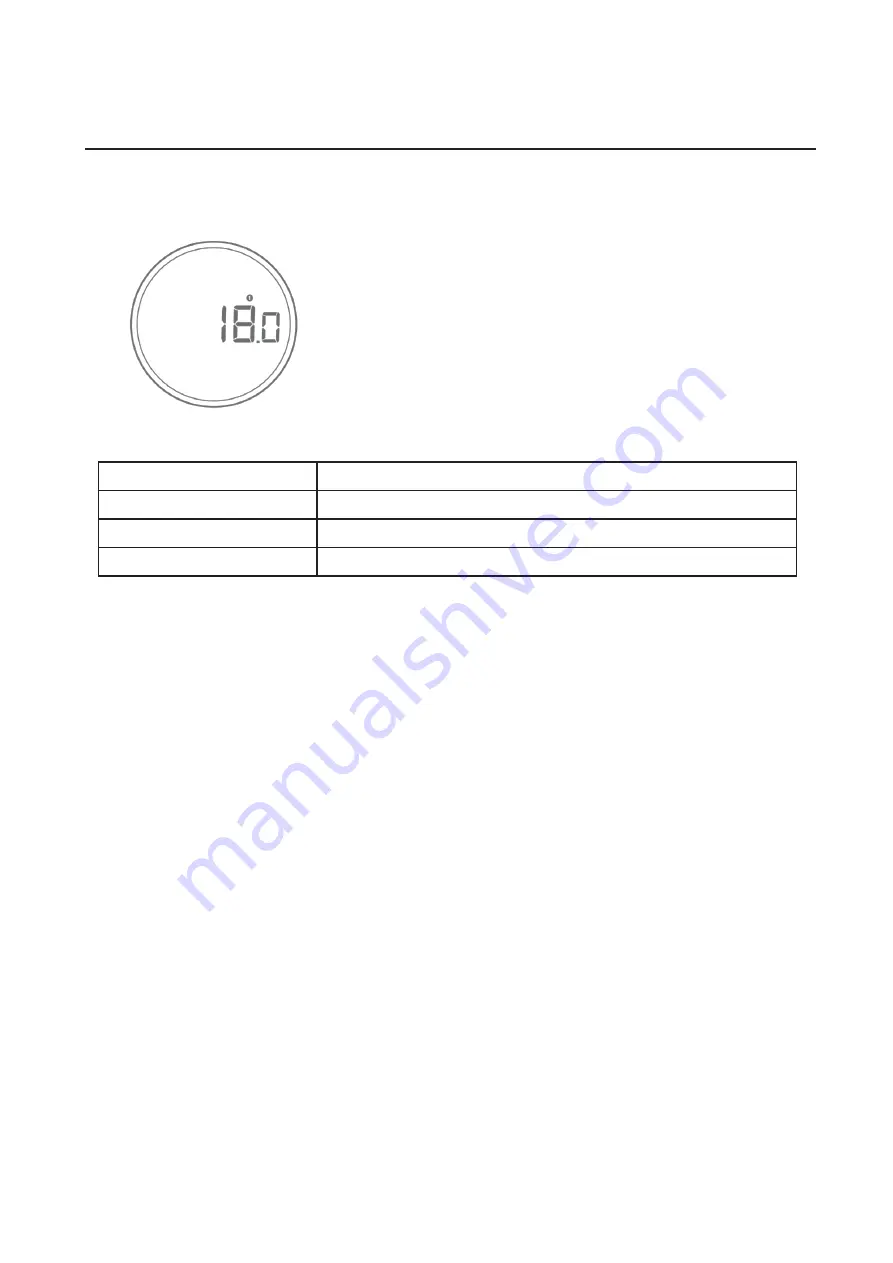
This is the default dosing mode. The Orion Nano allows you to 

store three presets for your desired weights. For instance, you 

can set preset 1 to 10g, preset 2 to 20g, and preset 3 to 30g. 

The minimum weight for the preset is 4g.

Mode 1 - Manual Dosing Mode

10

Action

Operation

Start / Stop Dosing

Press

 Dose

Pulse Beans 

Press

 Dose

Reset Mode

Press

 Power

1. Select a preset by rotating the Dial. Adjust the preset value by pressing 

Power 

and rotating 

the 

Dial

. Press 

Power

 to confirm.

2. Press 

Dose

, and the Orion Nano will begin dosing until the desired weight is reached within  

± 0.25 g (A solid green LED will display to indicate an accurate dose).

3. At the end of dosing, you may press 

Dose

 several times to ‘pulse’. Pulse will slowly add a few 

more beans if needed. 

4. Press Power to reset and return to Dosing mode.

•  Manual dosing mode can dose on demand with a selected preset.

•  [ CUP ] [ rESEt ] will appear on the display if no container is detected on the platform. You 

can dismiss the warning by pressing Power, and it will not appear again until the Orion Nano is 

restarted.

•  A [ NOISE ] message will appear if a container is removed from the Orion Nano or if the 

platform is touched during dosing. Please dose again.

Pulse in Manual Dosing Mode

The Orion Nano has a pulse function that adds a few beans to the dose manually at the end of 

each dose. To pulse (add) a few more beans at the end of each dose, simply press the 

Dose


and the Orion Nano will dispense add a small amount of beans with each press. If one press 

doesn’t drop any beans, you can press it multiple times until the desired weight is reached.

Mode Introduction

Summary of Contents for Orion Nano

Page 1: ...Acaia Orion Nano User Manual AON301 FW 1 0 02...

Page 2: ...Information Charing your Orion Nano Care and Cleaning Mode Introduction Mode 1 Manual Dosing Mode Mode 2 Auto Dosing Mode Mode 3 Weighing Mode Mode 4 Belt Mode Configuration Accessing the Orion s Set...

Page 3: ...os and flavors Elevate the art of coffee crafting Technology The Orion Nano inherits much of the Orion s award winning design Features include an automatic mode for continuous dosing and an intuitive...

Page 4: ...g your Orion Nano Orion Nano Overview Acaia Orion Nano Type C Charging Cable Universal Power Adapter Power Button Adjustment Dial Dose Button Weighing Pan Spotlight Hopper Adapter Charging Port 250 g...

Page 5: ...n light is blinking dosing is in progress Once dosing is complete the indicator will display a solid green light Yellow Light Dose warning indicator When the yellow light is lit it means that the curr...

Page 6: ...he chute to catch any beans that might fall when adding them into the hopper You will see a spotlight show ing the best spot to place your cup when you turn on the Orion Nano Rinse and clean the bean...

Page 7: ...ulse and add a few beans if needed Press and hold Dose to empty the hopper An E indicator will appear in the upper left corner of the display Press Dose again to stop CUP rESEt will appear on the disp...

Page 8: ...ower again to save your setting Press and hold Power for 3 seconds to enter mode settings Turn the Dial to select Auto and press Power to save your setting Press Dose to enter Ready mode You can then...

Page 9: ...e battery is charging and will turn off when the Orion Nano is fully charged The Orion Nano can be used without a charging cable You may want to fully charge it before your first use The battery lasts...

Page 10: ...e Pulse will slowly add a few more beans if needed 4 Press Power to reset and return to Dosing mode Manual dosing mode can dose on demand with a selected preset CUP rESEt will appear on the display if...

Page 11: ...l dose automatically when a container is placed on the platform There will be an A indicator in the top left corner of the display when in Auto mode CUP rESEt will appear on the display if no containe...

Page 12: ...e There are two different weighing units in Weighing Only Mode grams and ounces The LED display shows 0 0 when the scale is measuring in grams The LED display shows 0 000 when the scale is measuring i...

Page 13: ...al until bELt is shown then press Dose Rotate the dial to switch the connection to on and press Dose again to save the settings With Orion Nano powered on press and hold Power to enter the Setting mod...

Page 14: ...nfirm Pairing starts automatically Conn 1 Conn 2 will prompt once the connection is established and then return to dosing mode The link indicator will stop flashing Rotate the dial to display bELt p t...

Page 15: ...ain lit on all units when they are connected and a icon will be shown on the master unit Go back to the first unit and enter the bELt mode Rotate the dial to select 1 in bELt p setting press Dose PAir...

Page 16: ...t Unit g oZ g Cup Detection CUP d On OFF On Orion s Belt Connection bELT On Off Off Belt Setting bELT P 1 2 3 1 Calibration CAL Perform a smart calibration About About Shows the current Orion Nano fir...

Page 17: ...drift easily as the room temperature changes 2 0 5 d 5 d For example since each division is 0 1 g 5 d 0 5 g When Zero Tracking is set to be 5 d any initial weight between 0 5 g on the weighing pan wi...

Page 18: ...g a smart calibration select Weighing Mode and ensure the weighing unit is in grams and follow the steps below About About Shows the current Orion Nano Firmware version To update to the latest version...

Page 19: ...to switch to Manual Auto Mode Press to save the Setting and go back to Menu Dose Button Press to start dosing when in Manual Auto mode Press and hold for 5 seconds to empty the hopper Press to stop em...

Page 20: ...firmware update is complete your screen will display a Done button Now you re all set to get back to brewing When the Orion Nano is powered off press and hold Power until UPdAt is displayed Your app w...

Page 21: ...ad The weight is under the minimum capacity Error 304 Please calibrate the Doser in a stable environment free of vibration wind etc Error 802 Unable to tare because the weight exceeds the tare range E...

Page 22: ...bility 0 1 g Linearity 1d Indication Limit 515 g 18 16 oz Power Supply 5V 3A Battery Lithium ion rechargeable 7 4 V 2200 mAh Battery Life Up to 12 hours when fully charged Display LED Material Aluminu...

Page 23: ...l rights reserved No part of the manual may be reproduced processed duplicated or published in any form by photocopying microfilming reprinting or any other method in particular electronic means witho...

Reviews: