


7
How to install the ABUS IP Camera Viewer
•
Connect the ABUS IP Camera Viewer with an HDMI cable to the monitor that
you want to use, to display the camera image.
•
When operating via network cable, connect the cable now with the ABUS IP
Camera Viewer. If operating via WiFi, proceed directly with the next step.
•
Connect the ABUS IP Camera Viewer to a USB power supply to turn on the
device and provide power.
•
Select the appropriate HDMI input tob e displayed on the monitor.
•
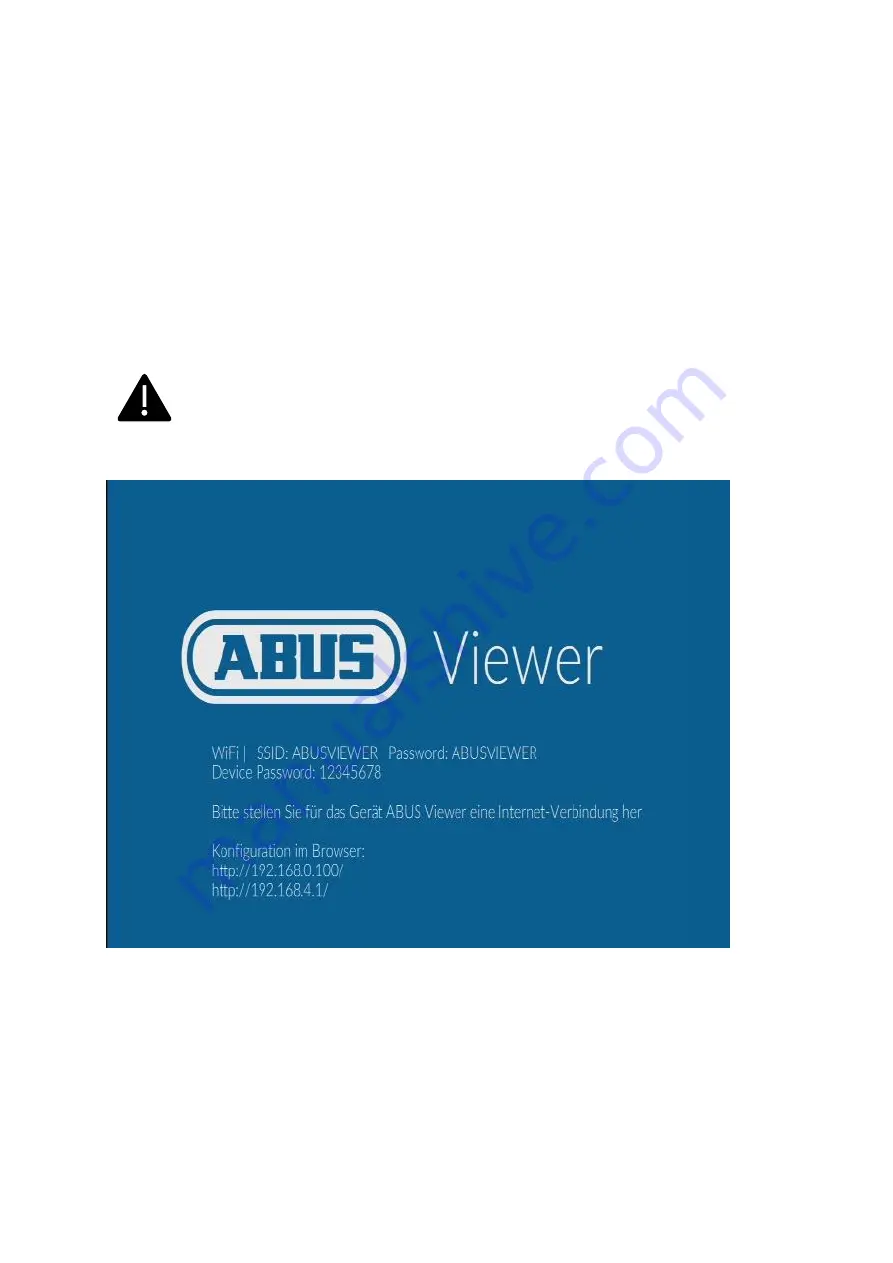
After the ABUS IP Camera Viewer has booted up, you will see the following
startup screen:
Please note that the ABUS Viewer must be connected to a network
that has access to the Internet for initial startup. This also applies to
commissioning after resetting the configuration settings to factory
default.
Example: Start display of the ABUS IP Camera Viewer on the monitor
Explanation of the IP addresses:
http://192.168.0.100
ABUS Viewer Address from the local connected network
via network cable.
ABUS Viewer address of its own WiFi hotspot
"ABUSVIEWER" (only for configuration access)


